Leitrim Chair Build
July 22, 2026
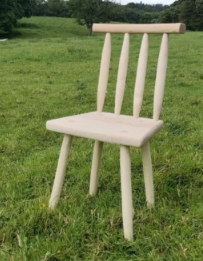
Some time ago, I came across a video of a chair build.
It is a short documentary video about a style of chair called the "Leitrim Chair."
In the video, Charlie Perpoil attempts to build a copy of a chair built originally by John Surlis
for a documentary in the 1980s.
What's In a Name?
In the wooden chairmaking world, chairs tend to be named a few ways. If the maker named it, we go with that, if we know the maker, sometimes they will be credited, like with the Jenny Alexander Chair. This Leitrim Chair is sometimes called the "Surlis Chair" specifically because of the video I referenced above. The third naming convention is to name the chair after where it is associated. The Windsor chair has an association with the town of Windsor in England. The Leitrim Chair is associated with County Leitrim and historically, has been primarily located in that county. Another famous county-associated chair in Ireland is the "Sligo Chair" which I have no interest in building.
So with all of that said, I have been interested in the simplicity and the distinct look of the Leitrim Chair. It is "primitive" in the sense that few measurements are used, the rake and splay of the legs are all the same, and the back rest's sticks are very bulky and narrow down only to fit into the mortises in the seat and crest. I love the wonky dimensions of the chair, and I've always liked the Irish connection to the chairs. Thus, it was time to build.
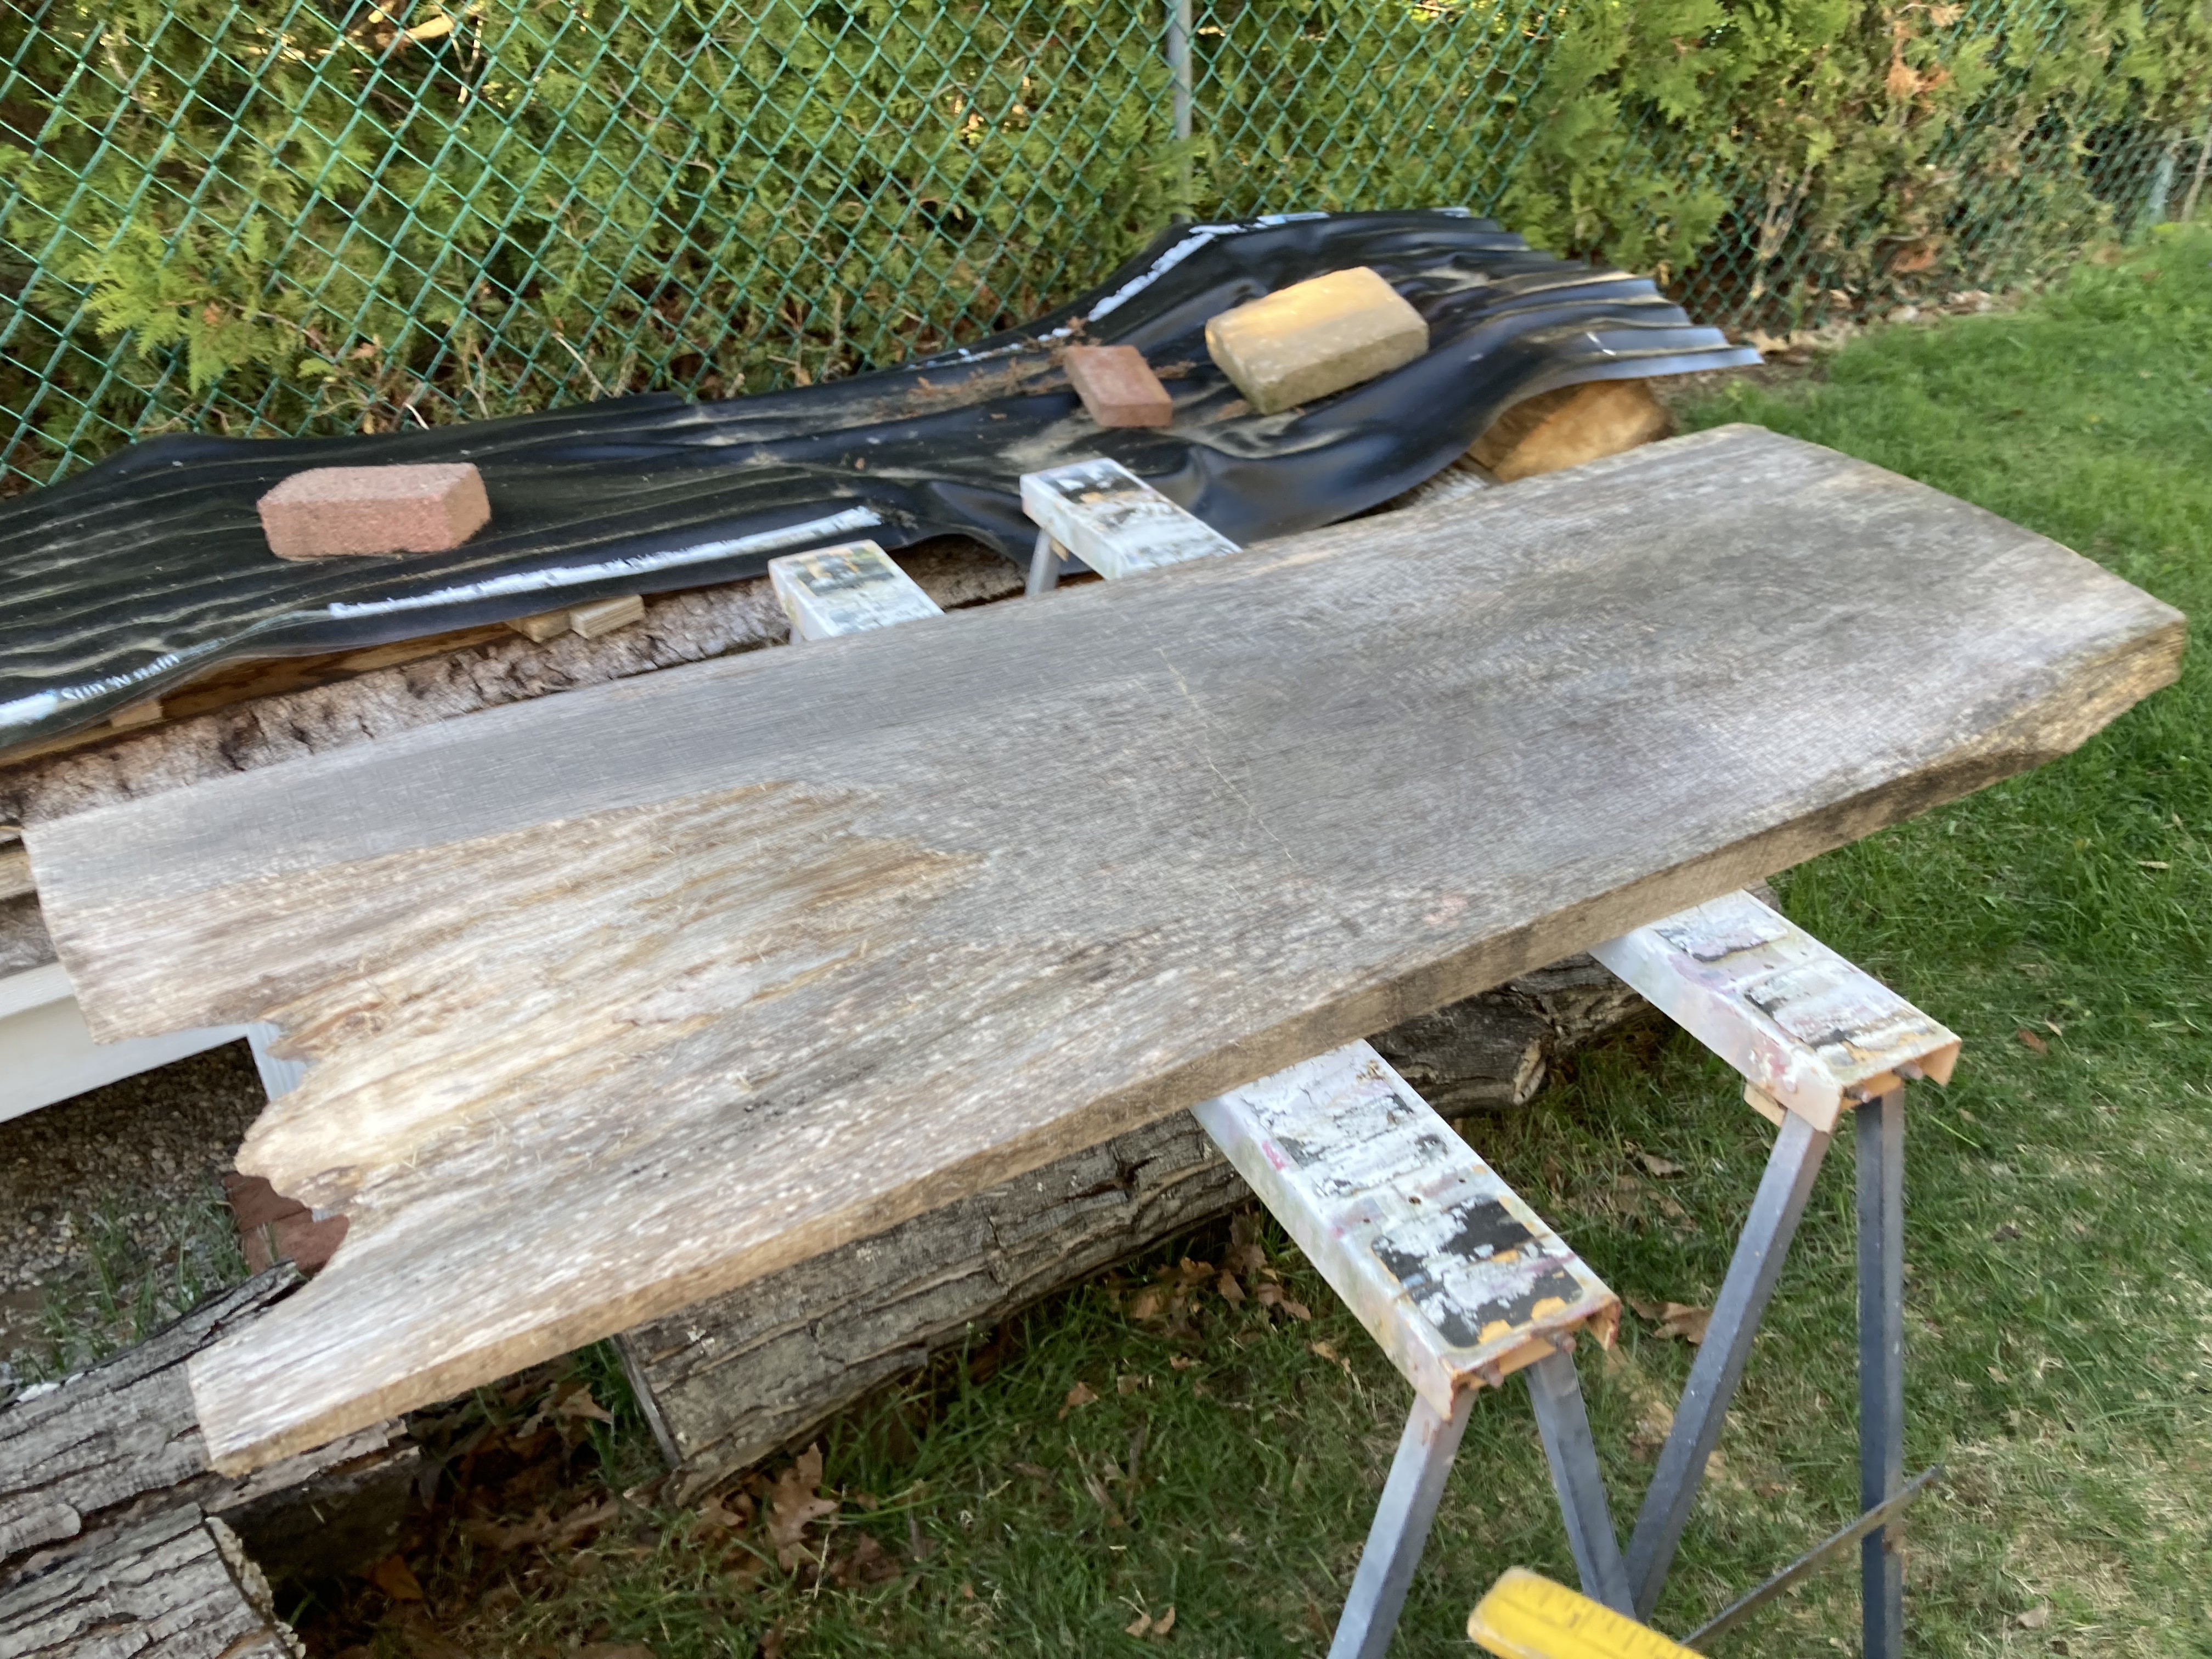
I've also been in possession of a big slab or two of, what I suspect to be a sort of local Oak lumber, that's been sitting outside exposed to the elements while I thought of what to do with them.
I typically dislike "slab" woodworking as I don't like the appearance, but making the bulky seats out of a single board seemed like a great use for it, and using some freely-acquired wood
felt like it matched the spirit of Irish vernacular chairs. This slab will make the seat and backrest thicker than the originals, but I can live with that. It'll be heavier and hopefully sturdier.
I suspect it won't have a negative impact on the chair's visual proportions.
Despite the lack of measurements and rough work on the originals, I would still like some repeatability and to build on others' work to get some of the details. I've relied on Jon Hammack's post and the Crooked Stool Workshop's post for guidance. I also used the Leitrim council's provided measurements for rough guidance in making my own chair. I had to convert the millimeter measurements to close imperial measurements, but I'm not worrying about being precise. With all of this information, I still wanted to make the chair in the spirit of the originals and limit the use of power tools. I am building two of them so I will probably mix and match techniques to avoid monotony, and I will not worry about imperfections in angles or how smooth the finish is. One must embrace imperfections.
If you'd like to see my inspiration with reference photos of the chair, they can be viewed at my "Chair Build" wishlist.
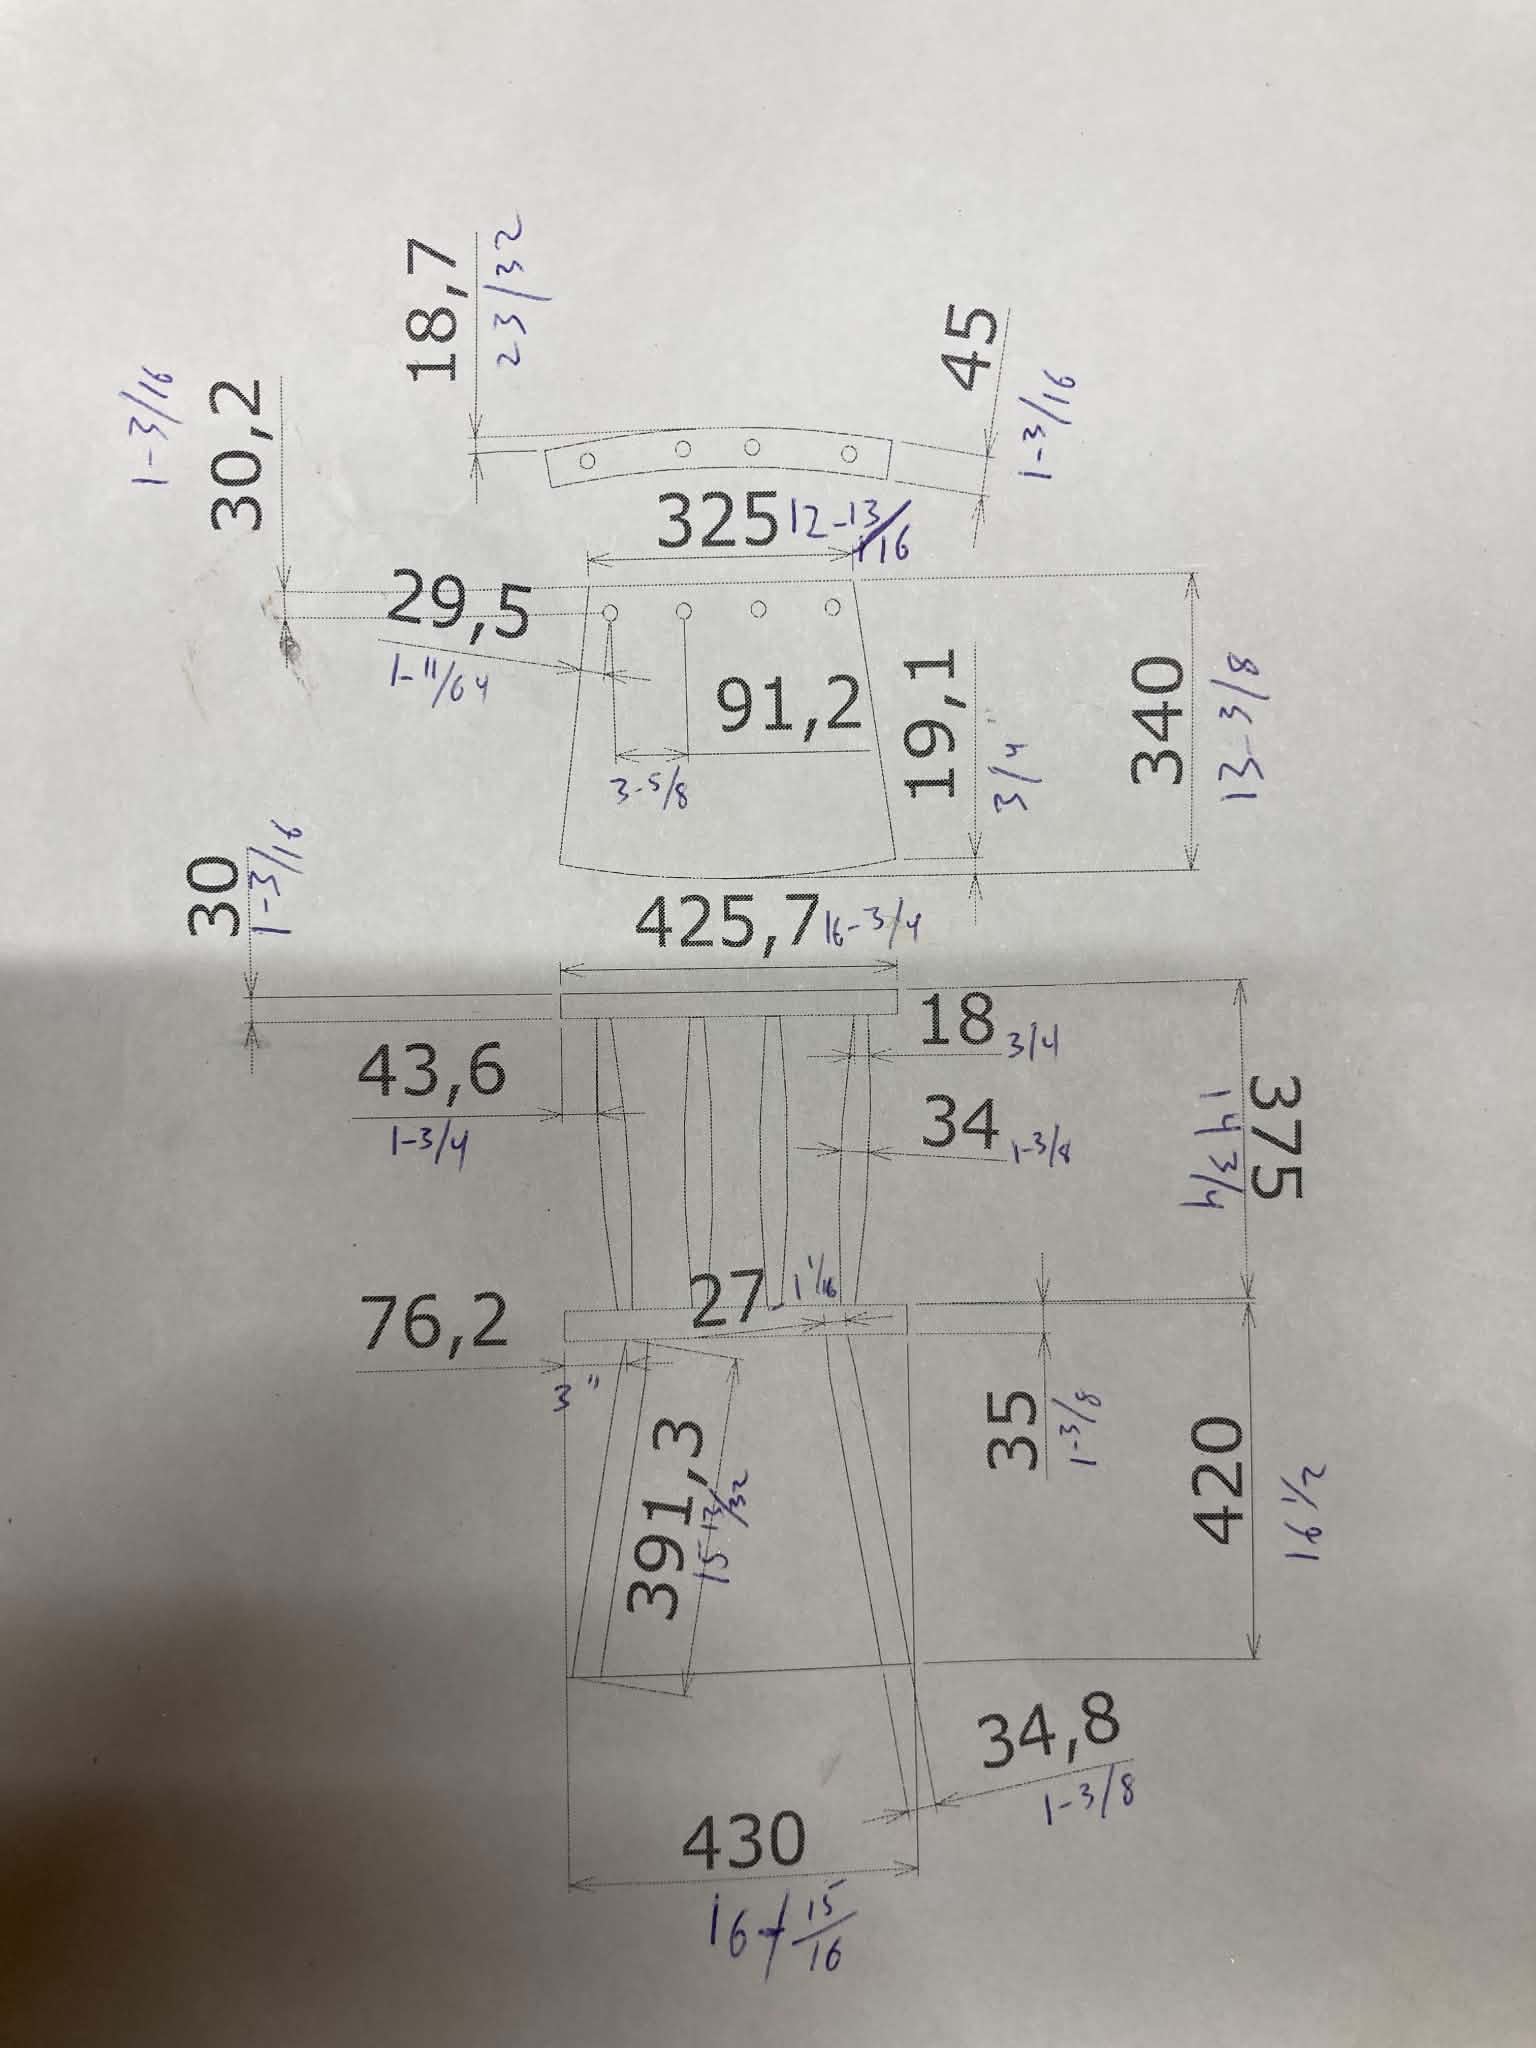
Start With Templates and the Slab
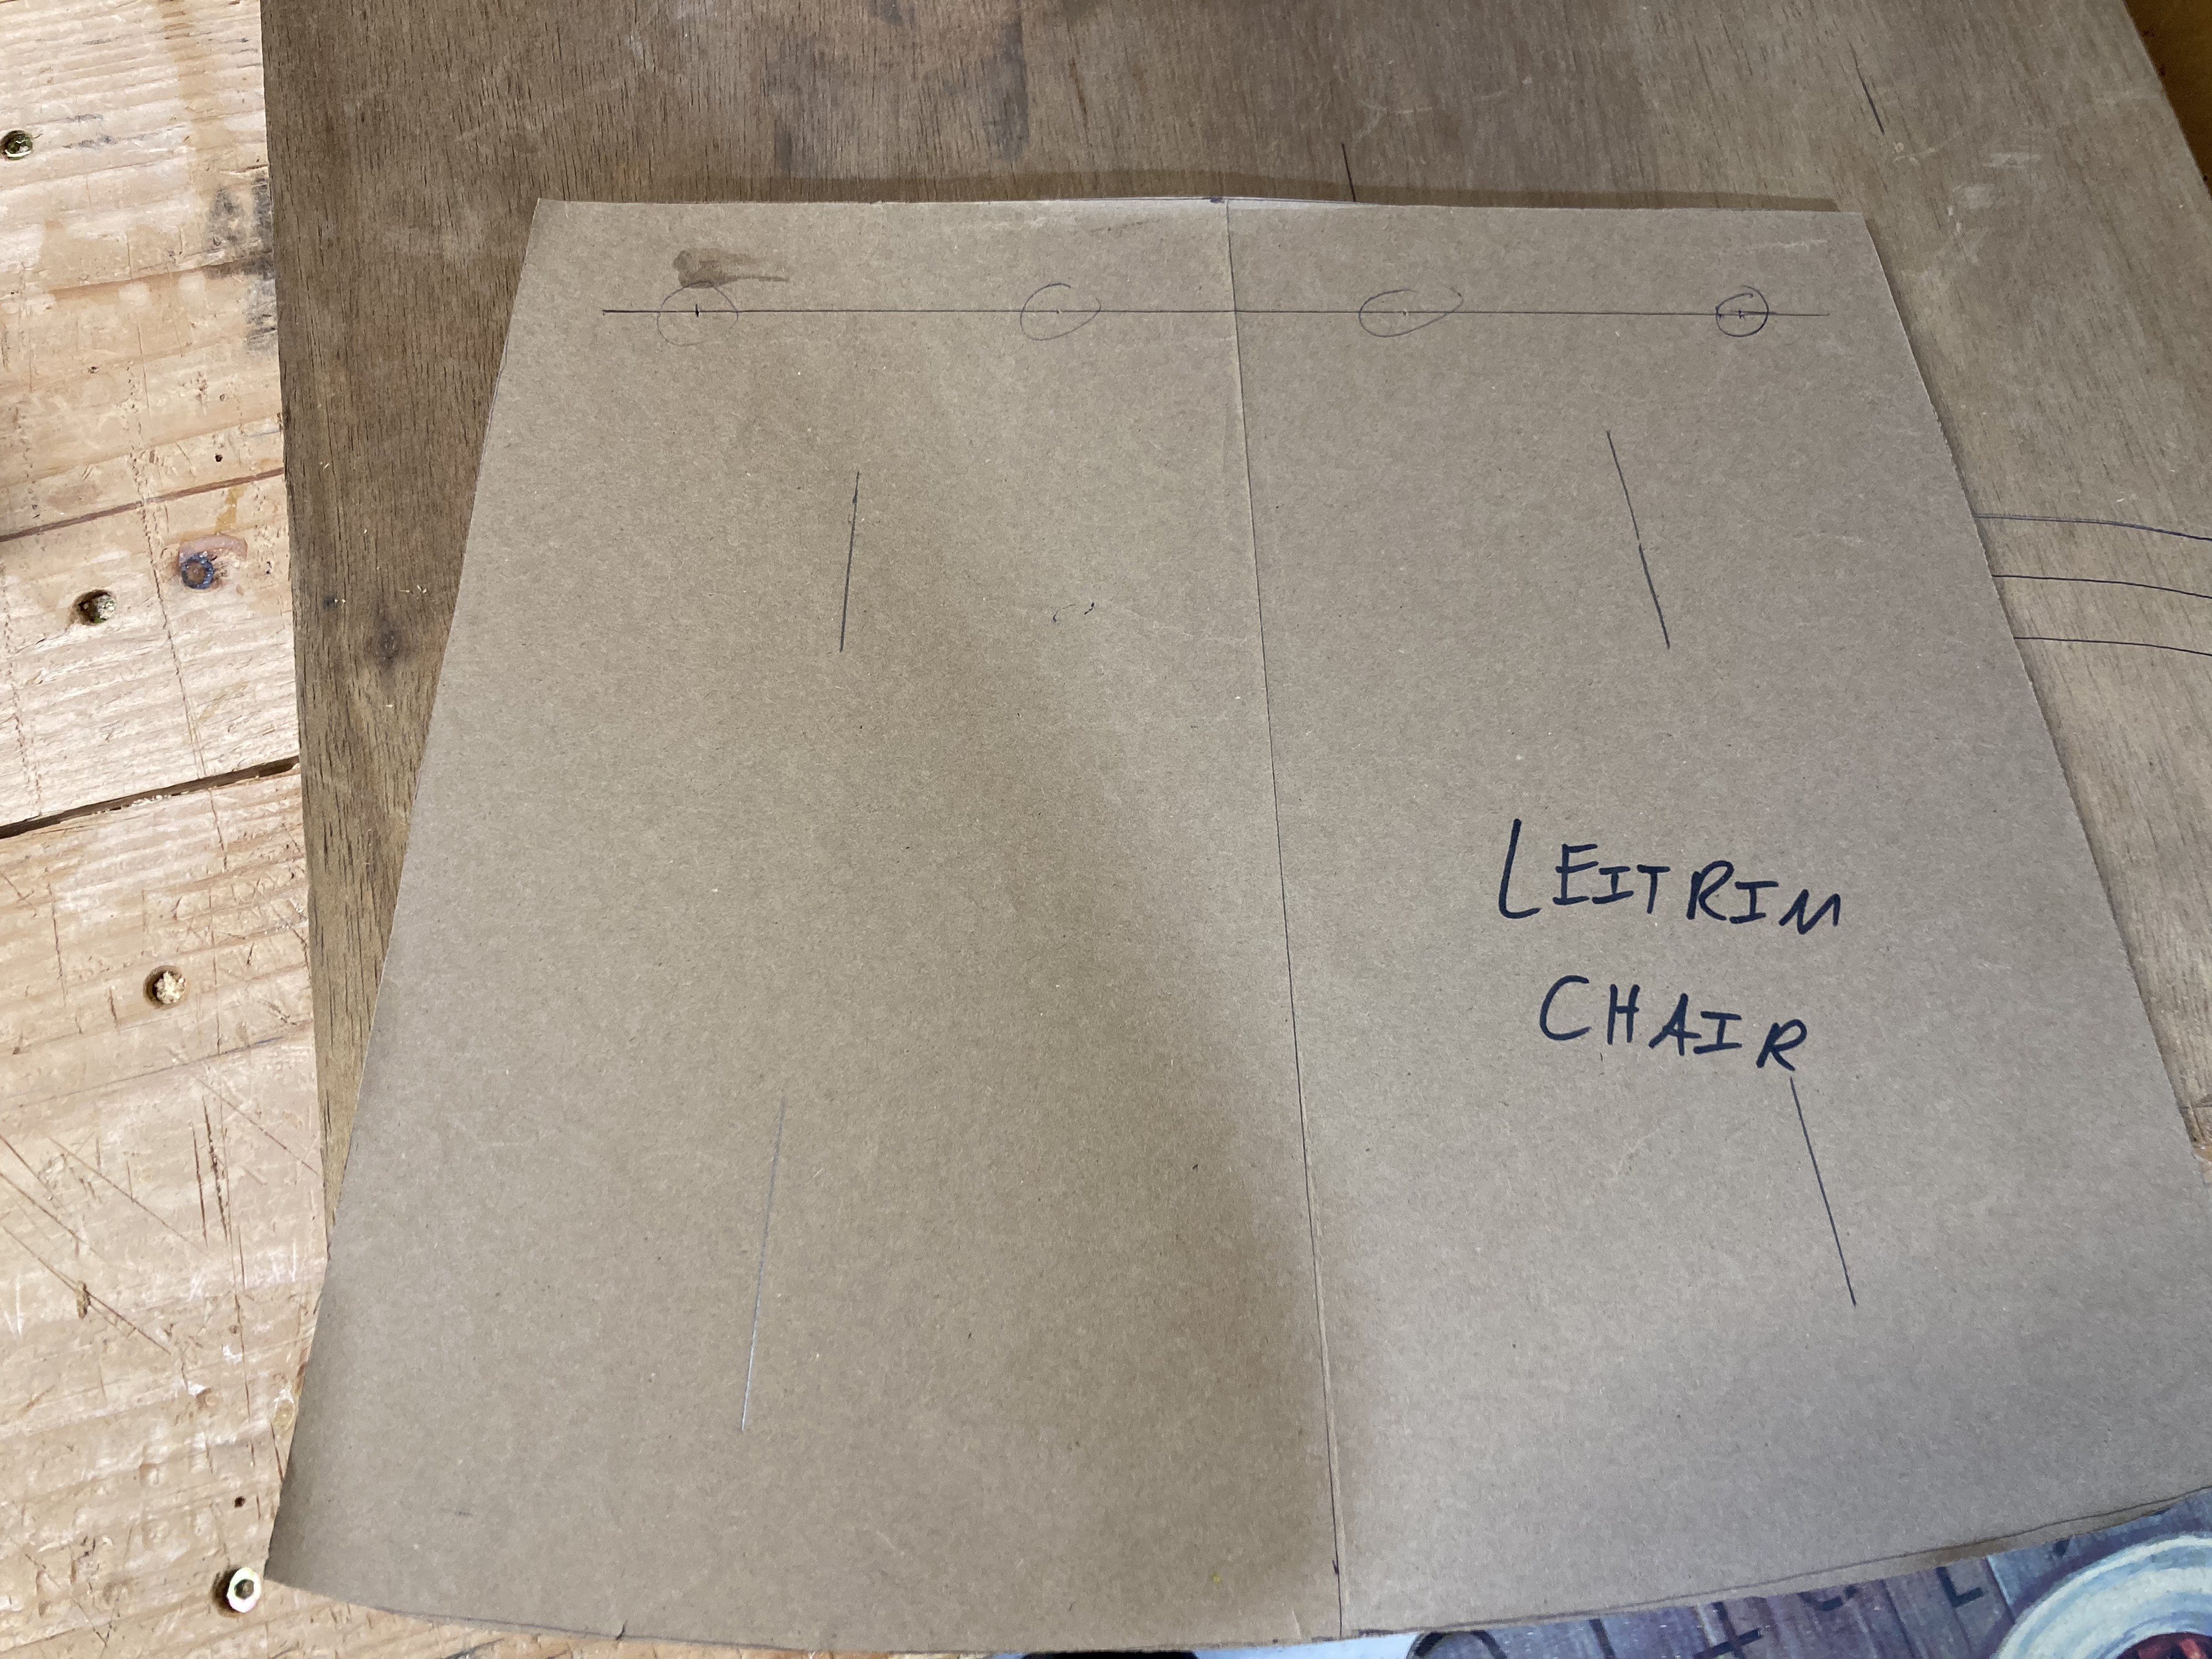
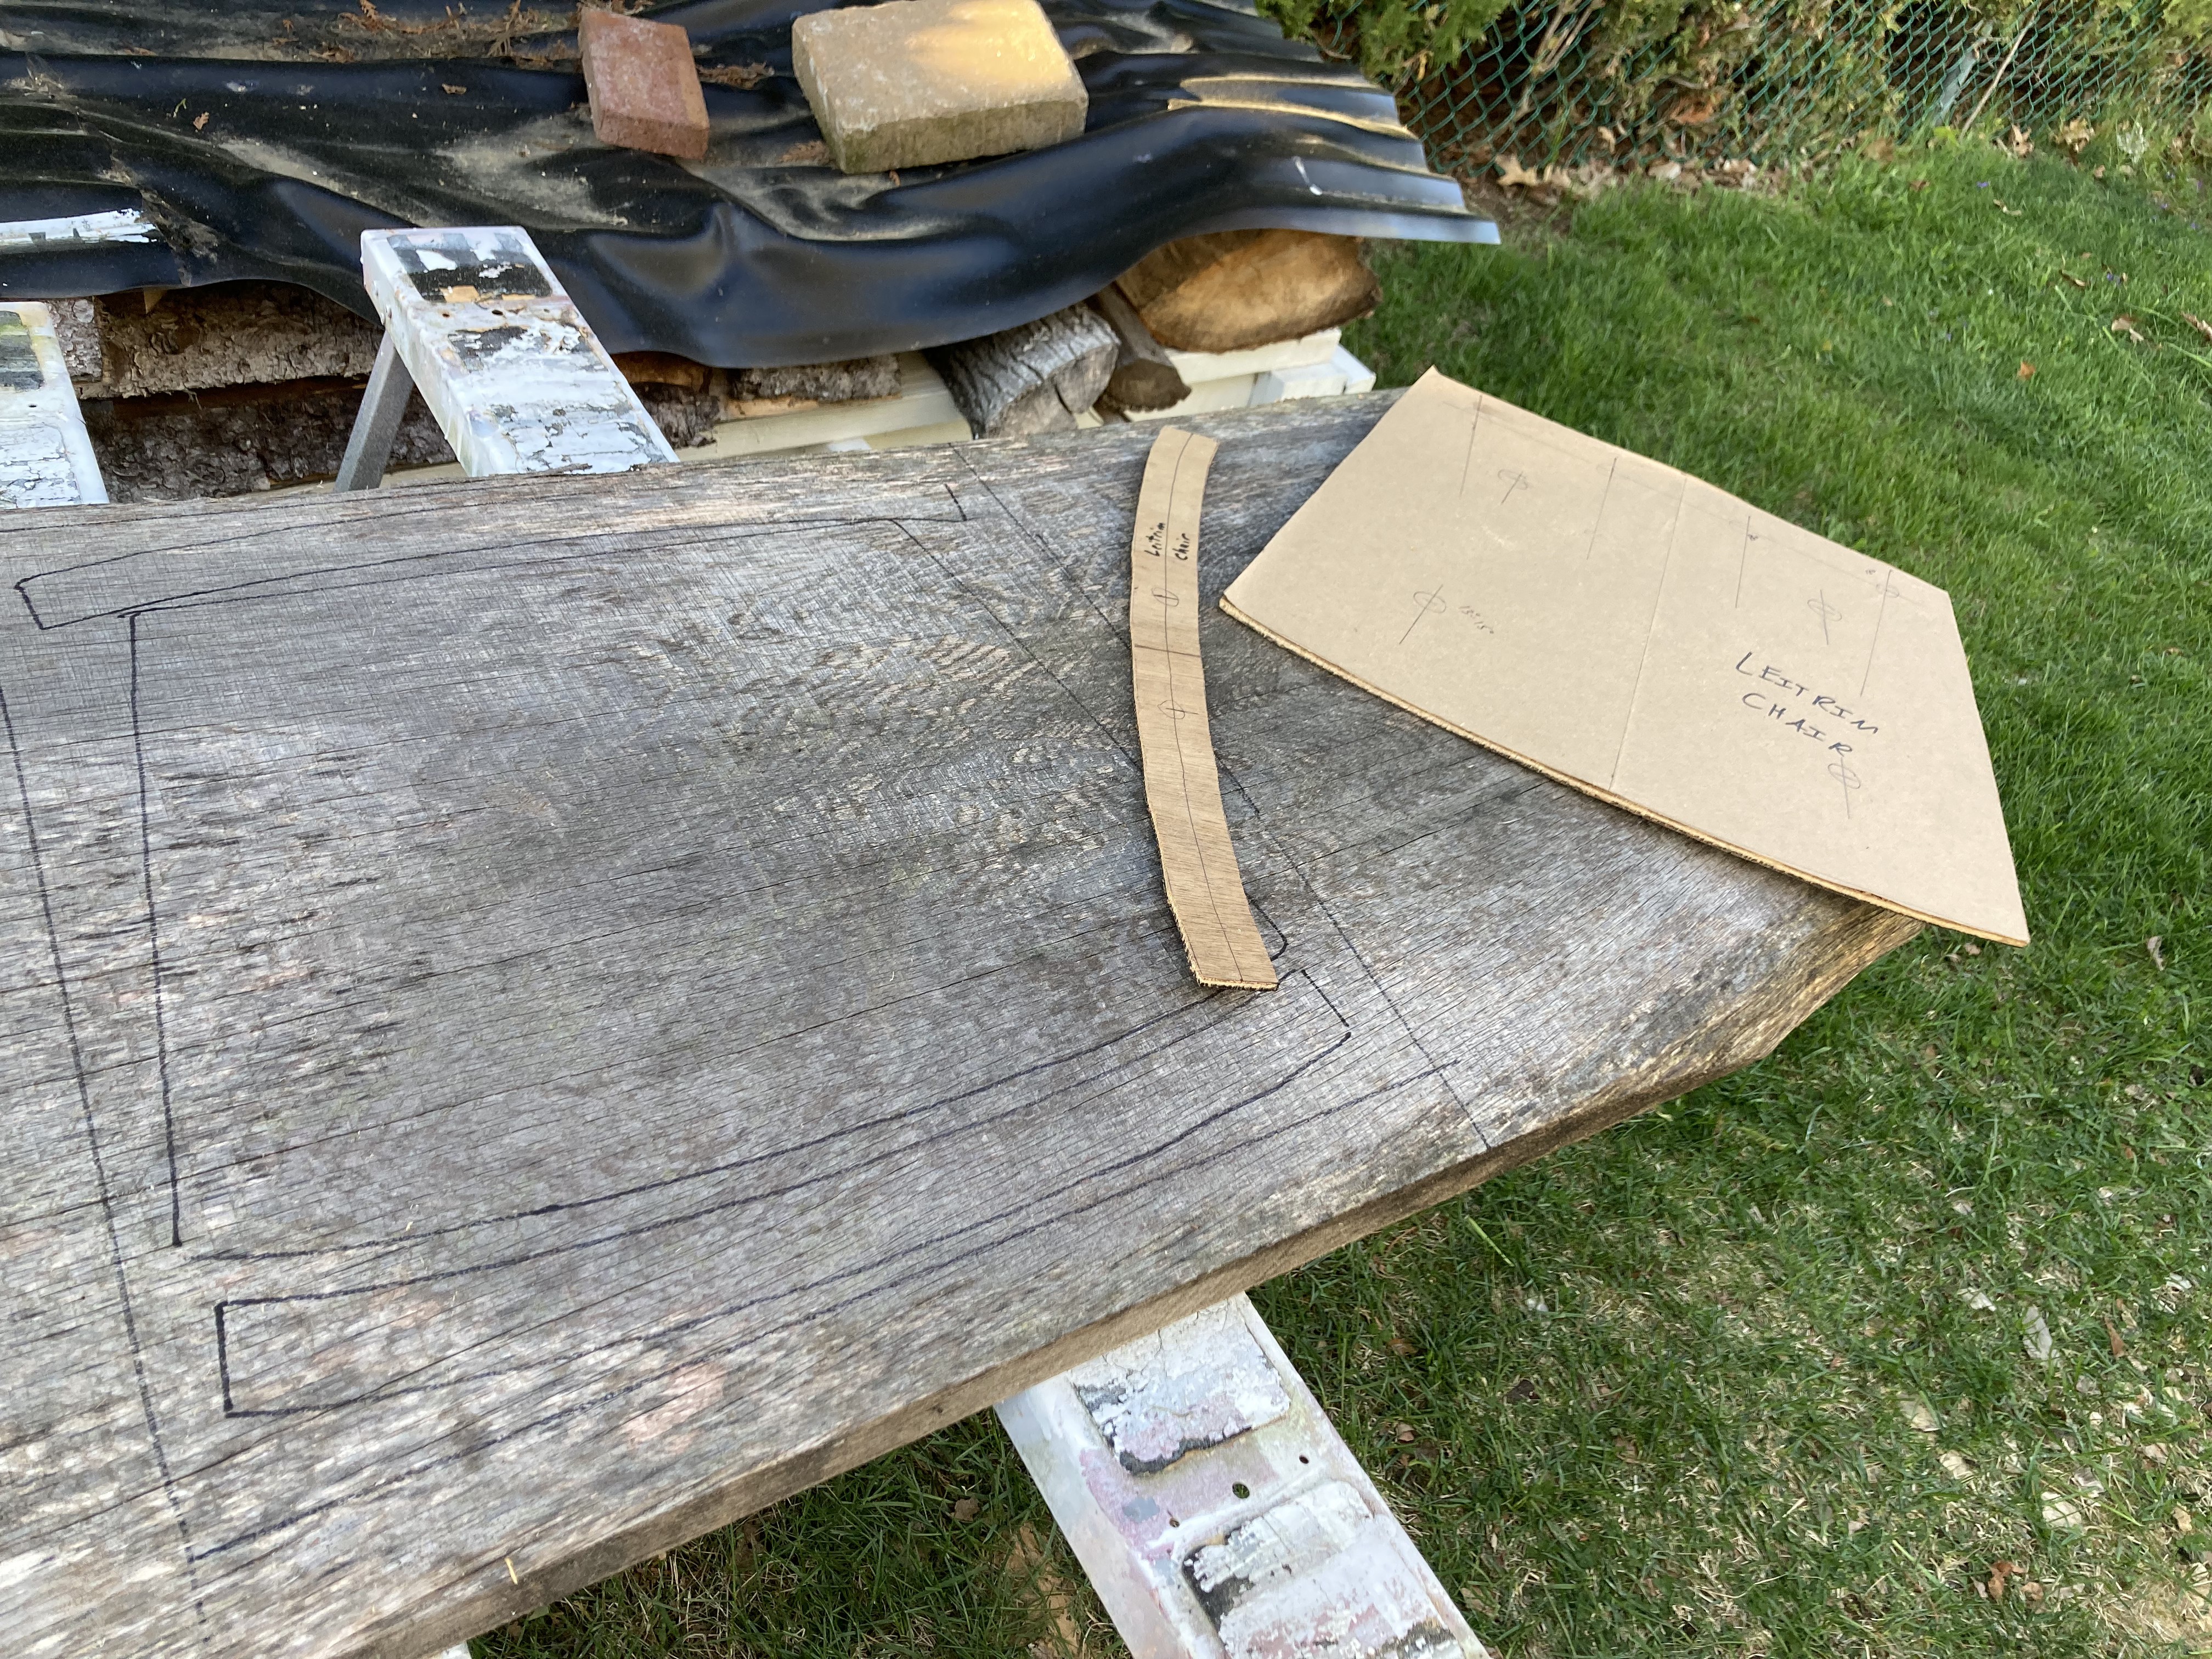
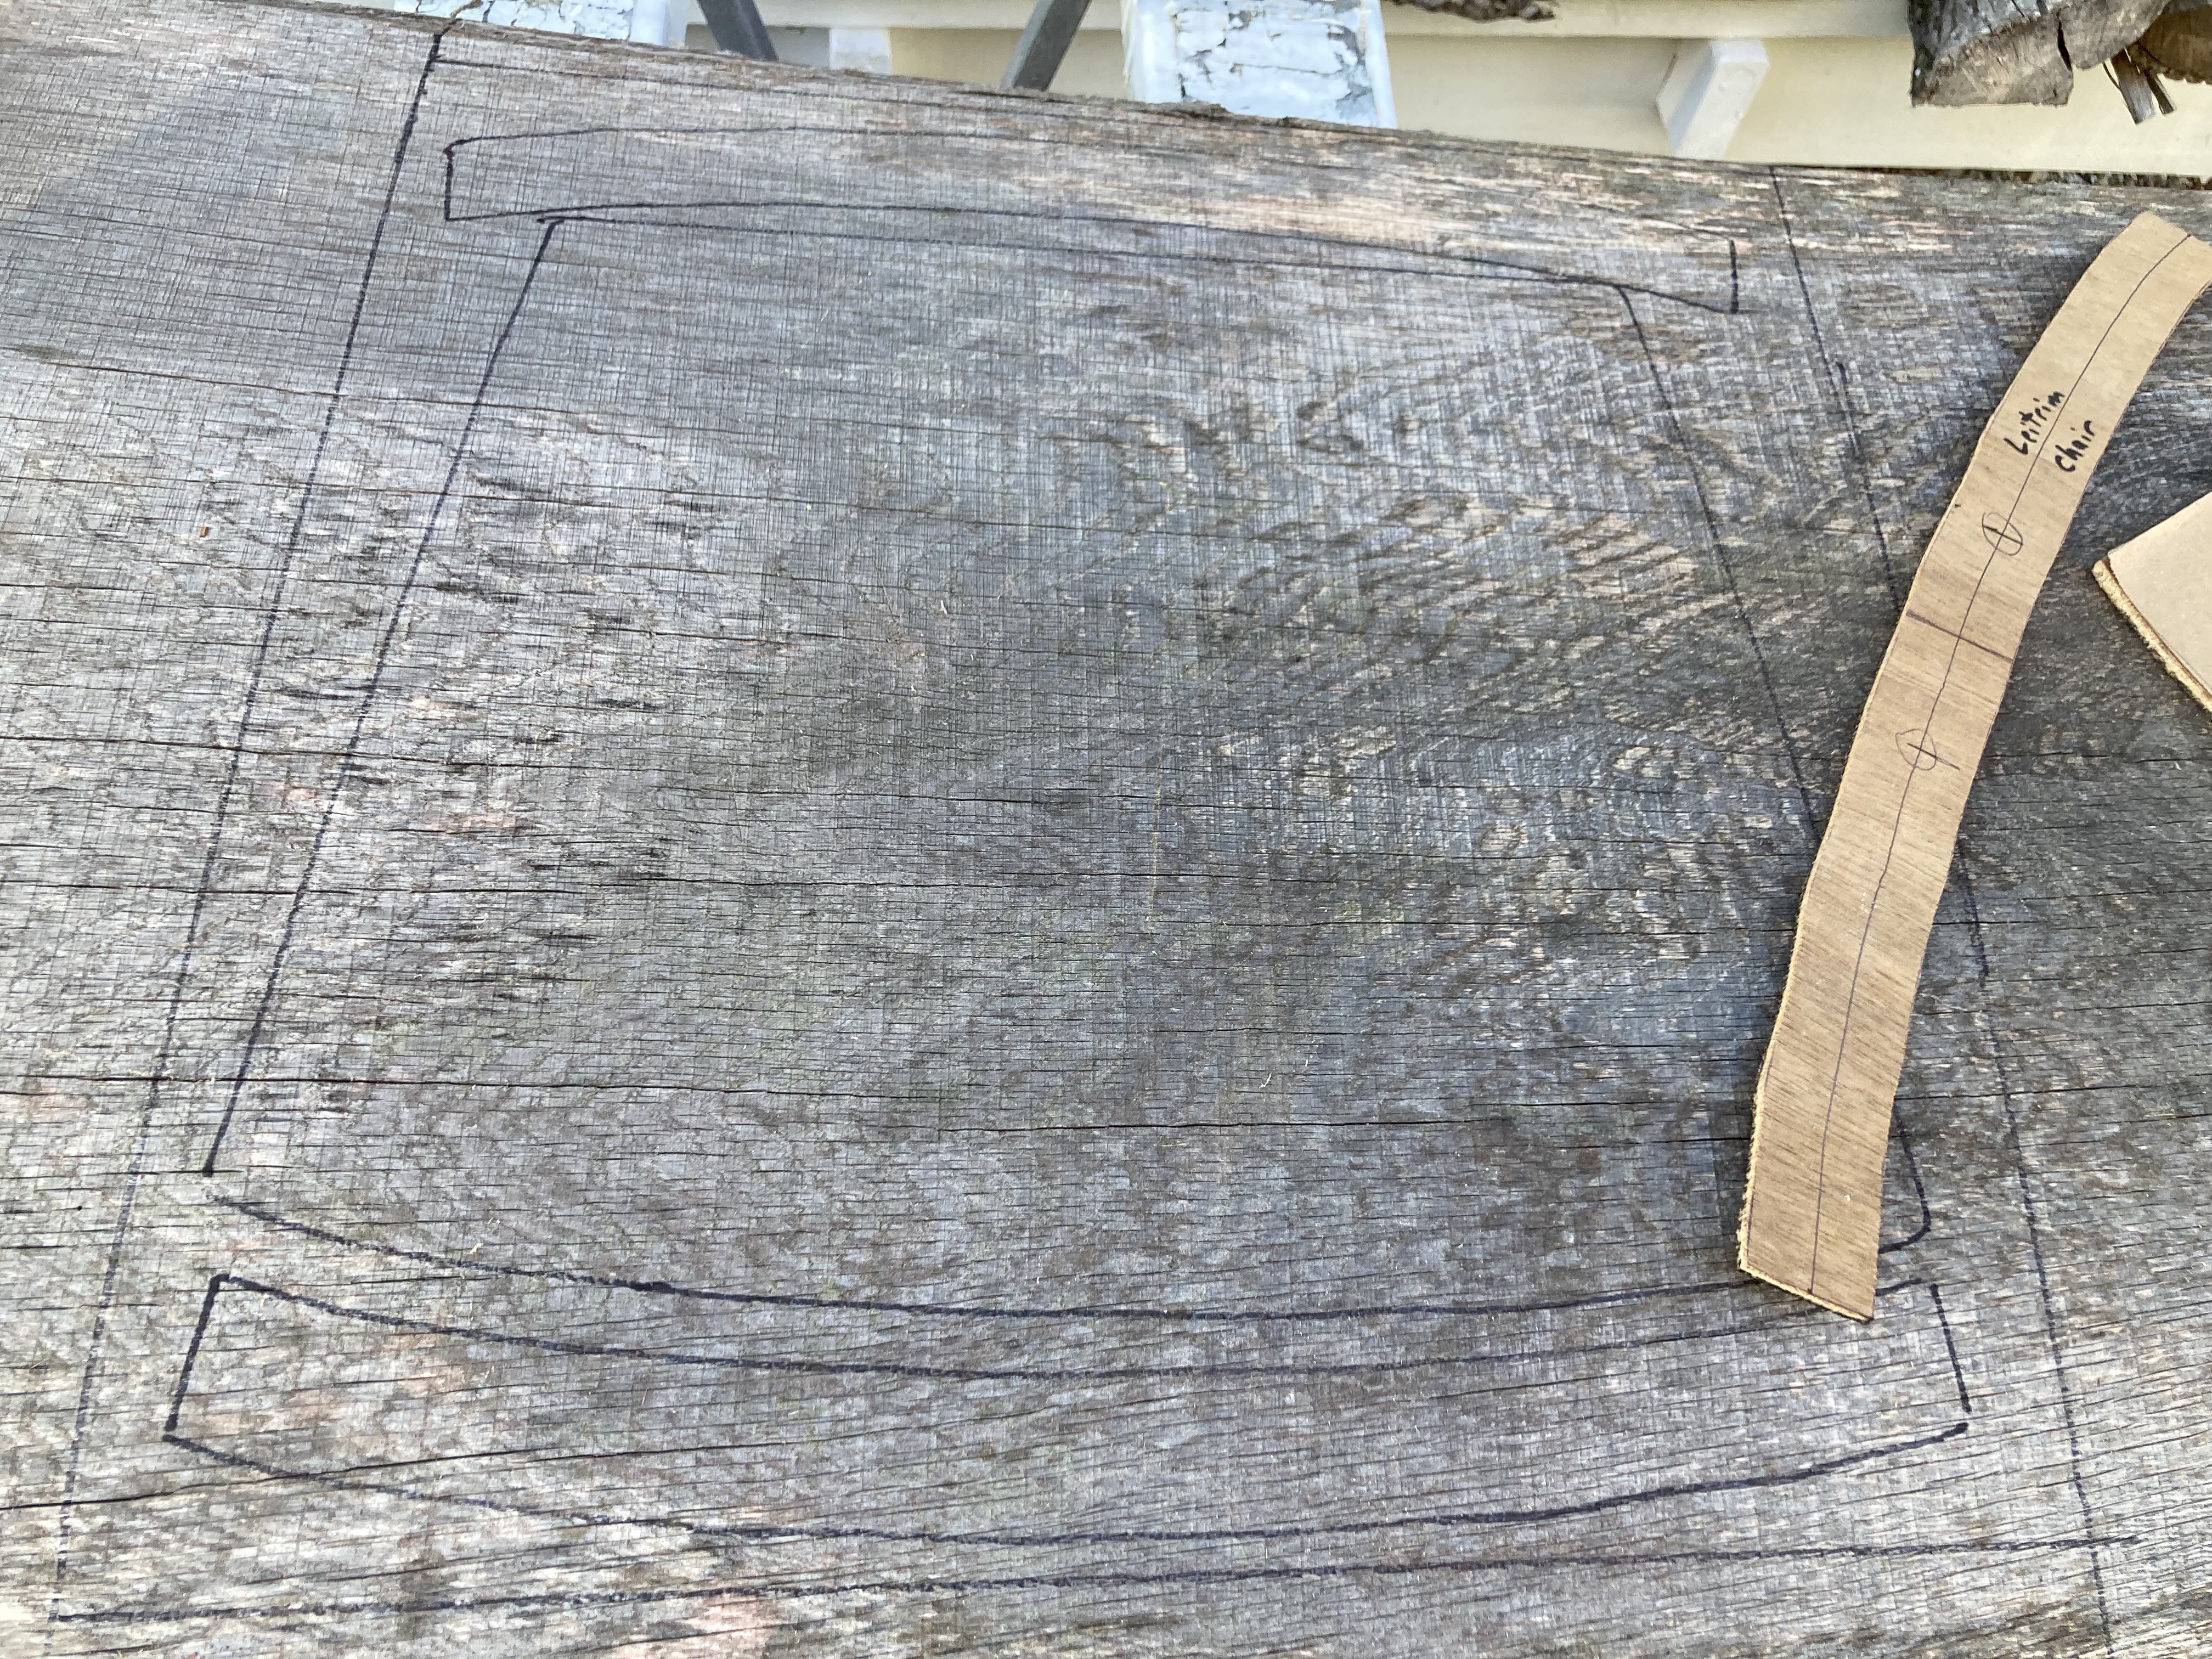
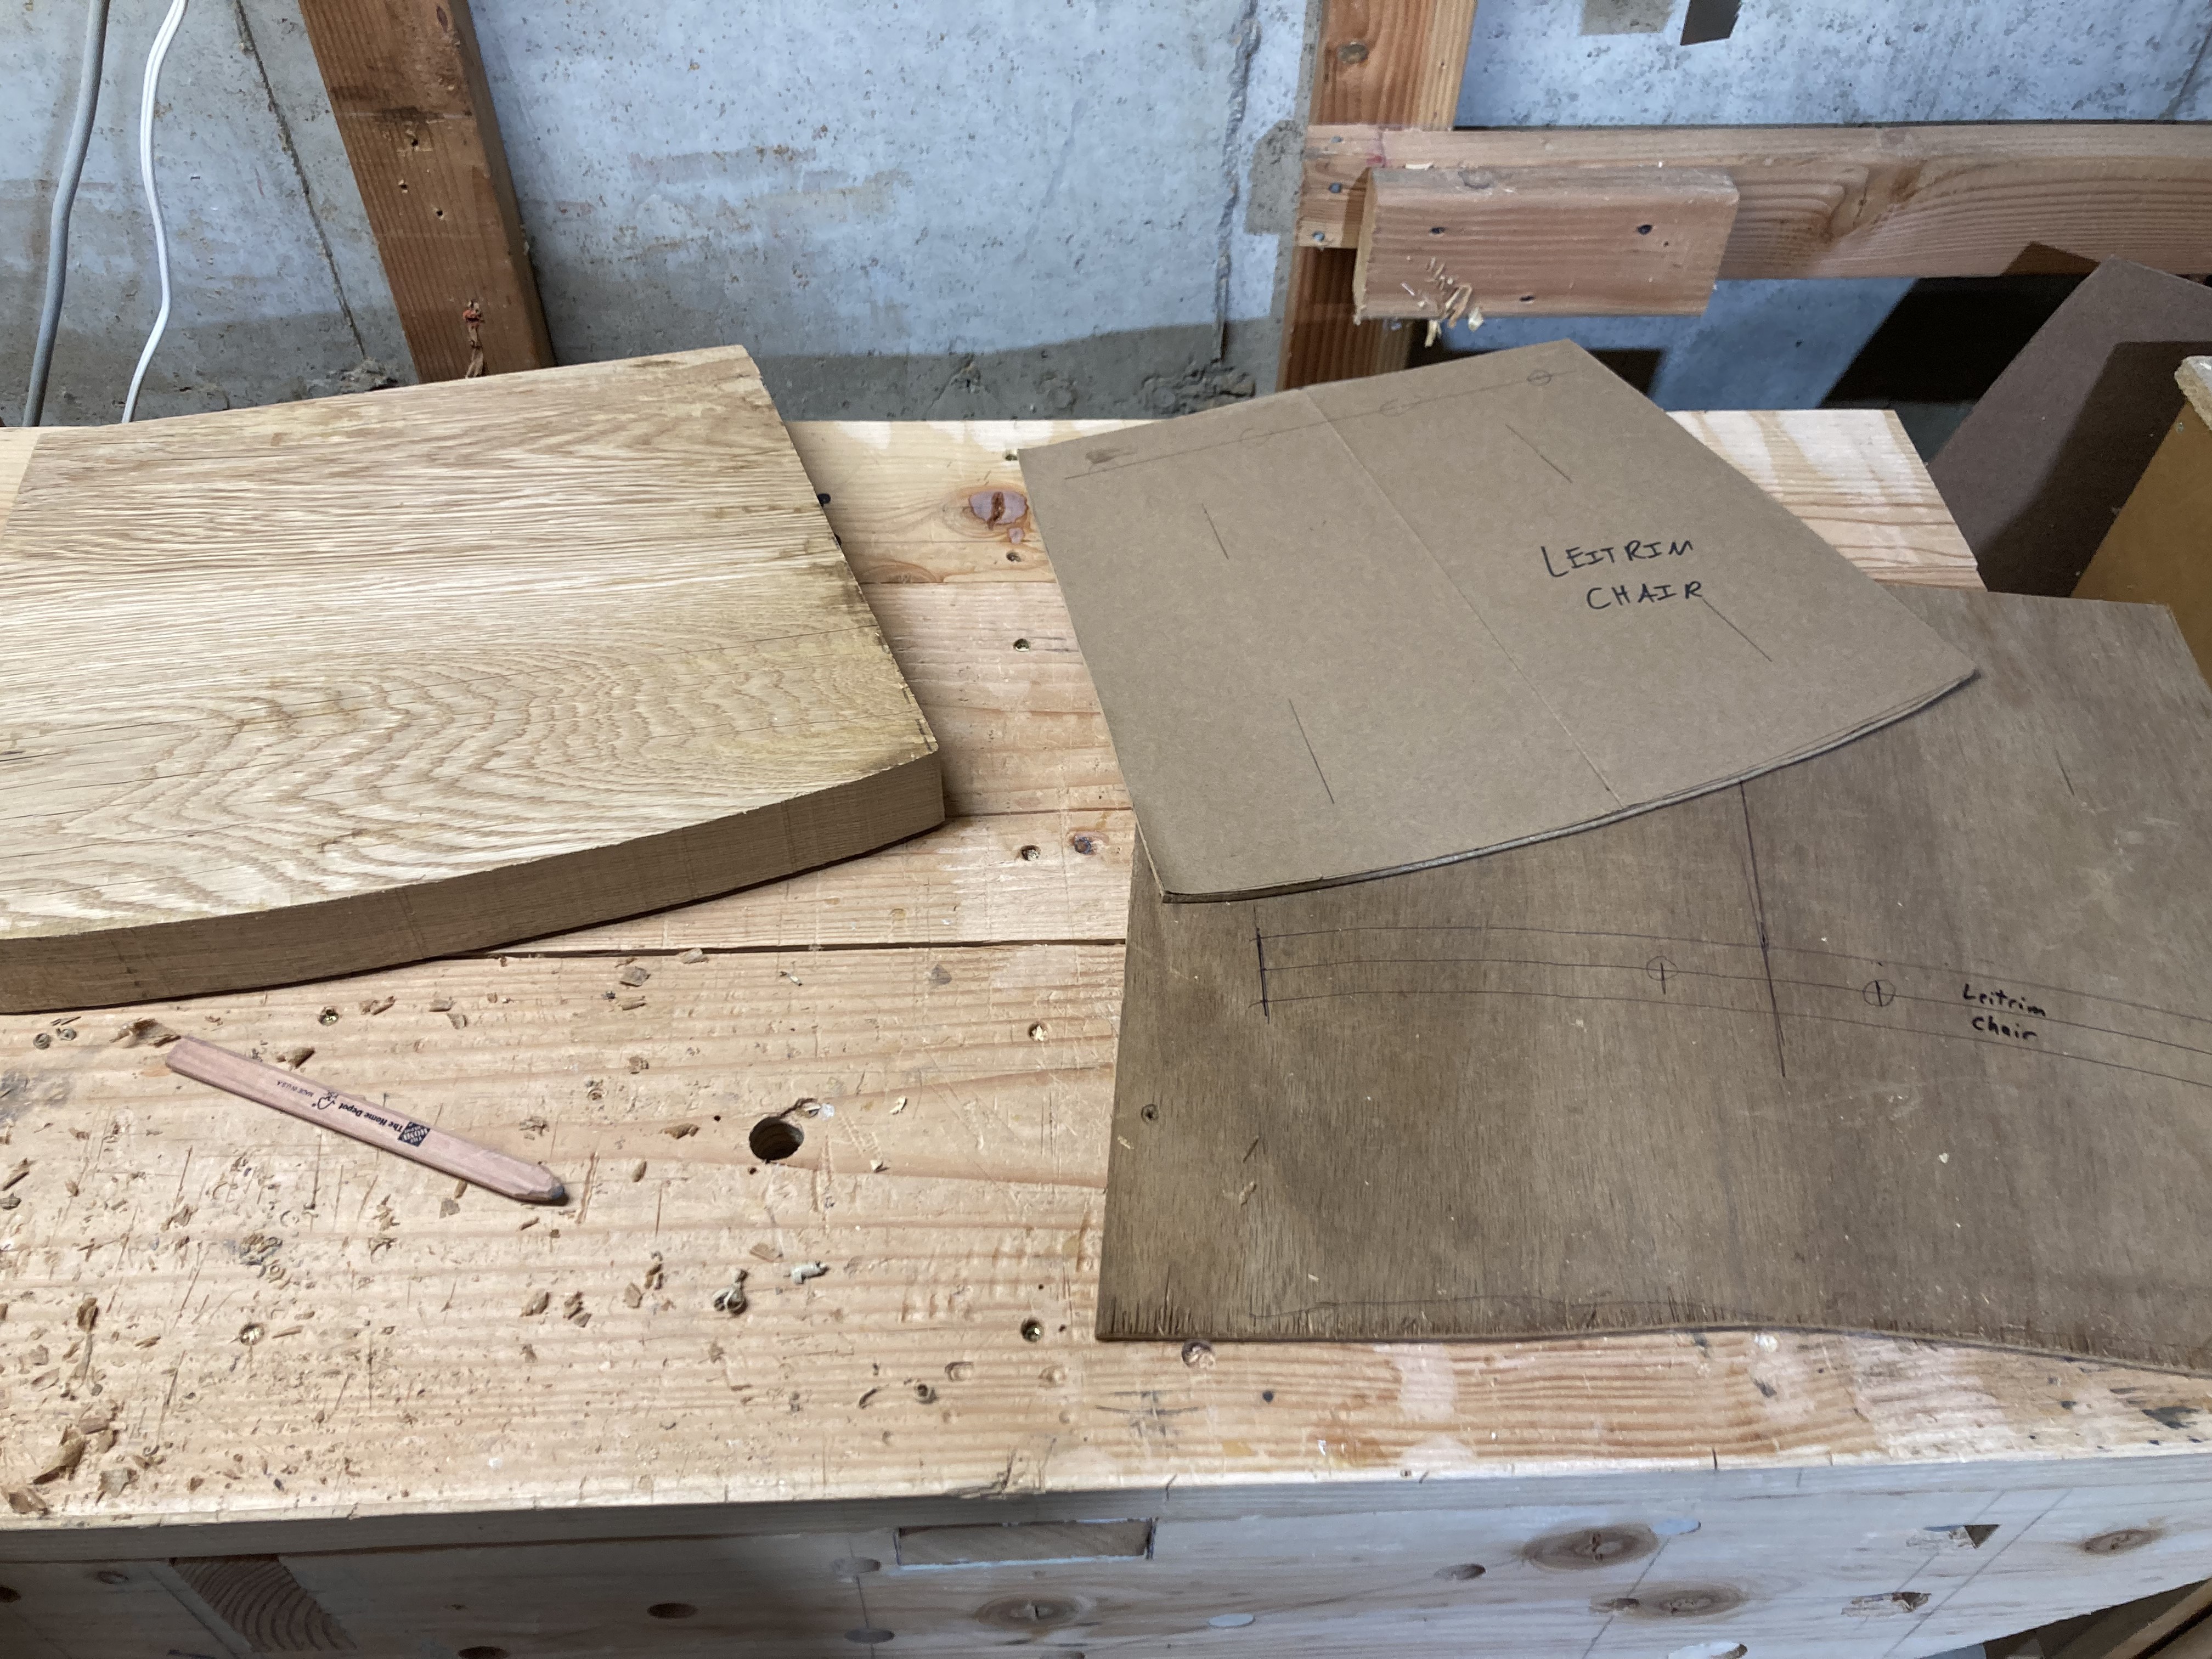
Then I planed off the rough sun-exposed surface and cut the seat to shape on the bandsaw. I followed this up with some cleanup in the leg vise. As you can see, the surface is much lighter than when I began, but it's still a pretty rough surface. That will need a lot of smoothing late before assembly.
Shaping the Legs
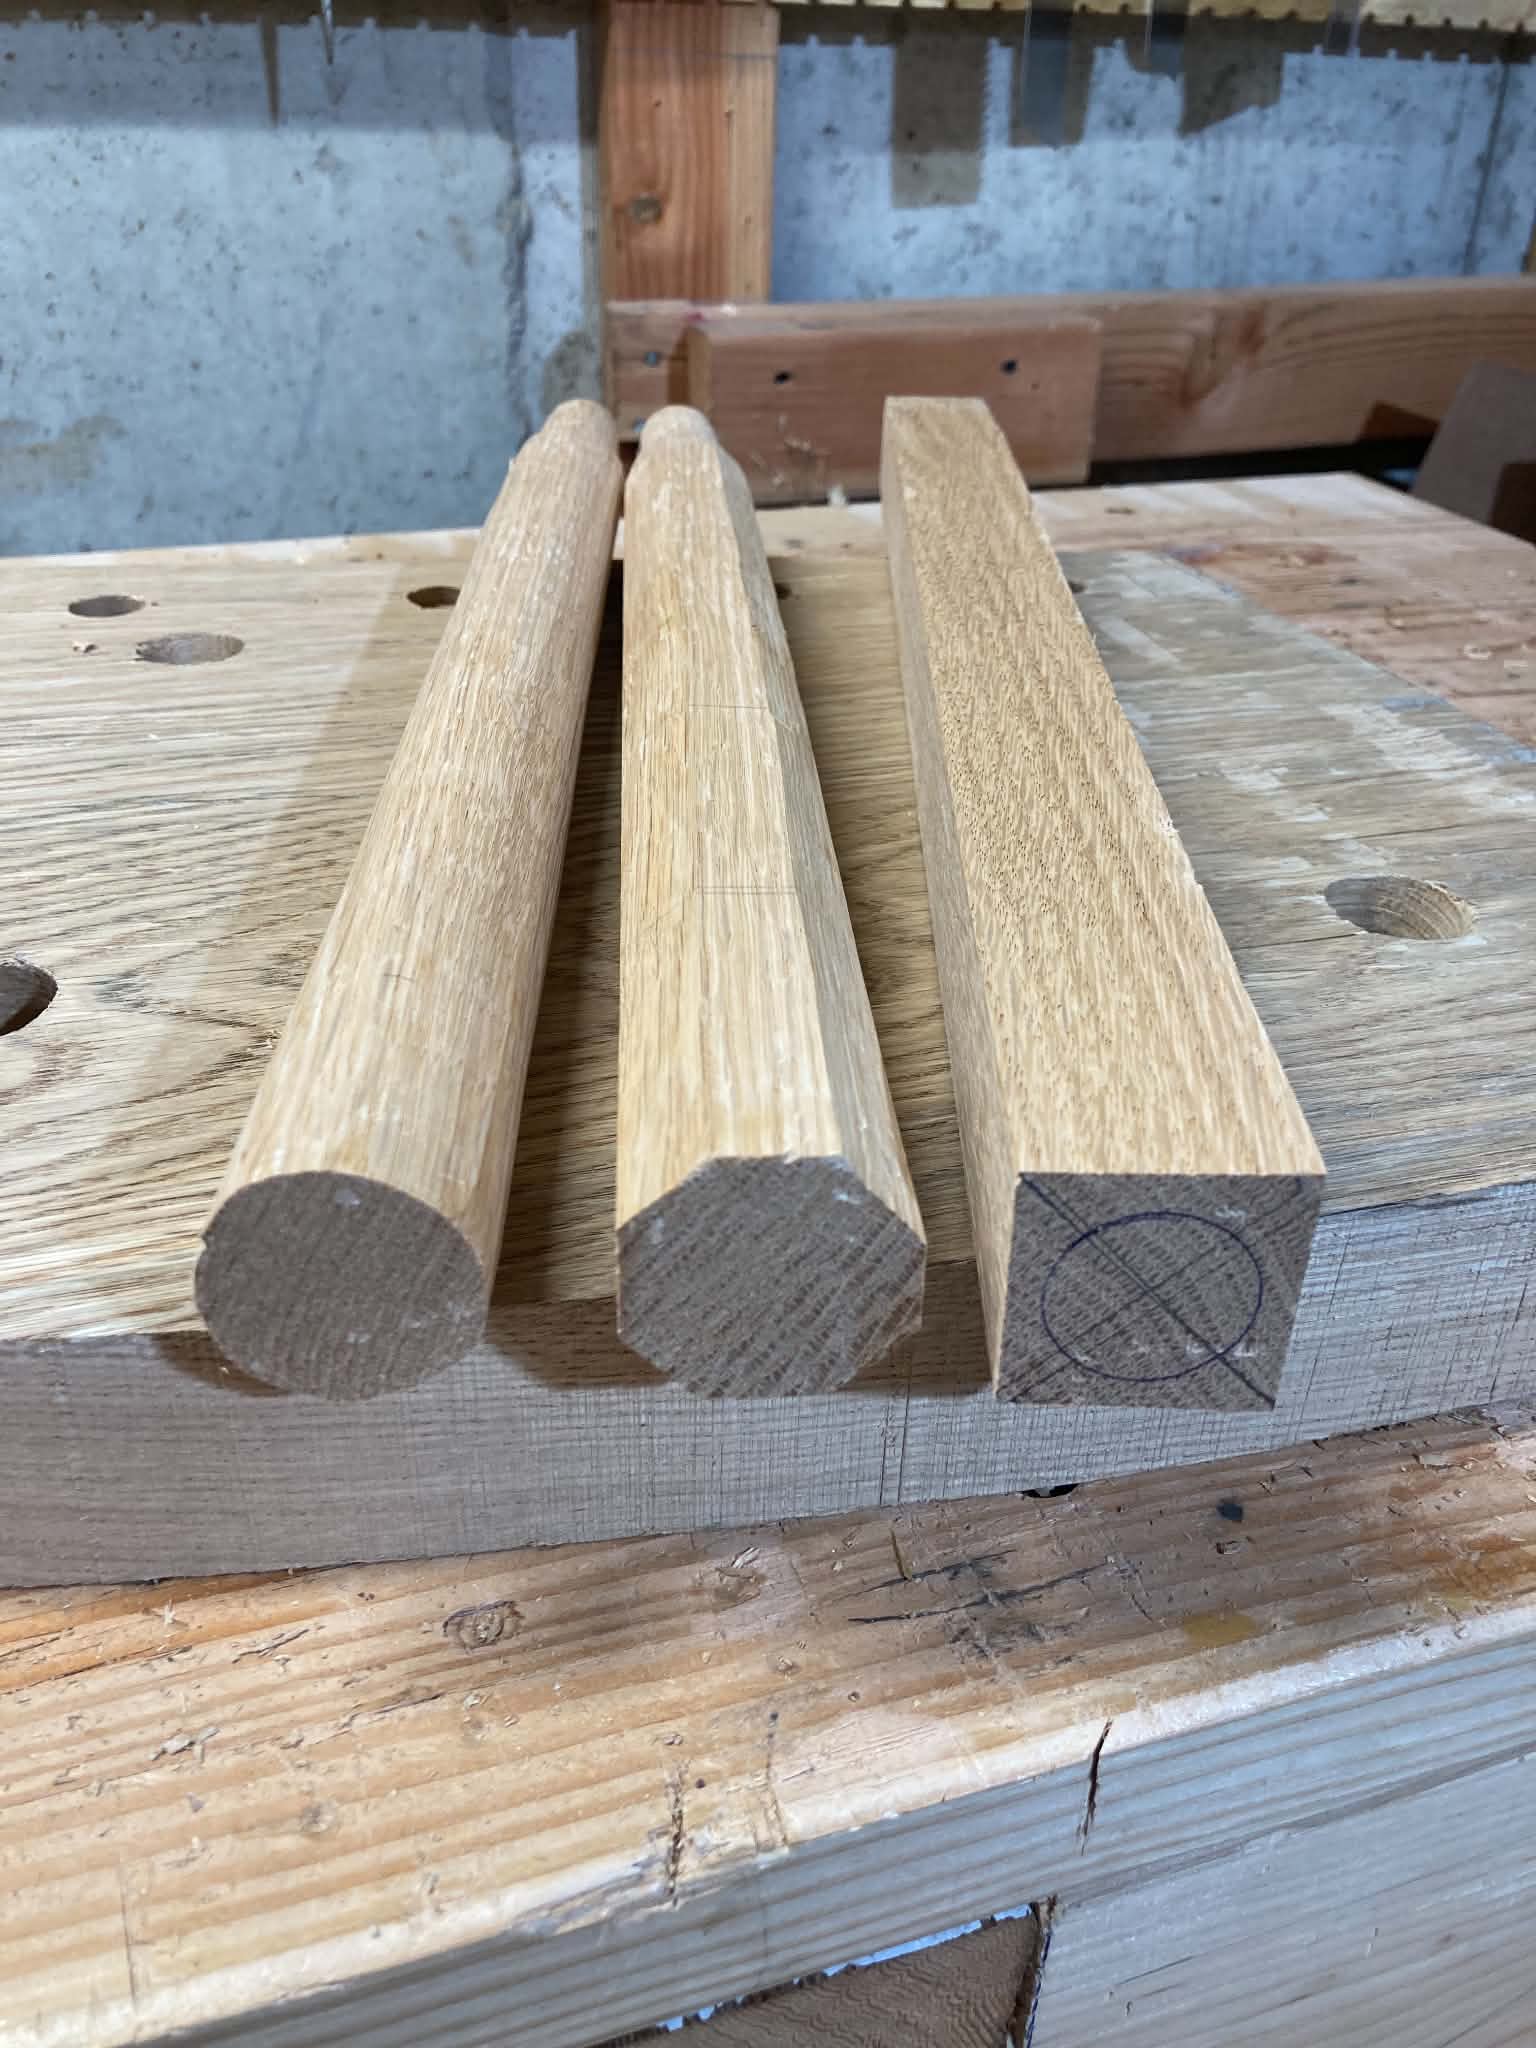
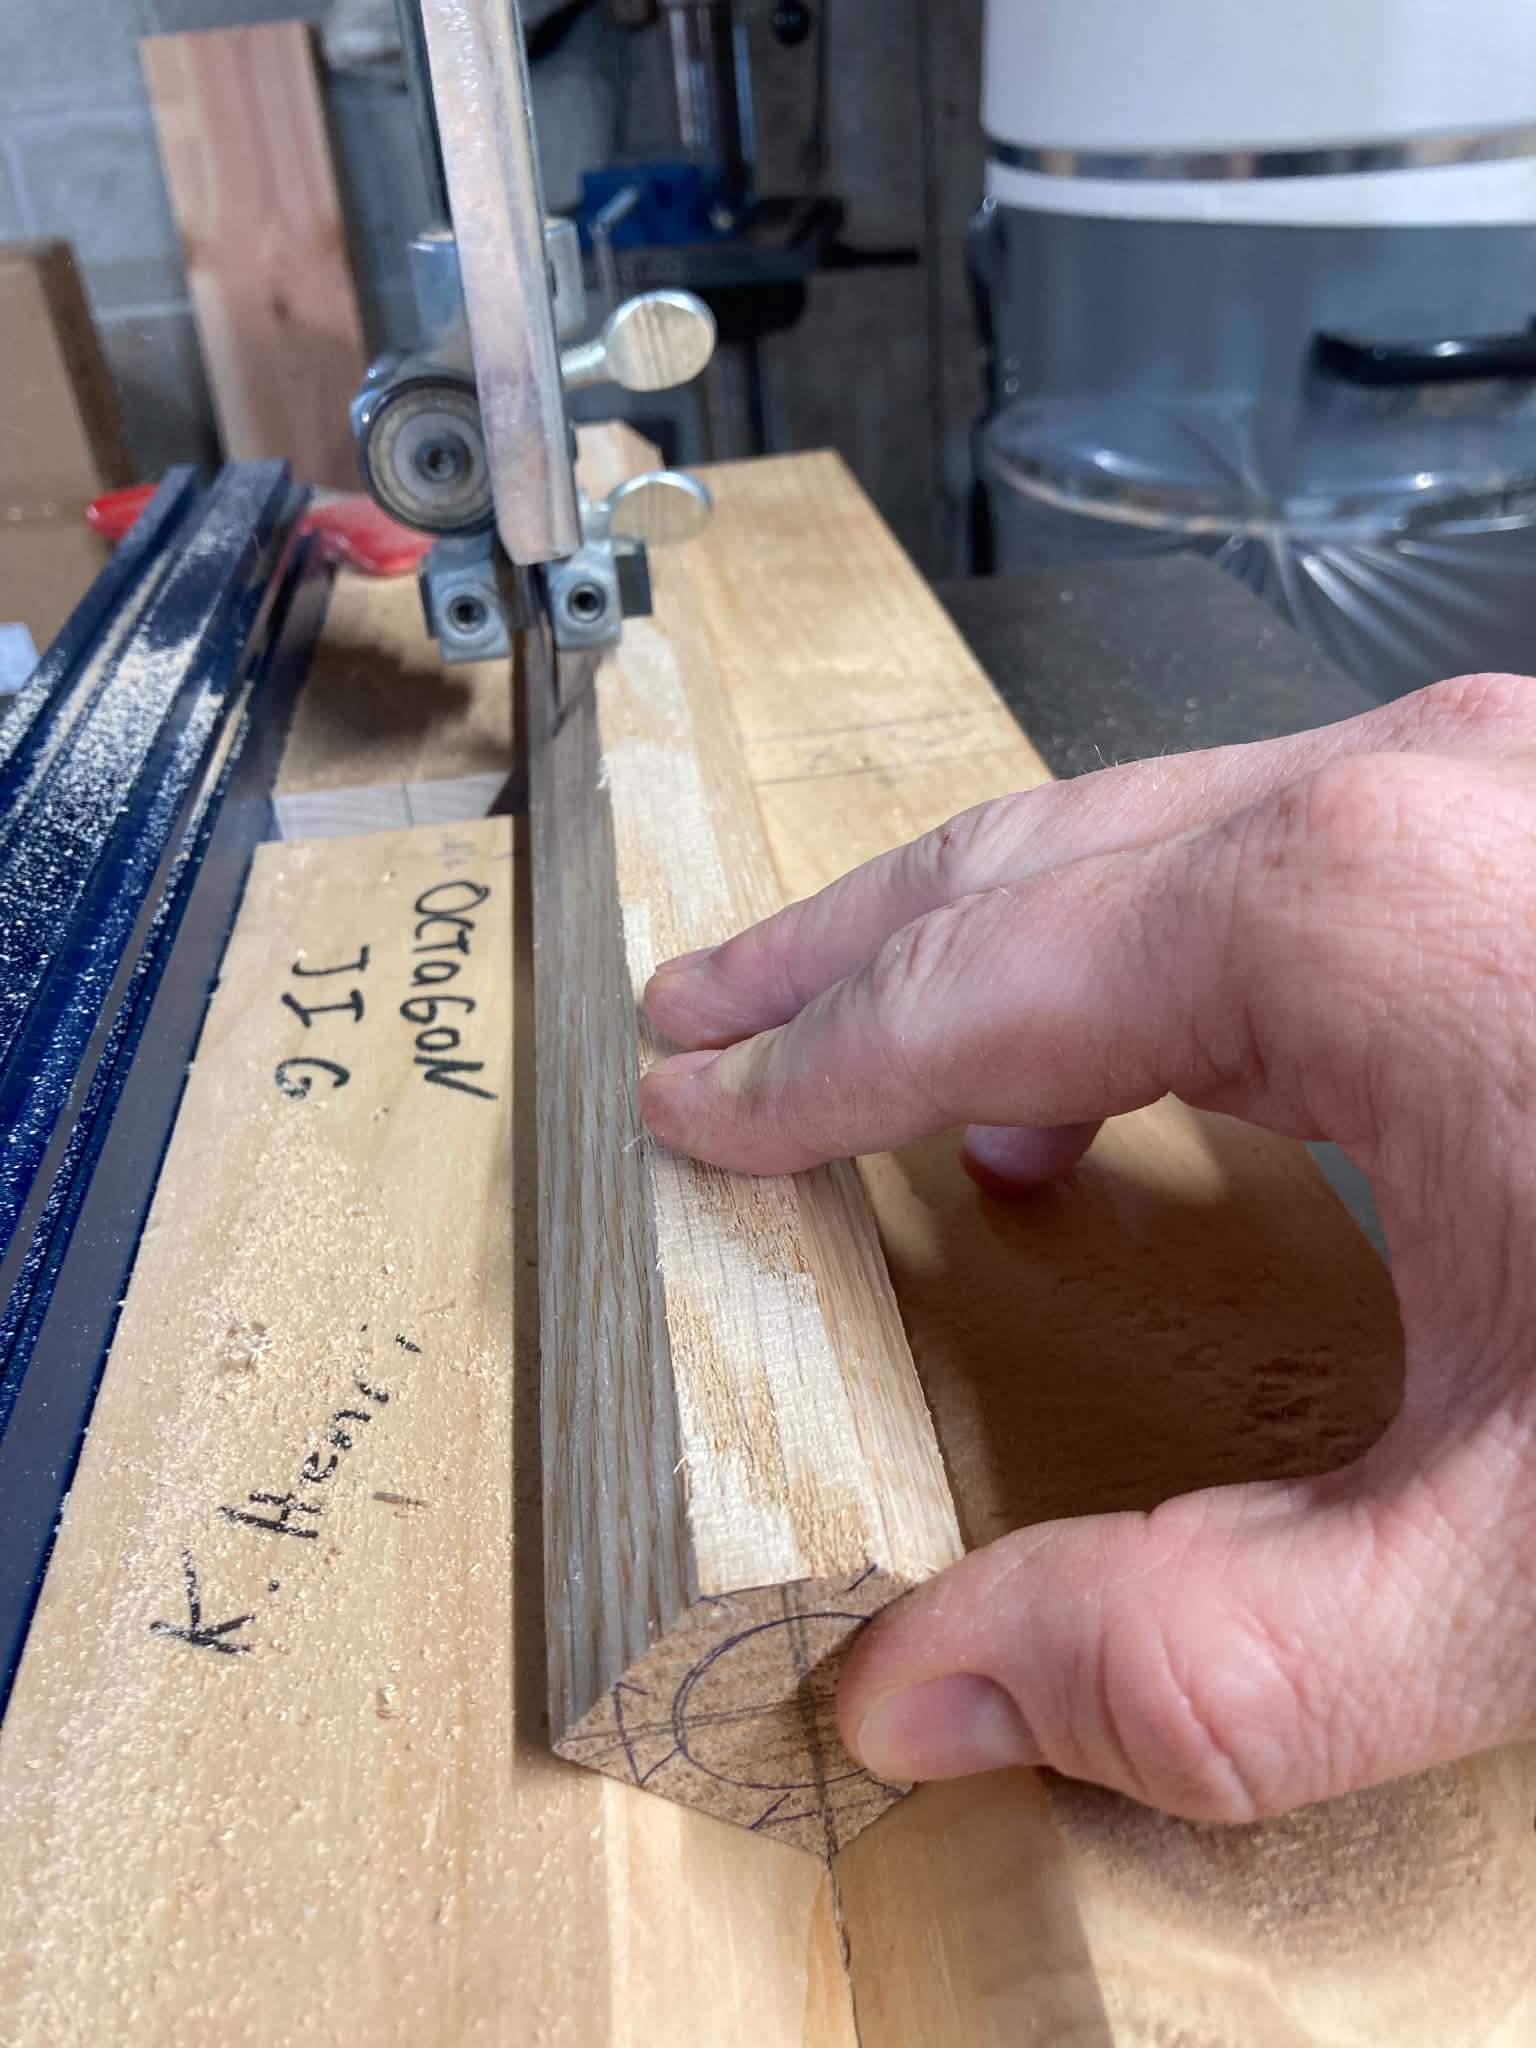
The goal here is to take the legs from square to round. First, you draw some lines to divide each side into 3rds and spans the length of the stick. You do this on each face of the stick, and then remove each of the four corners down to those lines. This turns it into an octagon.
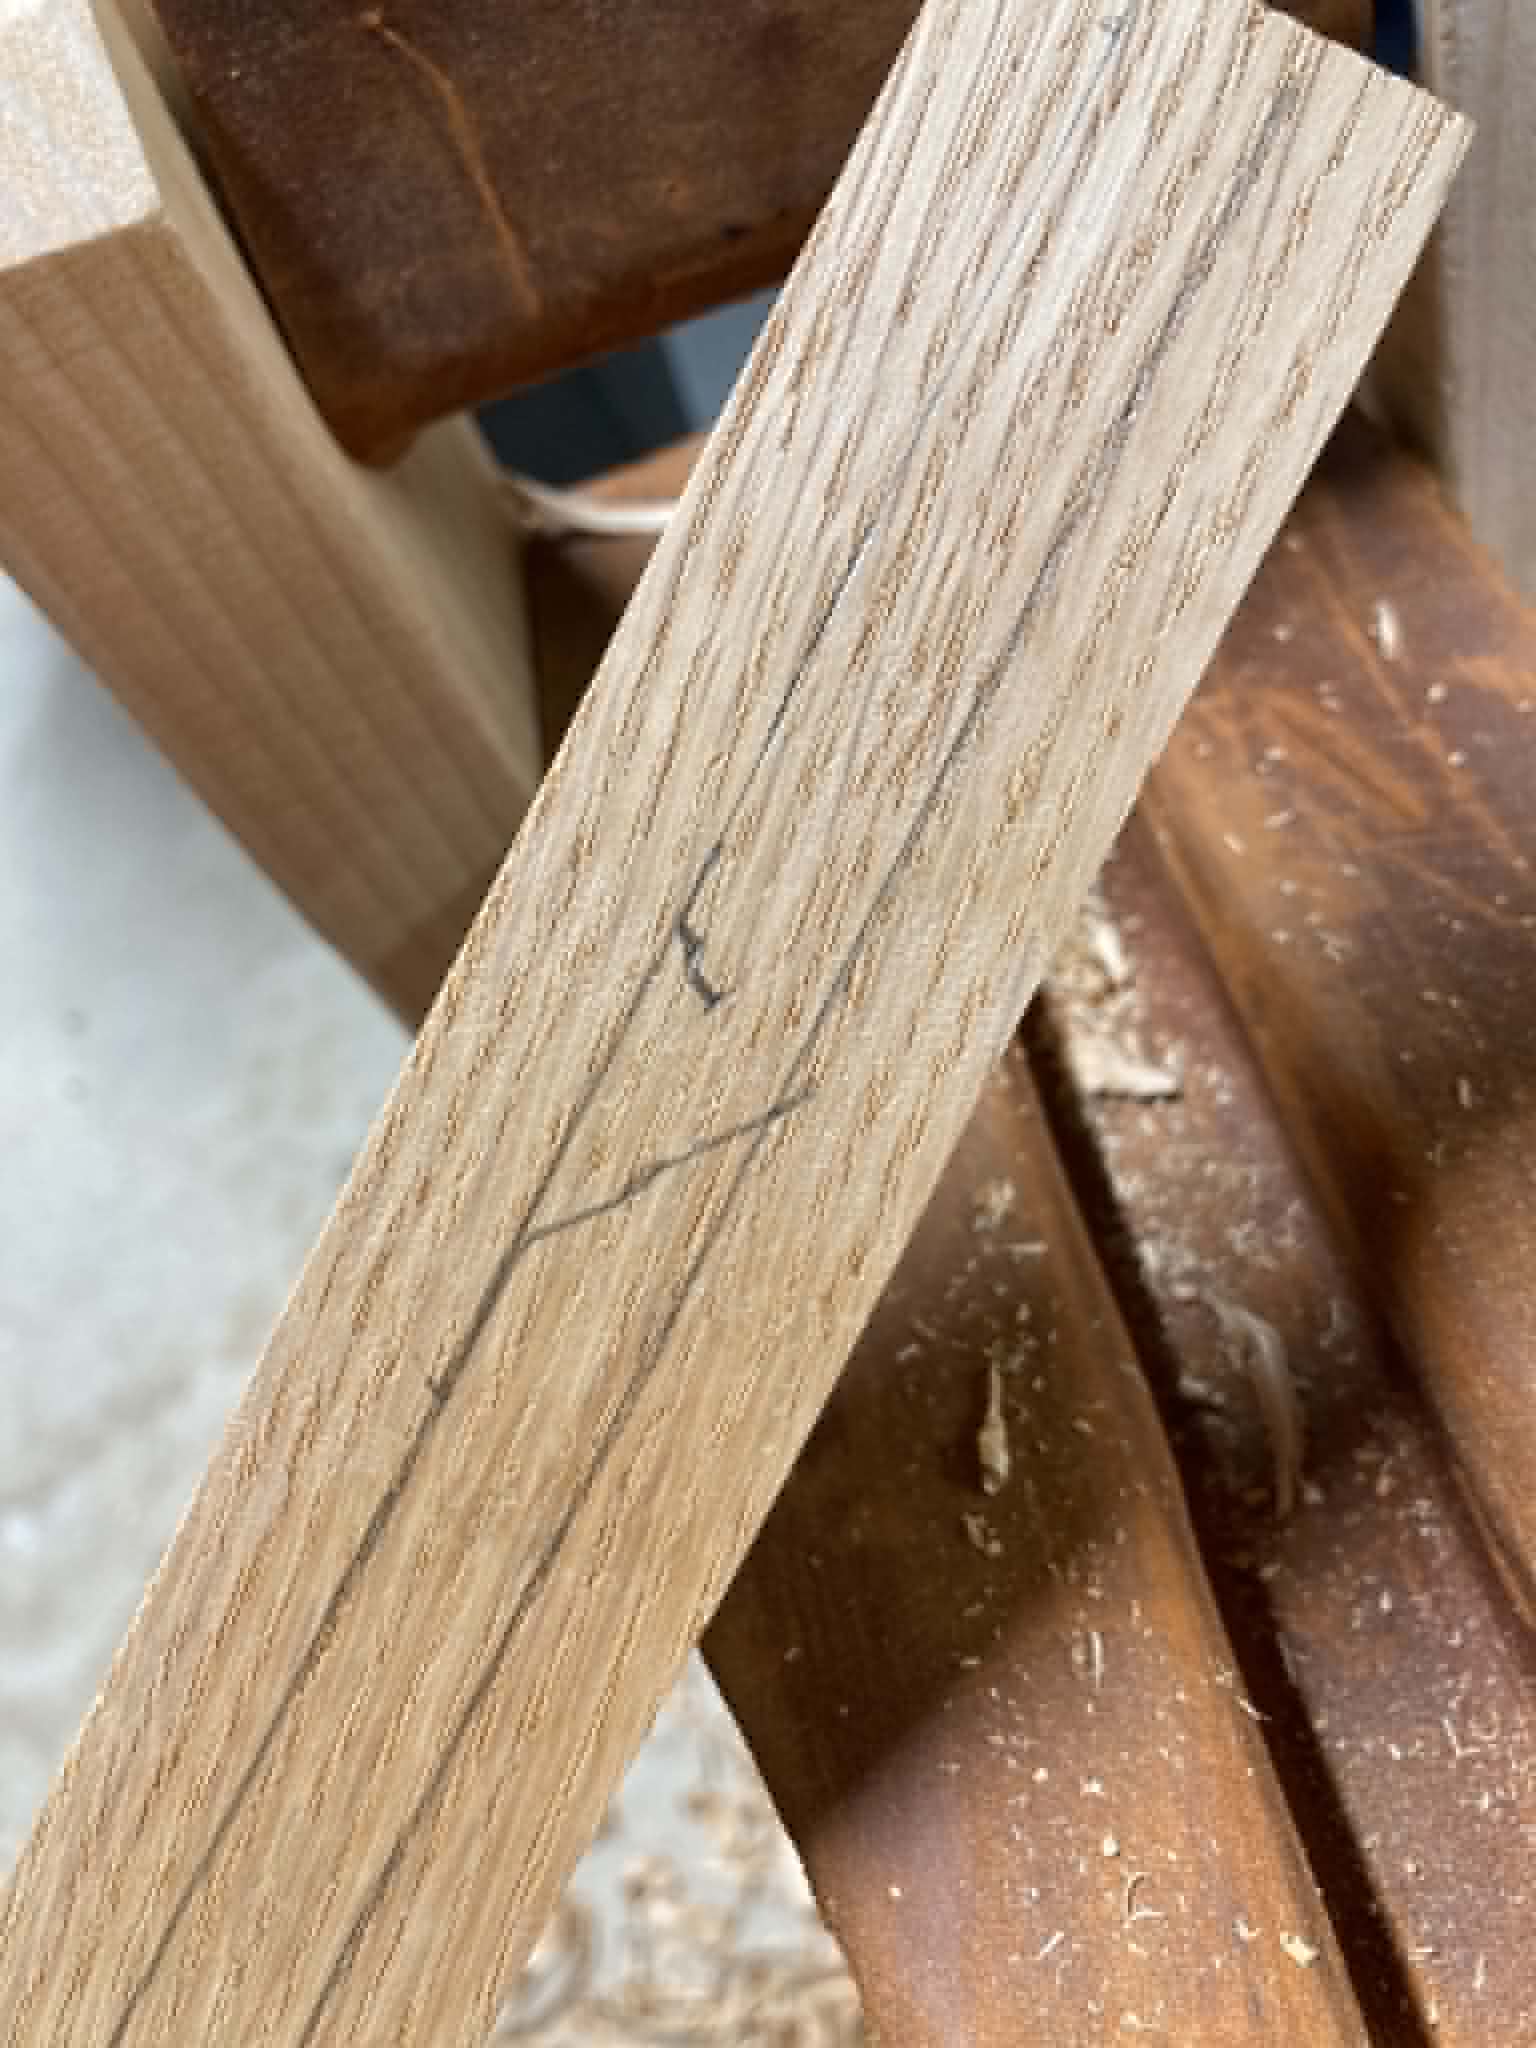
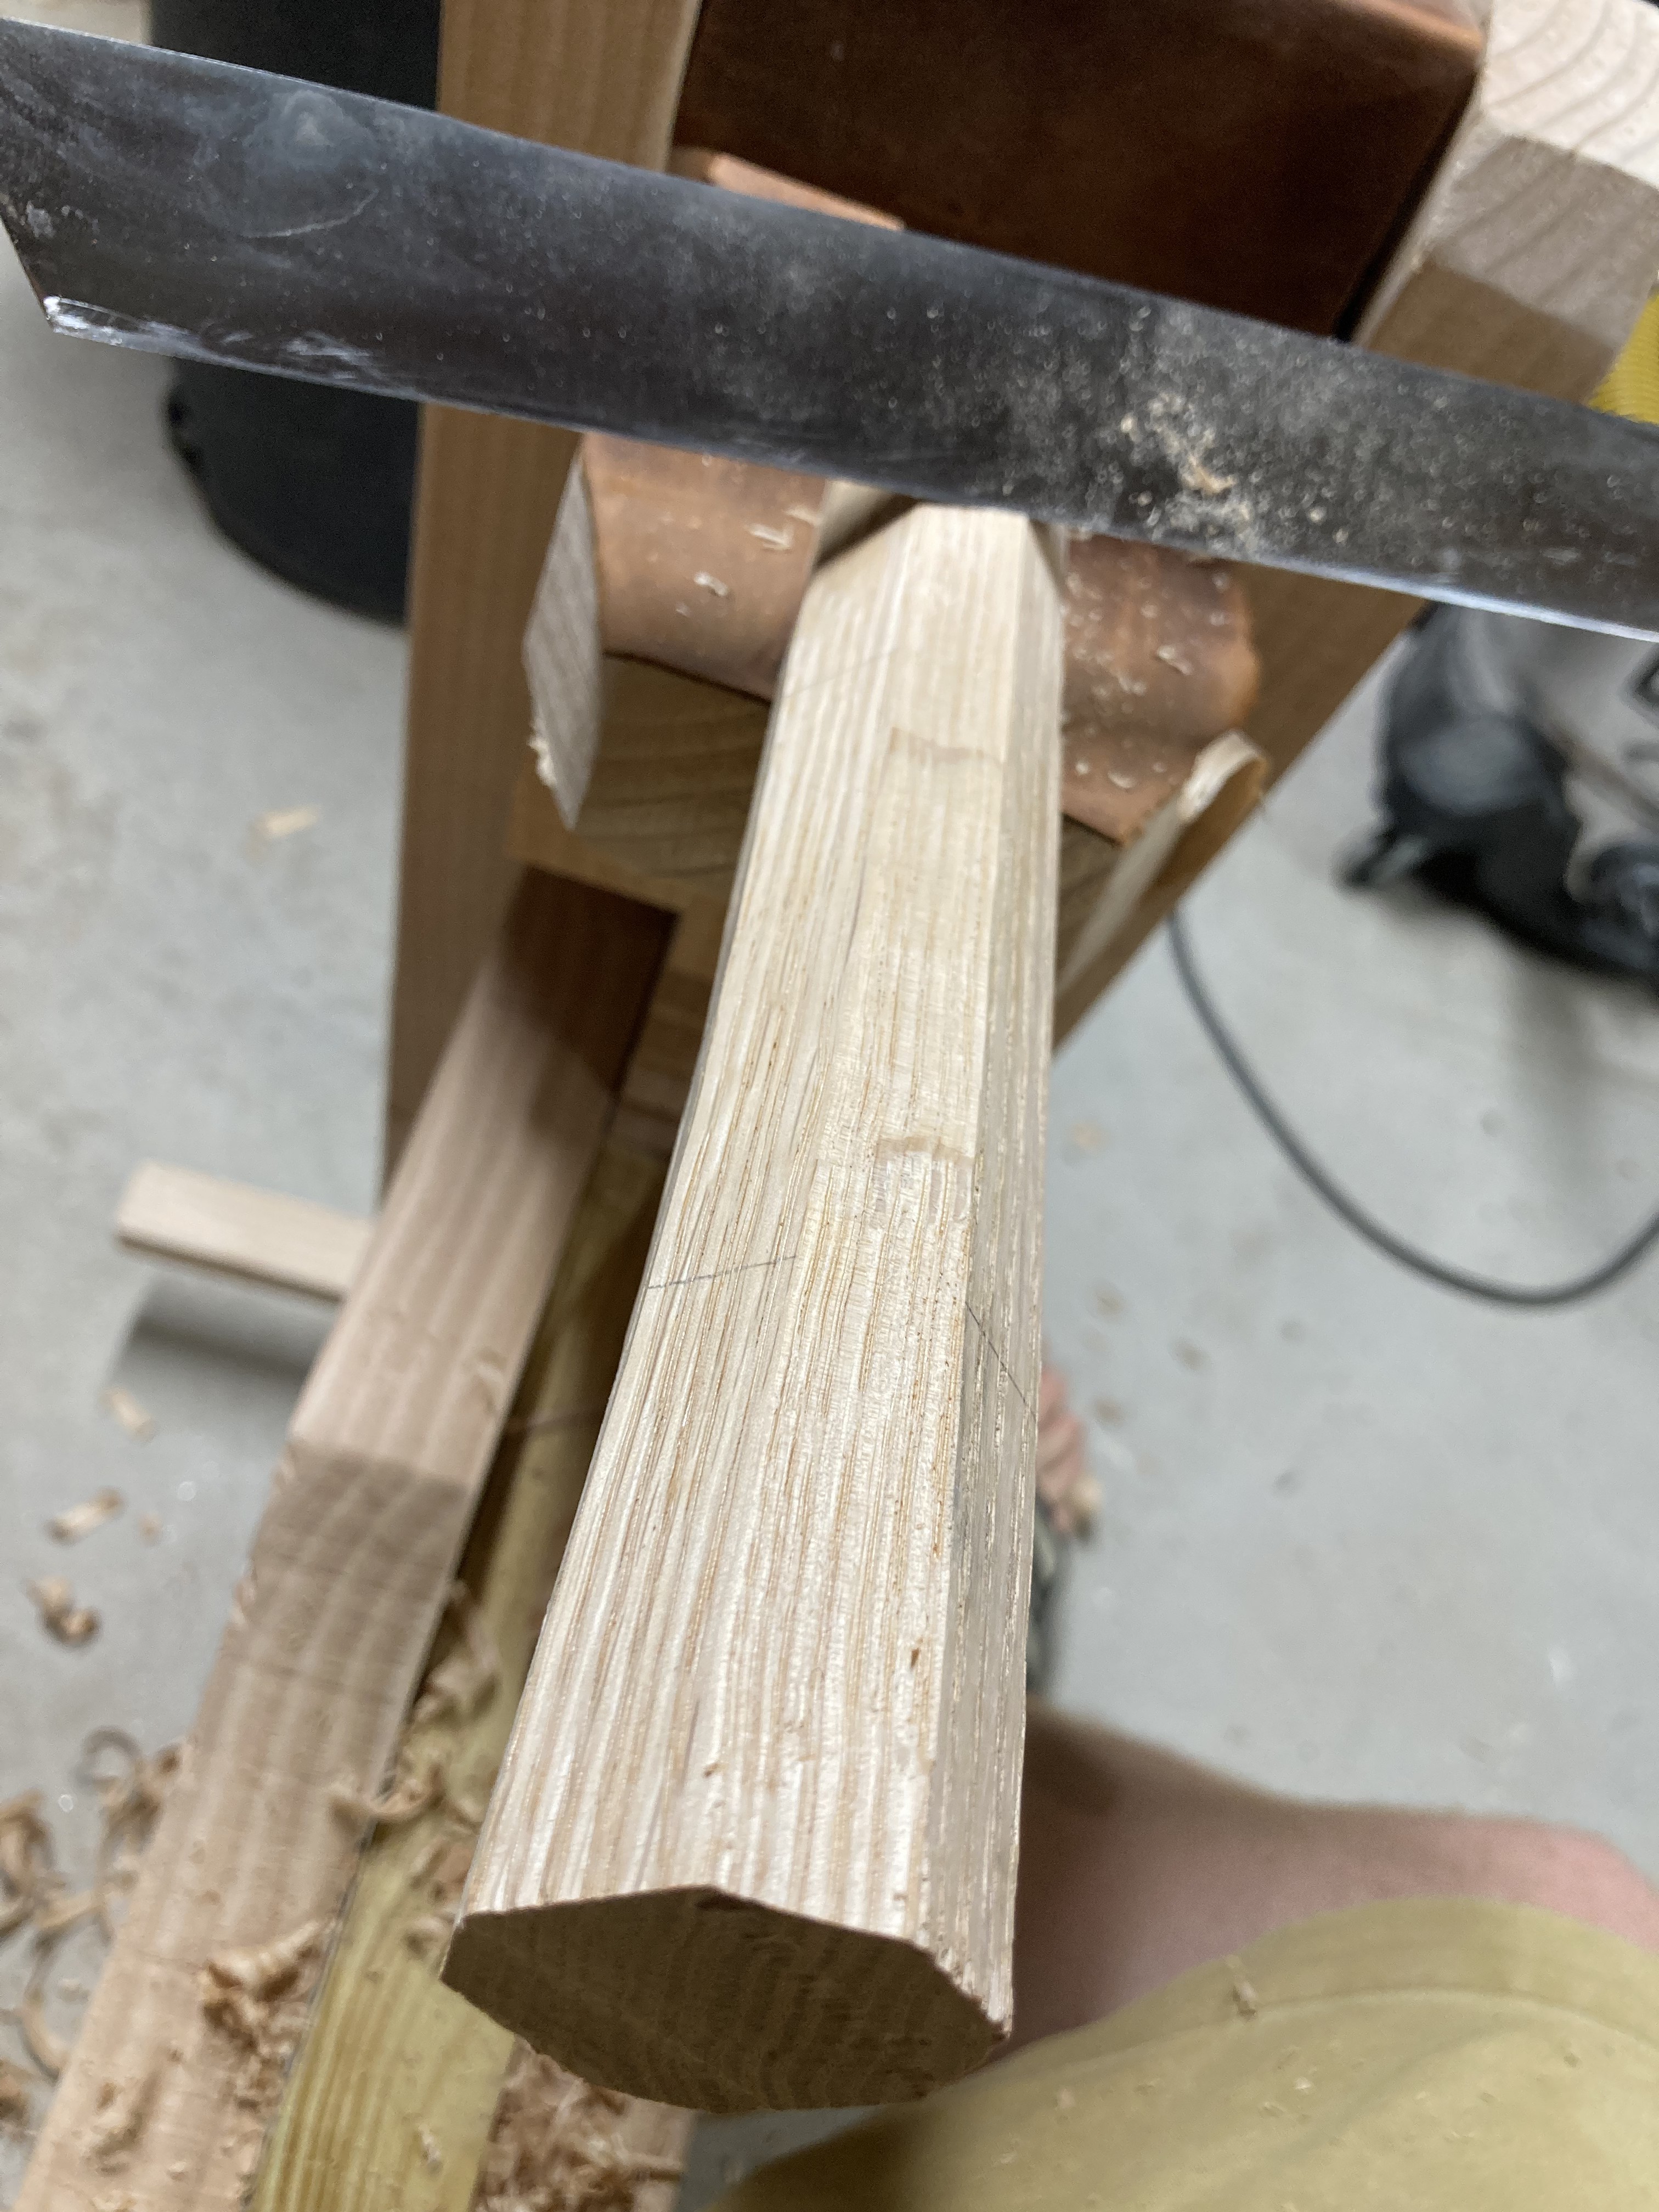
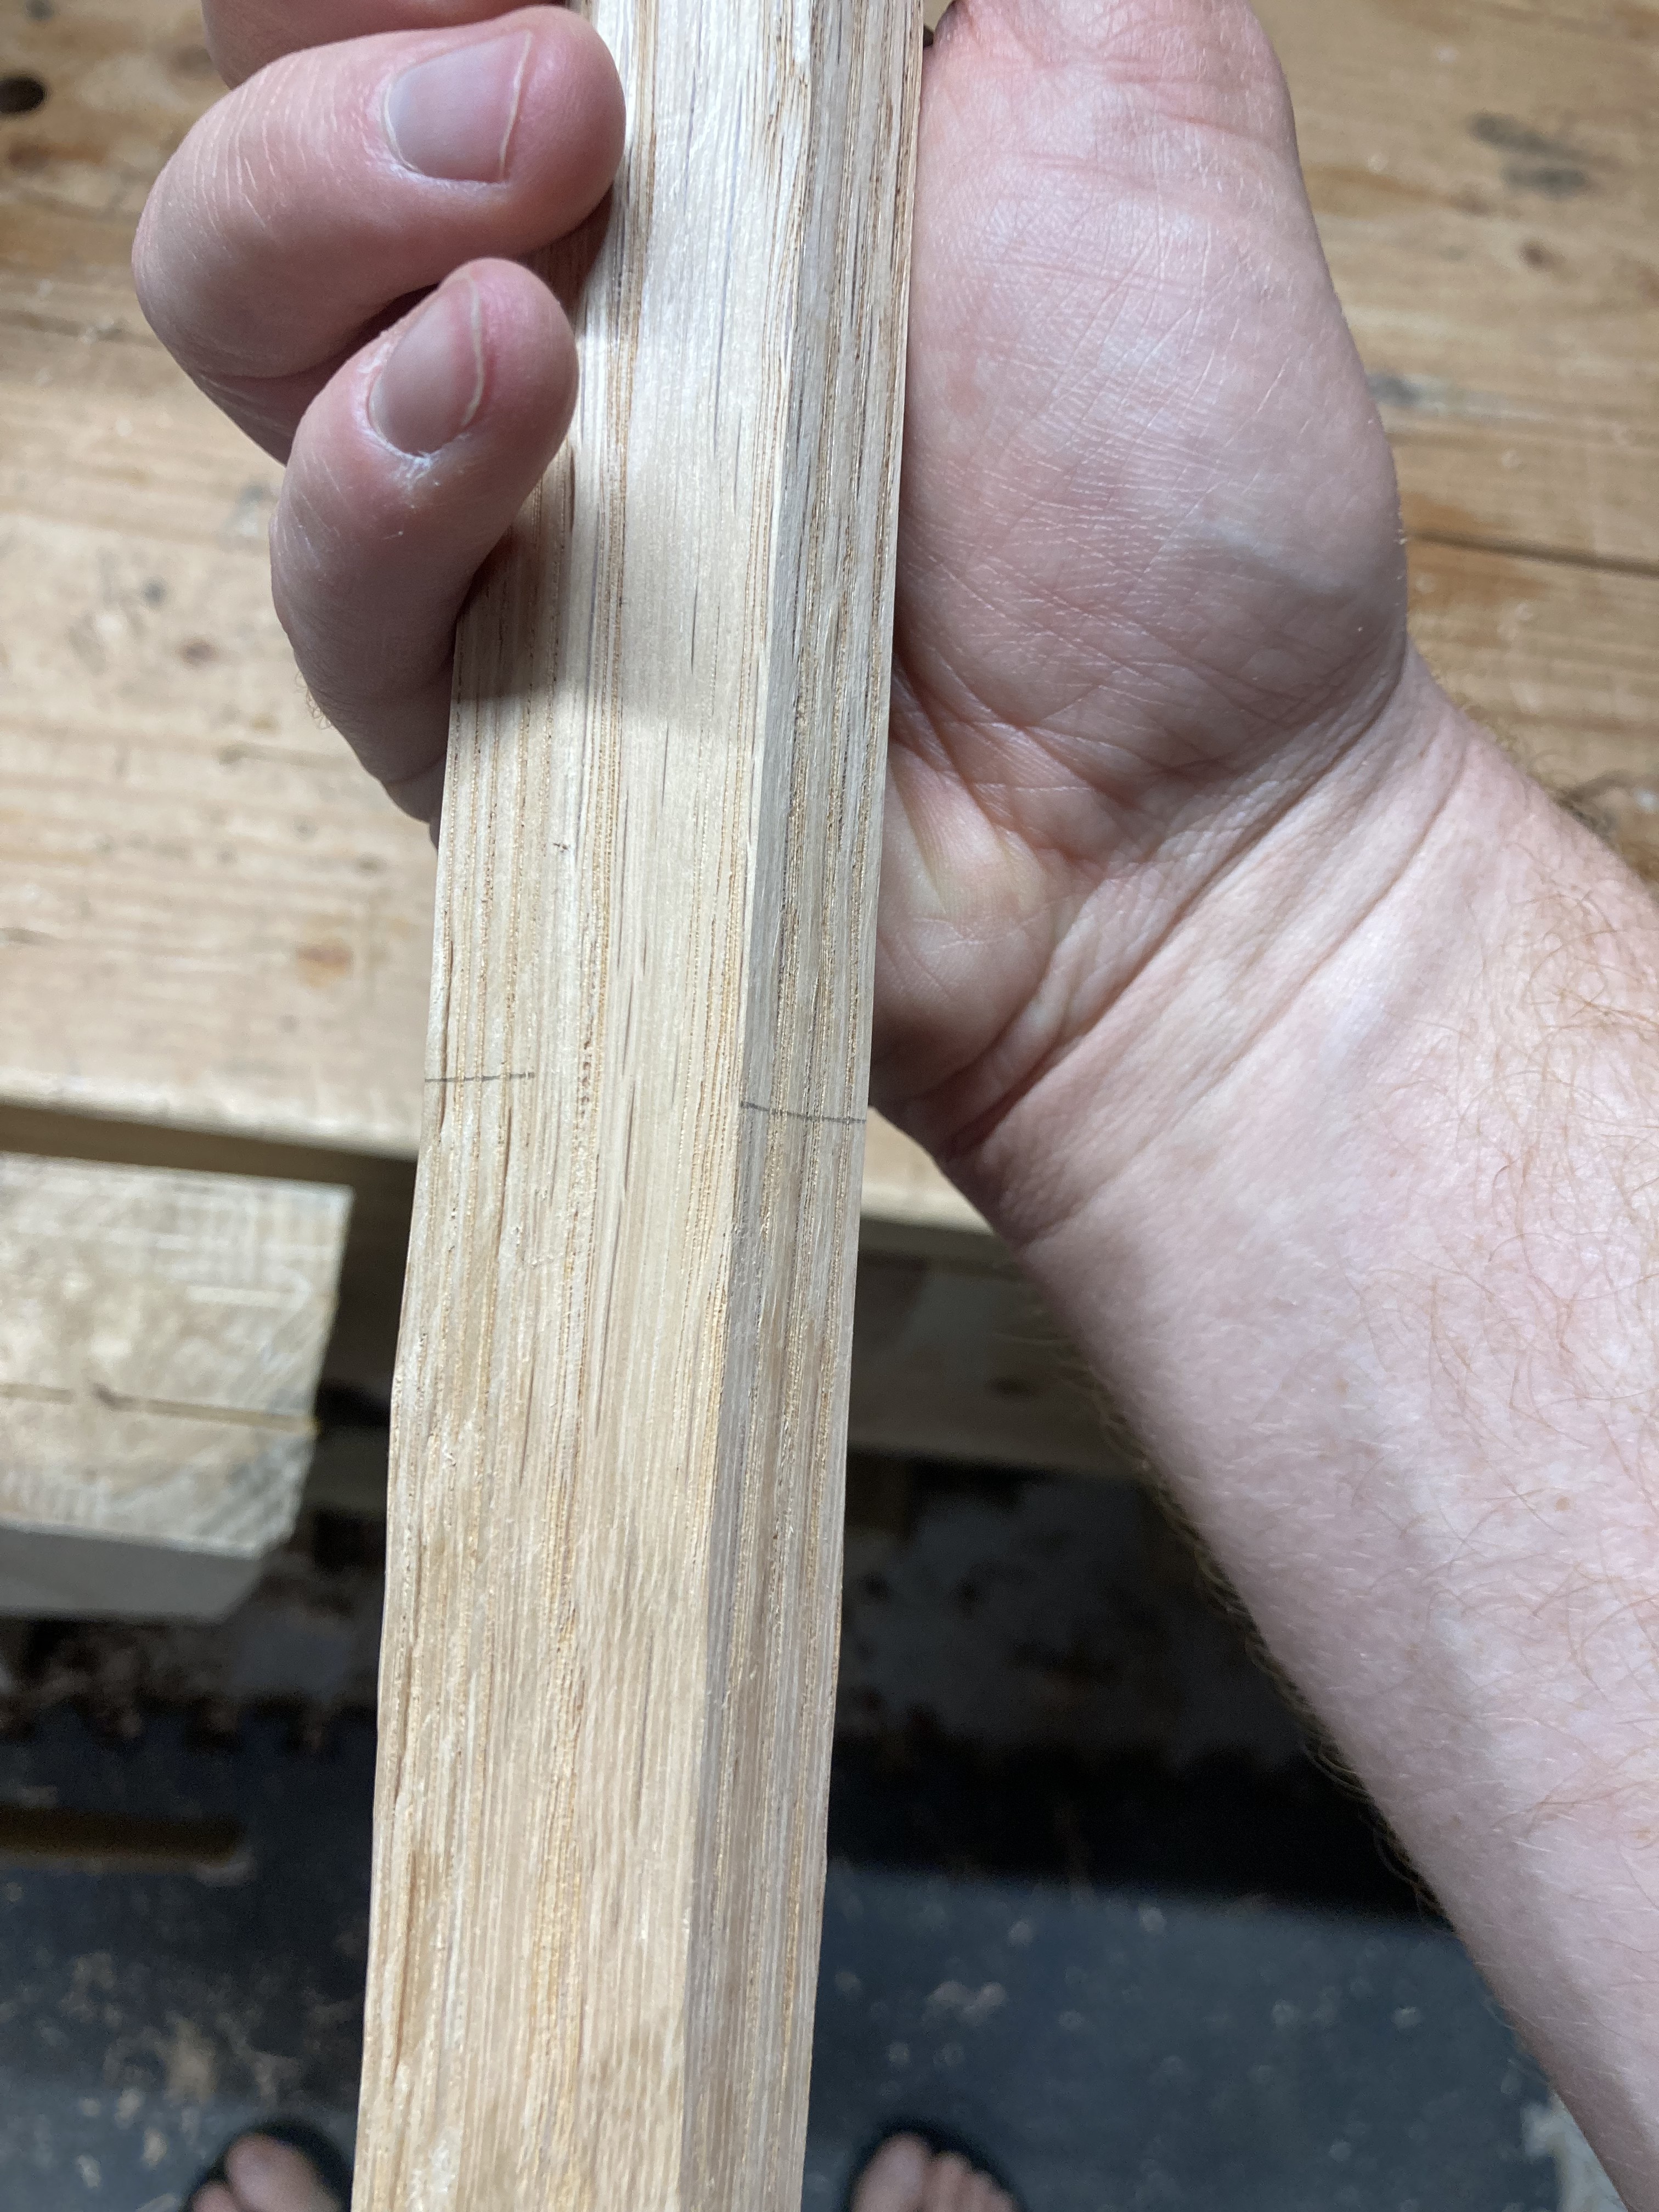
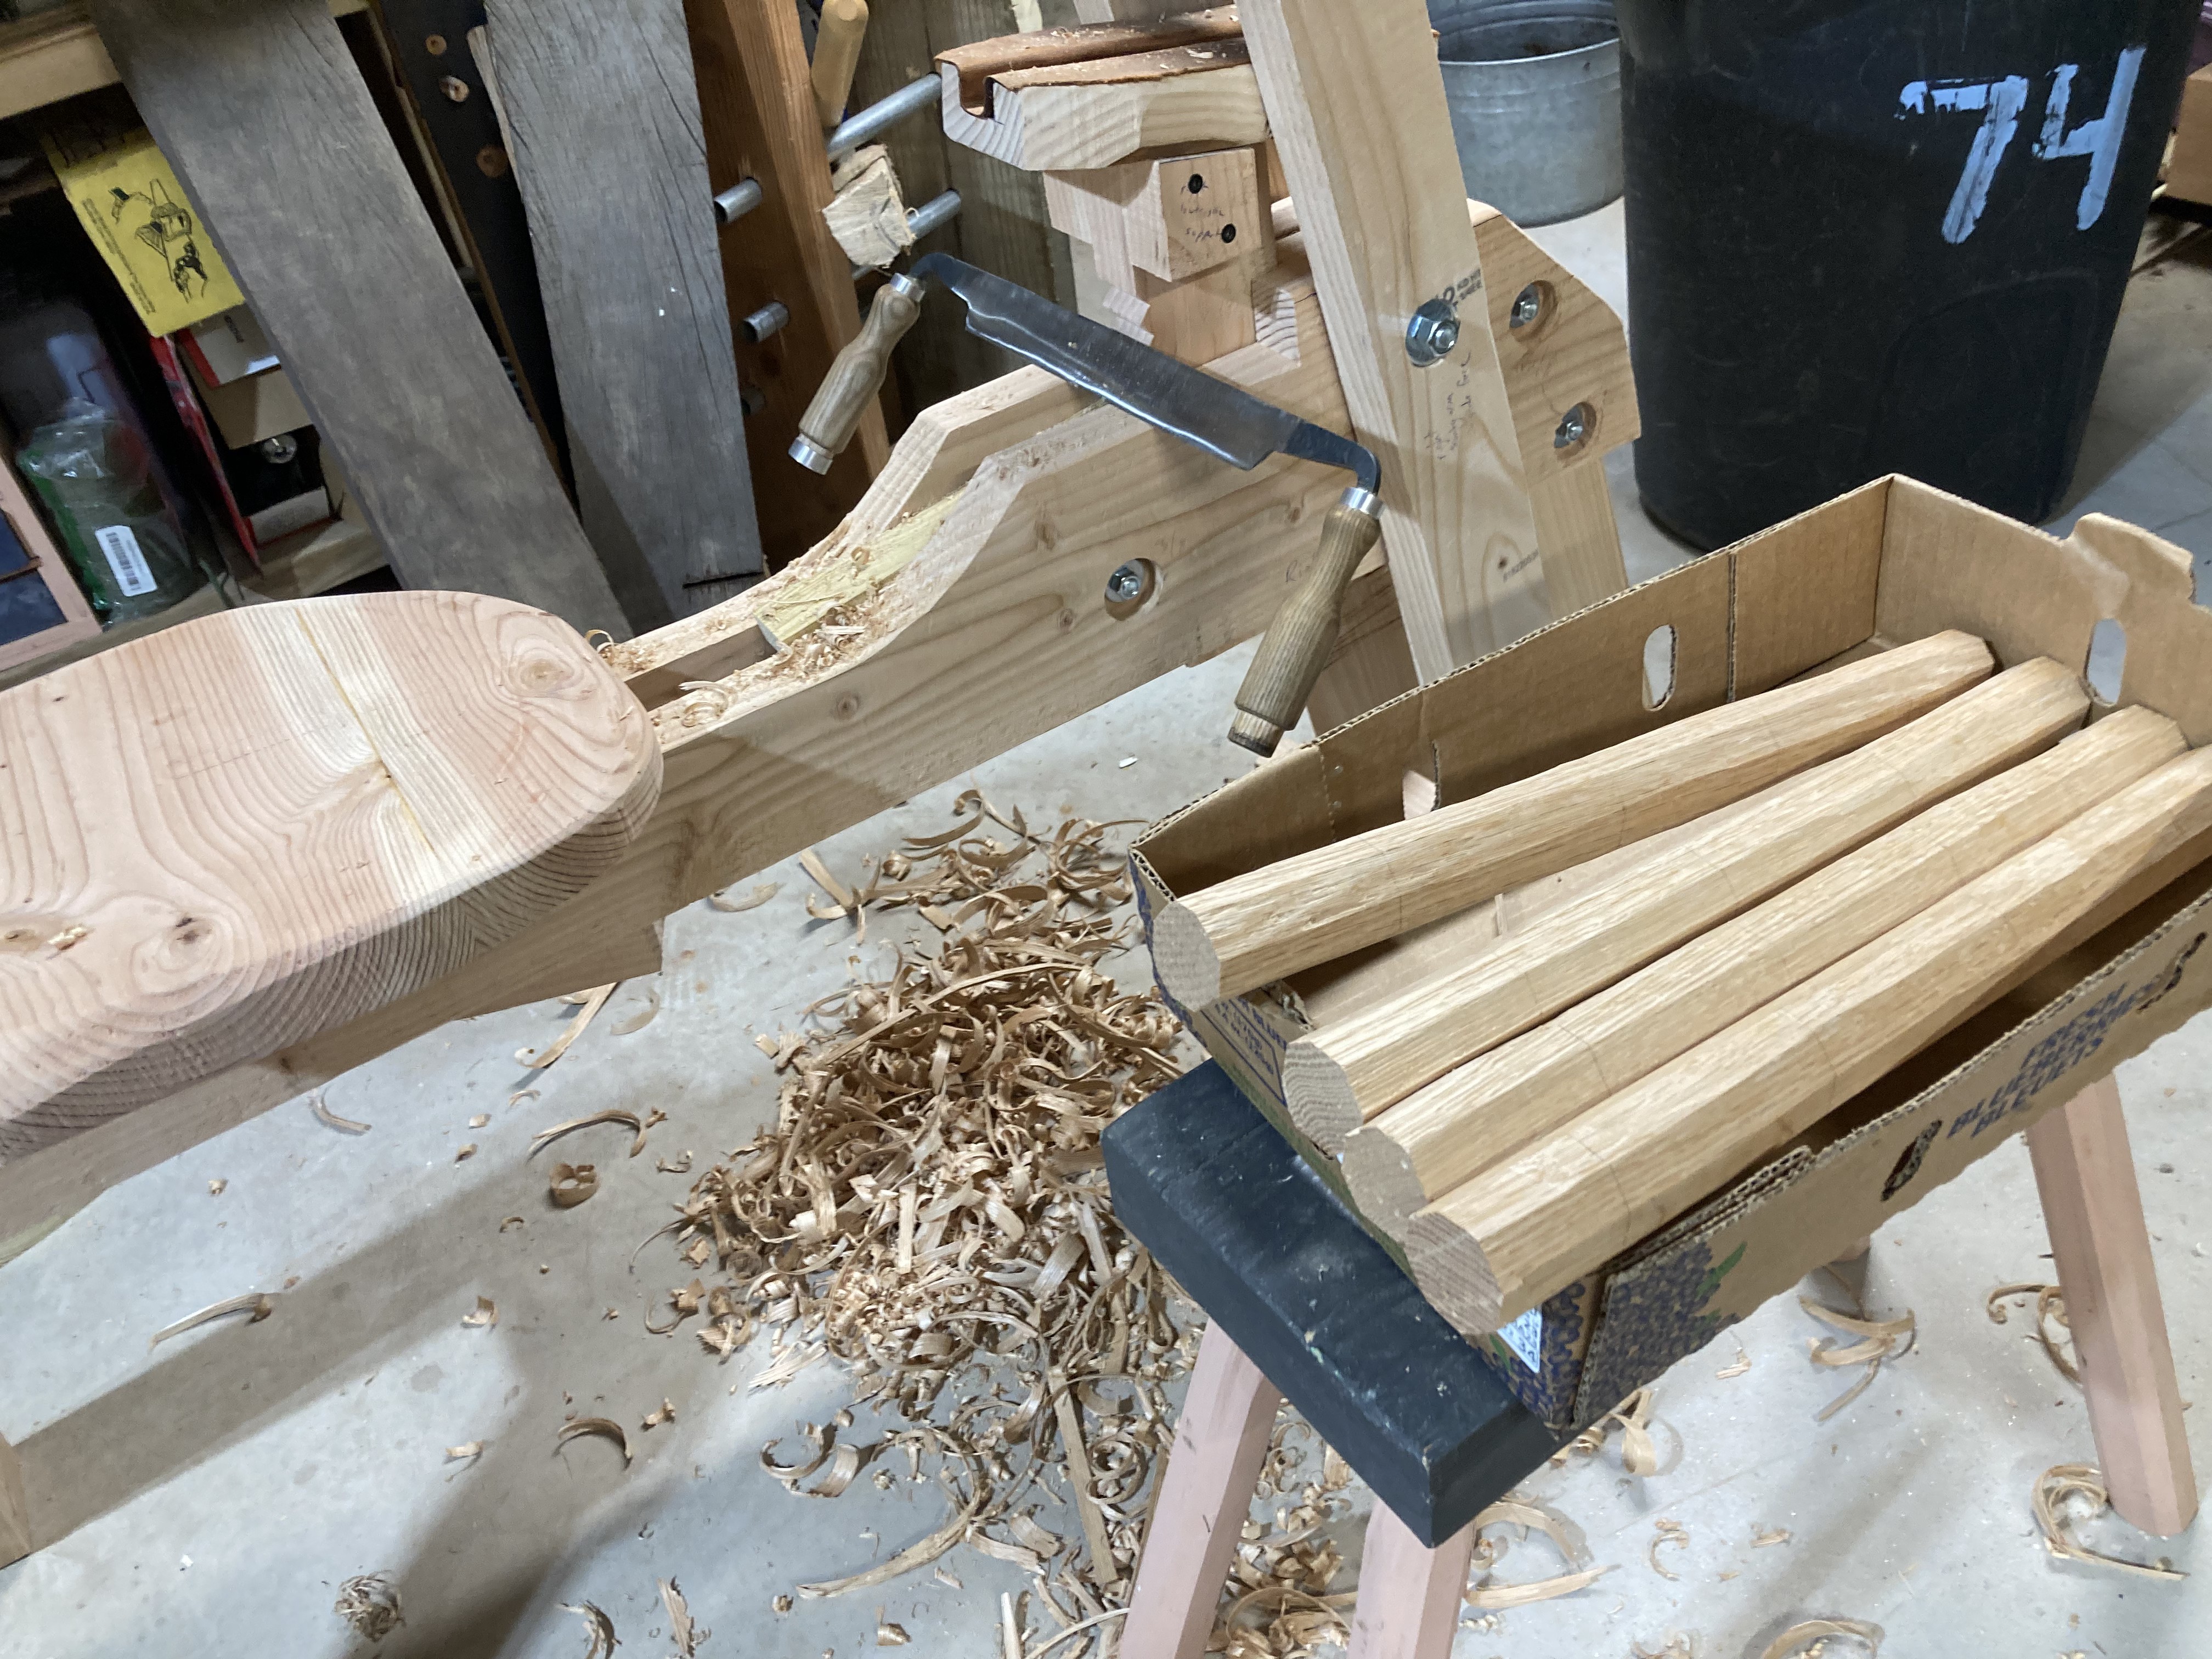
Following this, you draw rings around the entire octagon in several places. You shave down the new corners and the remaining lines on the flat surfaces should be about as wide as the new flat surface you just carved out. Then you can do this one more time to cut down even smaller corners and it'll be very roughly round to the eye. You'll still feel plenty of edges but this is easy to cleanup with a lightly set spokeshave. You just do some quick passes, rotate the stick, do some more passes, and continue. Then you feel around for any obviously uneven or flat spots and you use the spokeshave around those edges until it meets your goals for roundness. It'll never be perfectly round like a lathe-turned object but it's still acceptable.
Drilling Mortises in the Seat
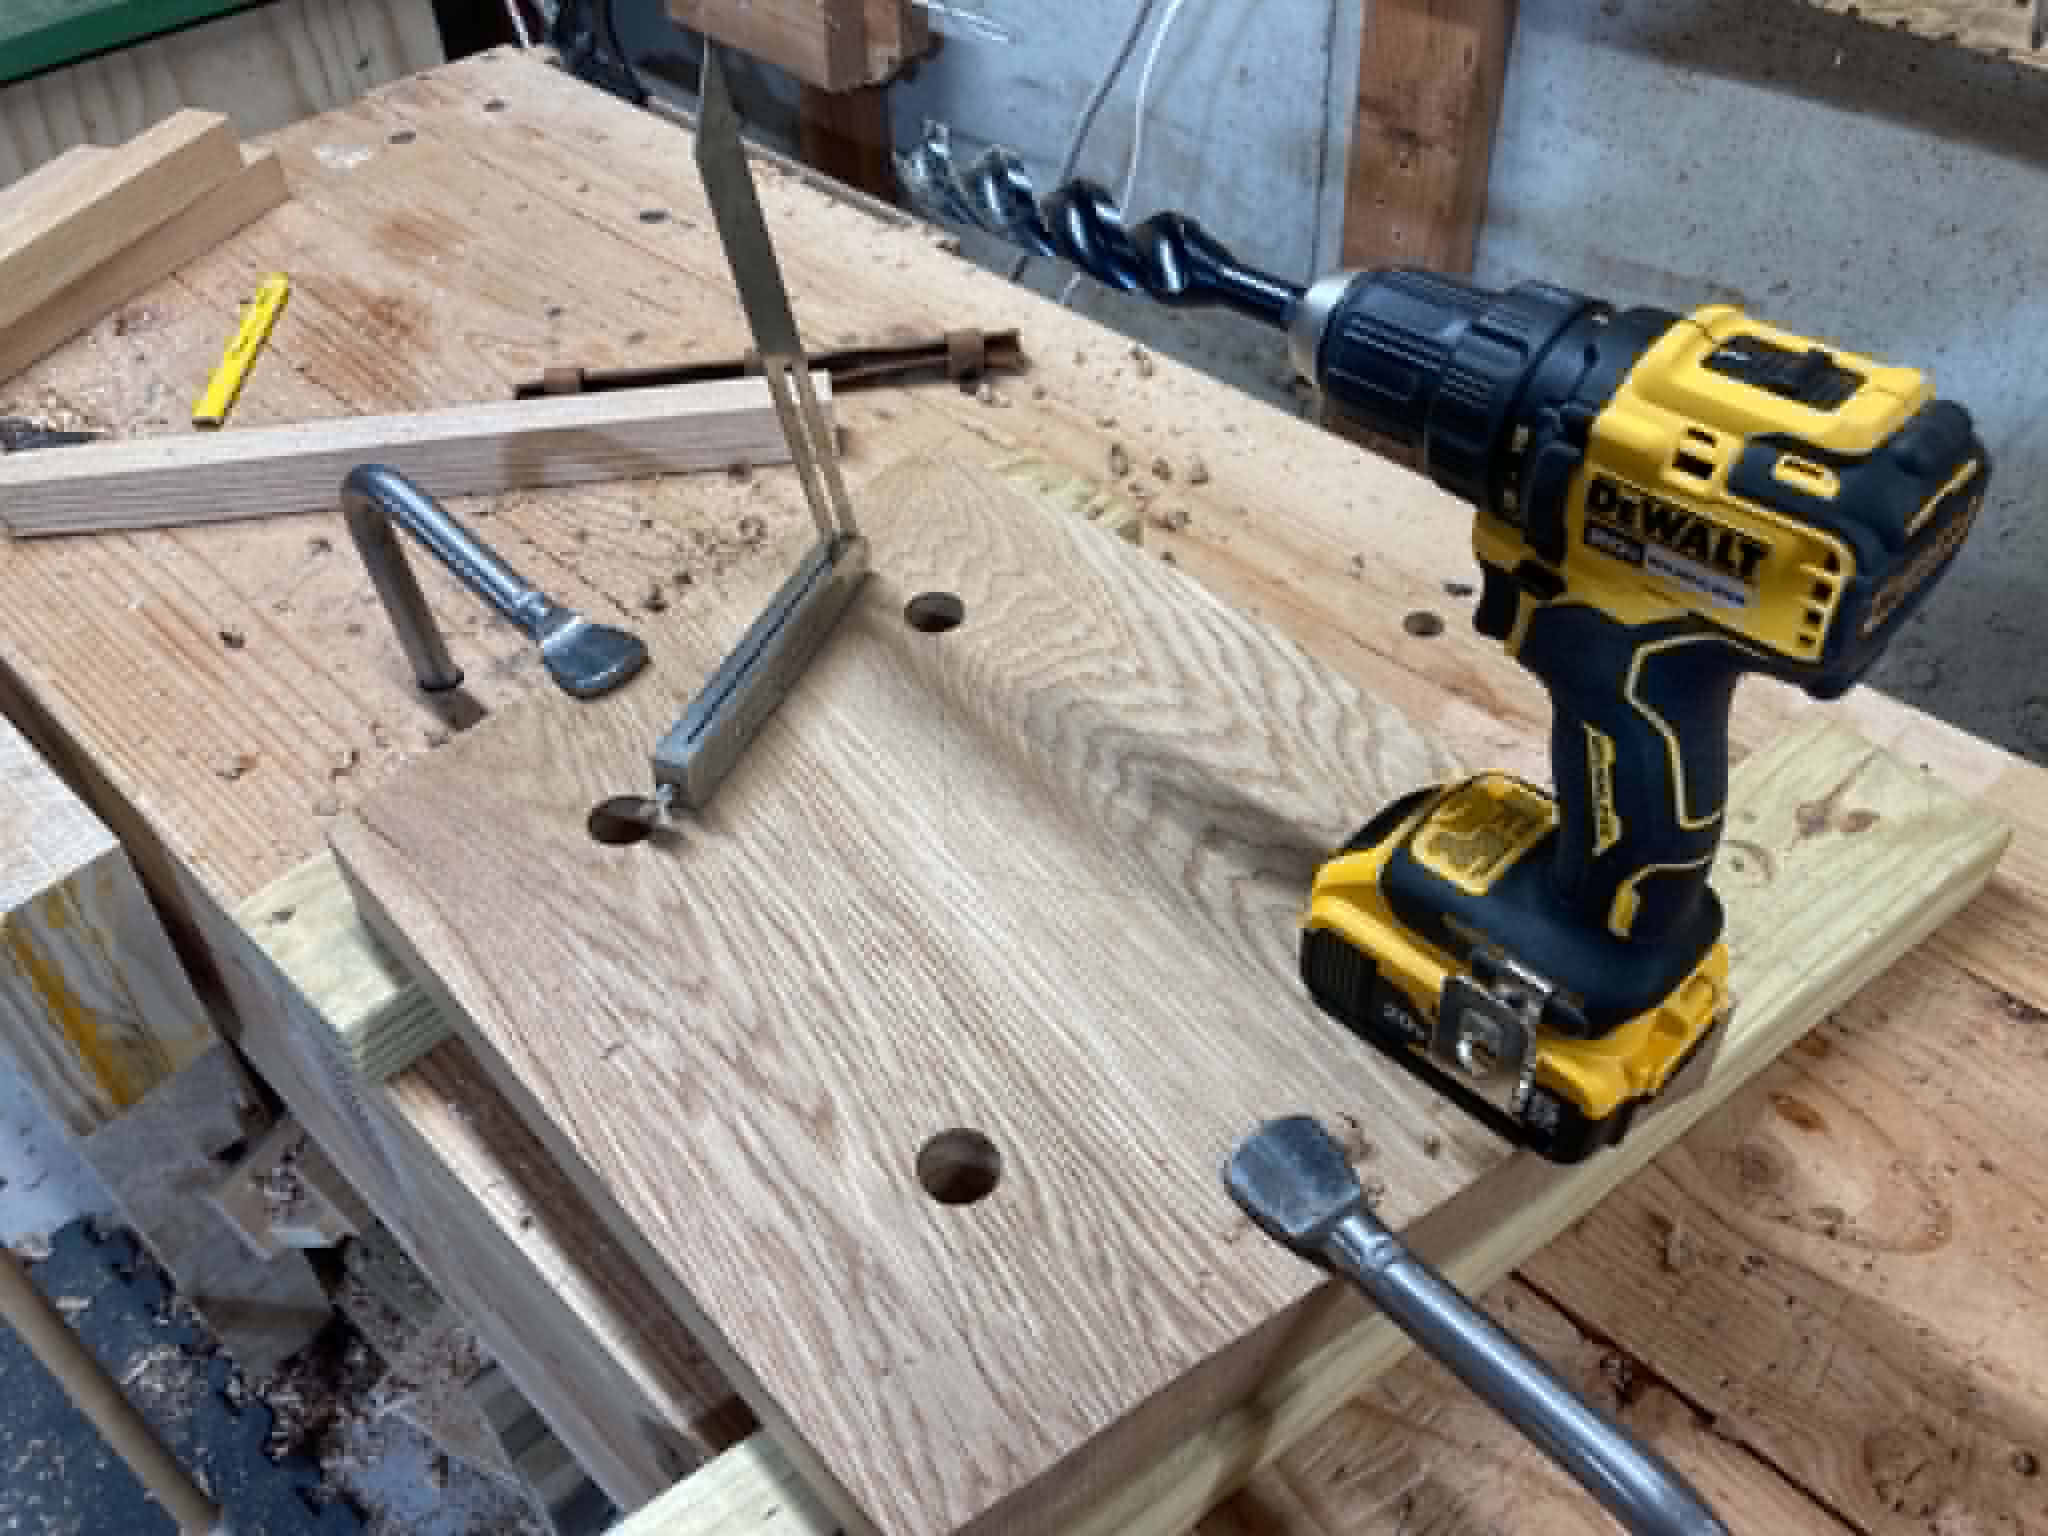
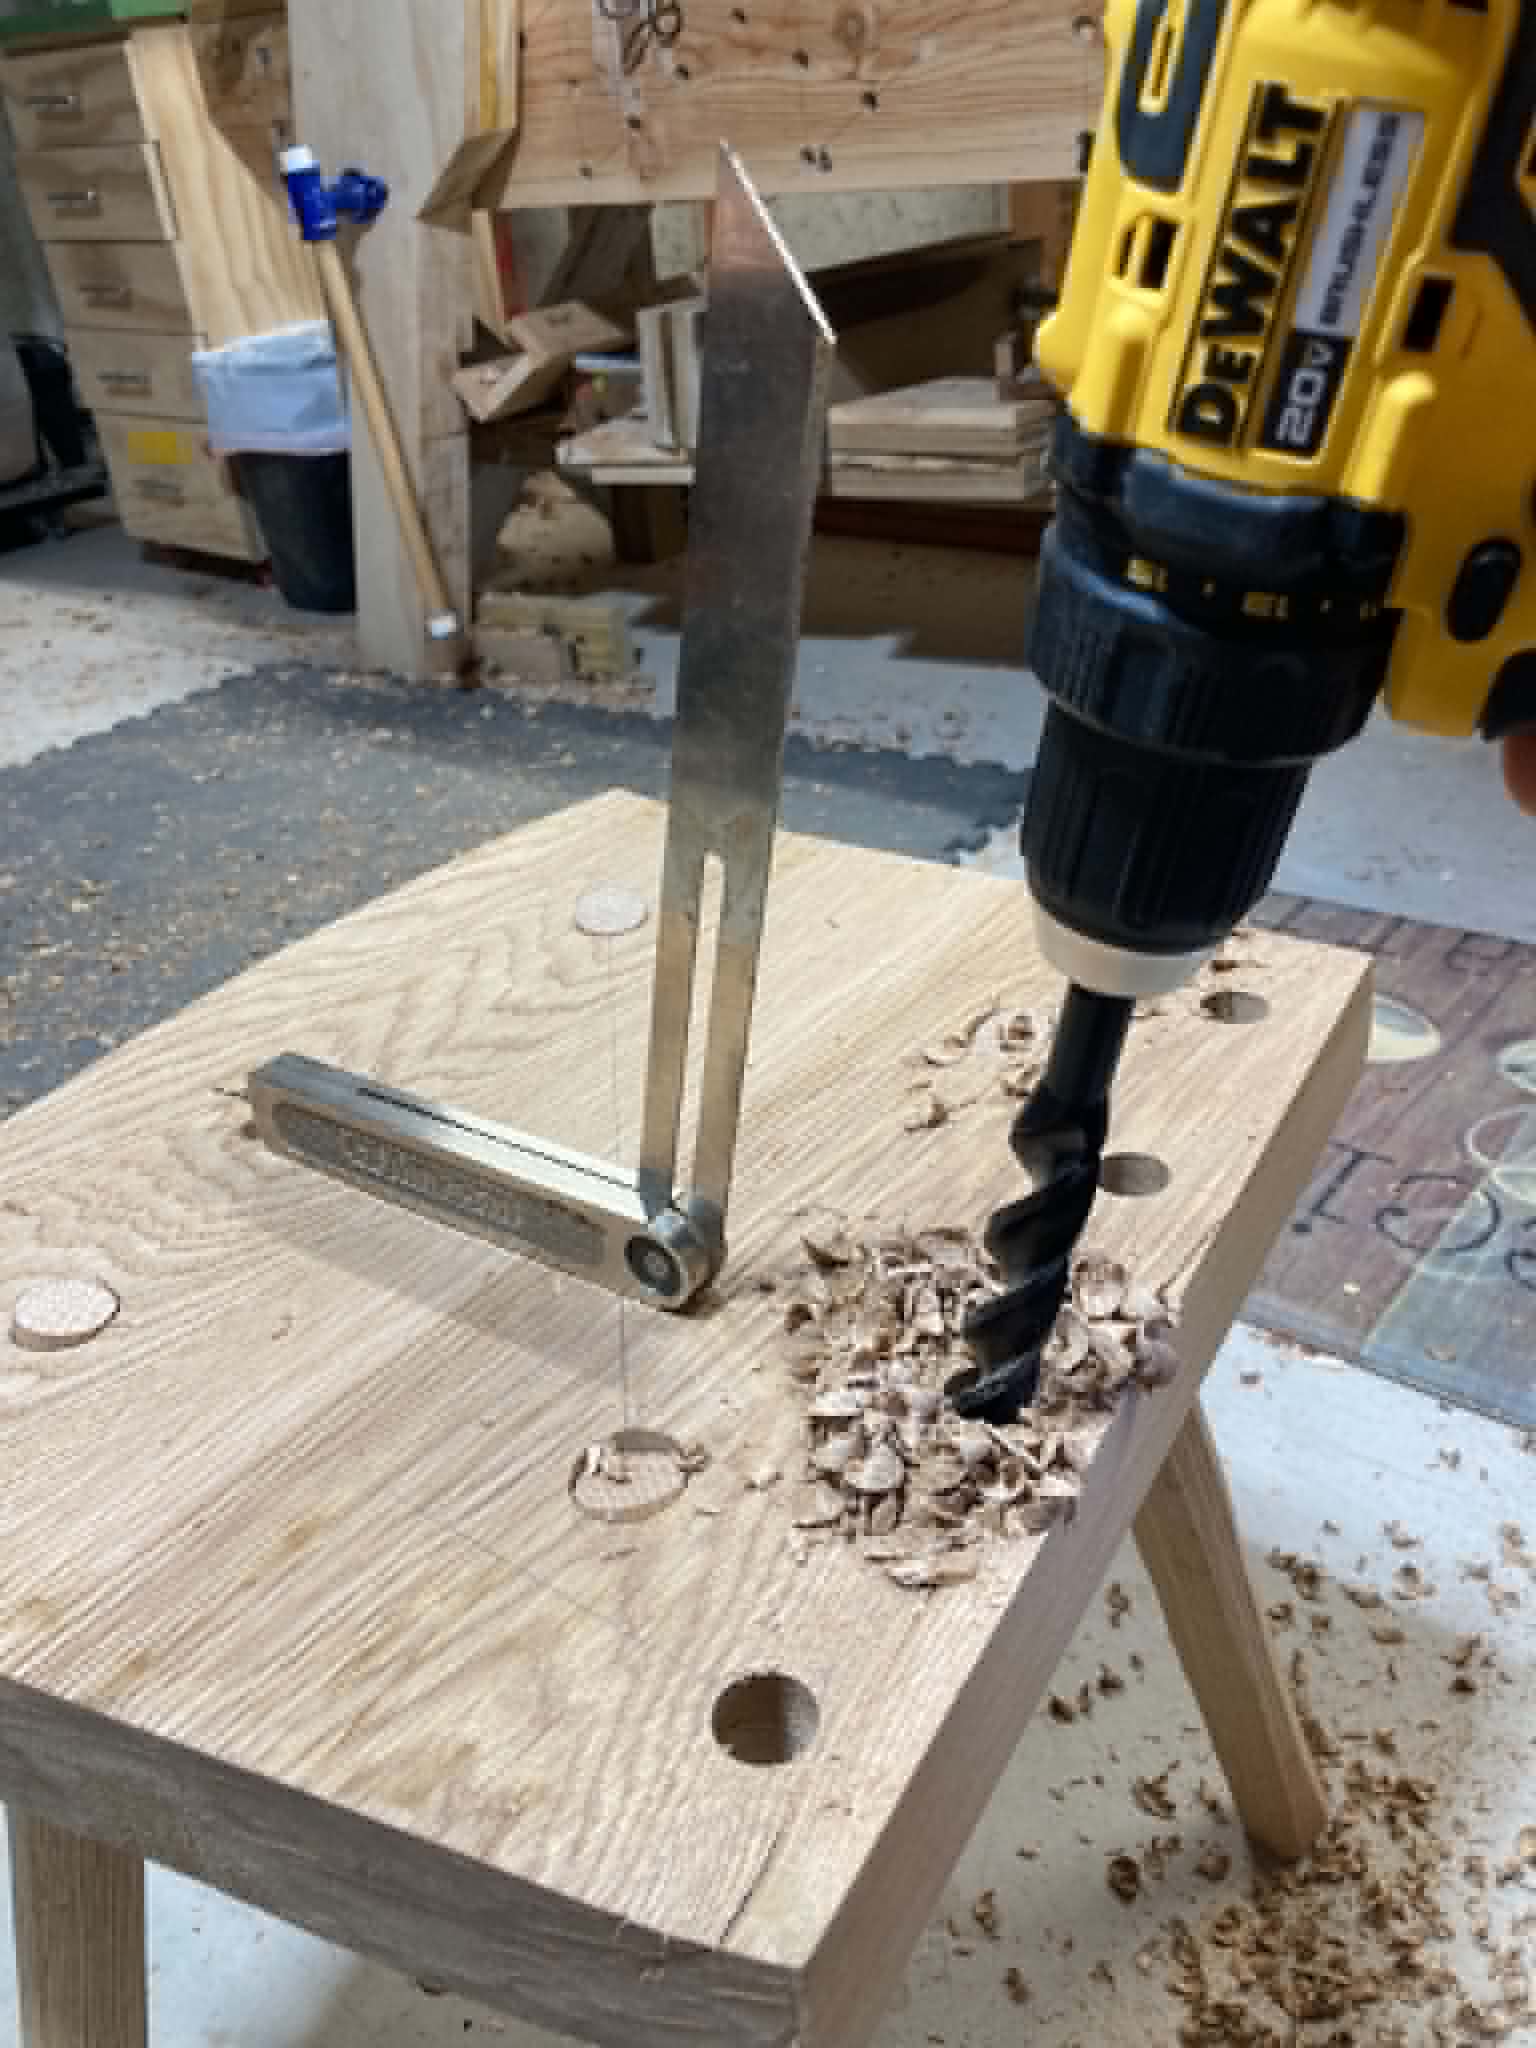
I gloss over this step pretty quickly because the goal of these chairs isn't to be too perfect. Essentially, I draw an X connecting the 4 spots for the legs, set the bevel guage to 13 degrees, and drilled all four leg mortises. This is the first time I drilled from the top of the seat rather than drilling from the bottom. This eliminates any visible tearout on the top of the seat, but it does make the bevel gauge setup a little trickier in terms of available space. I don't think I like it any more or less than drilling from the underside instead.
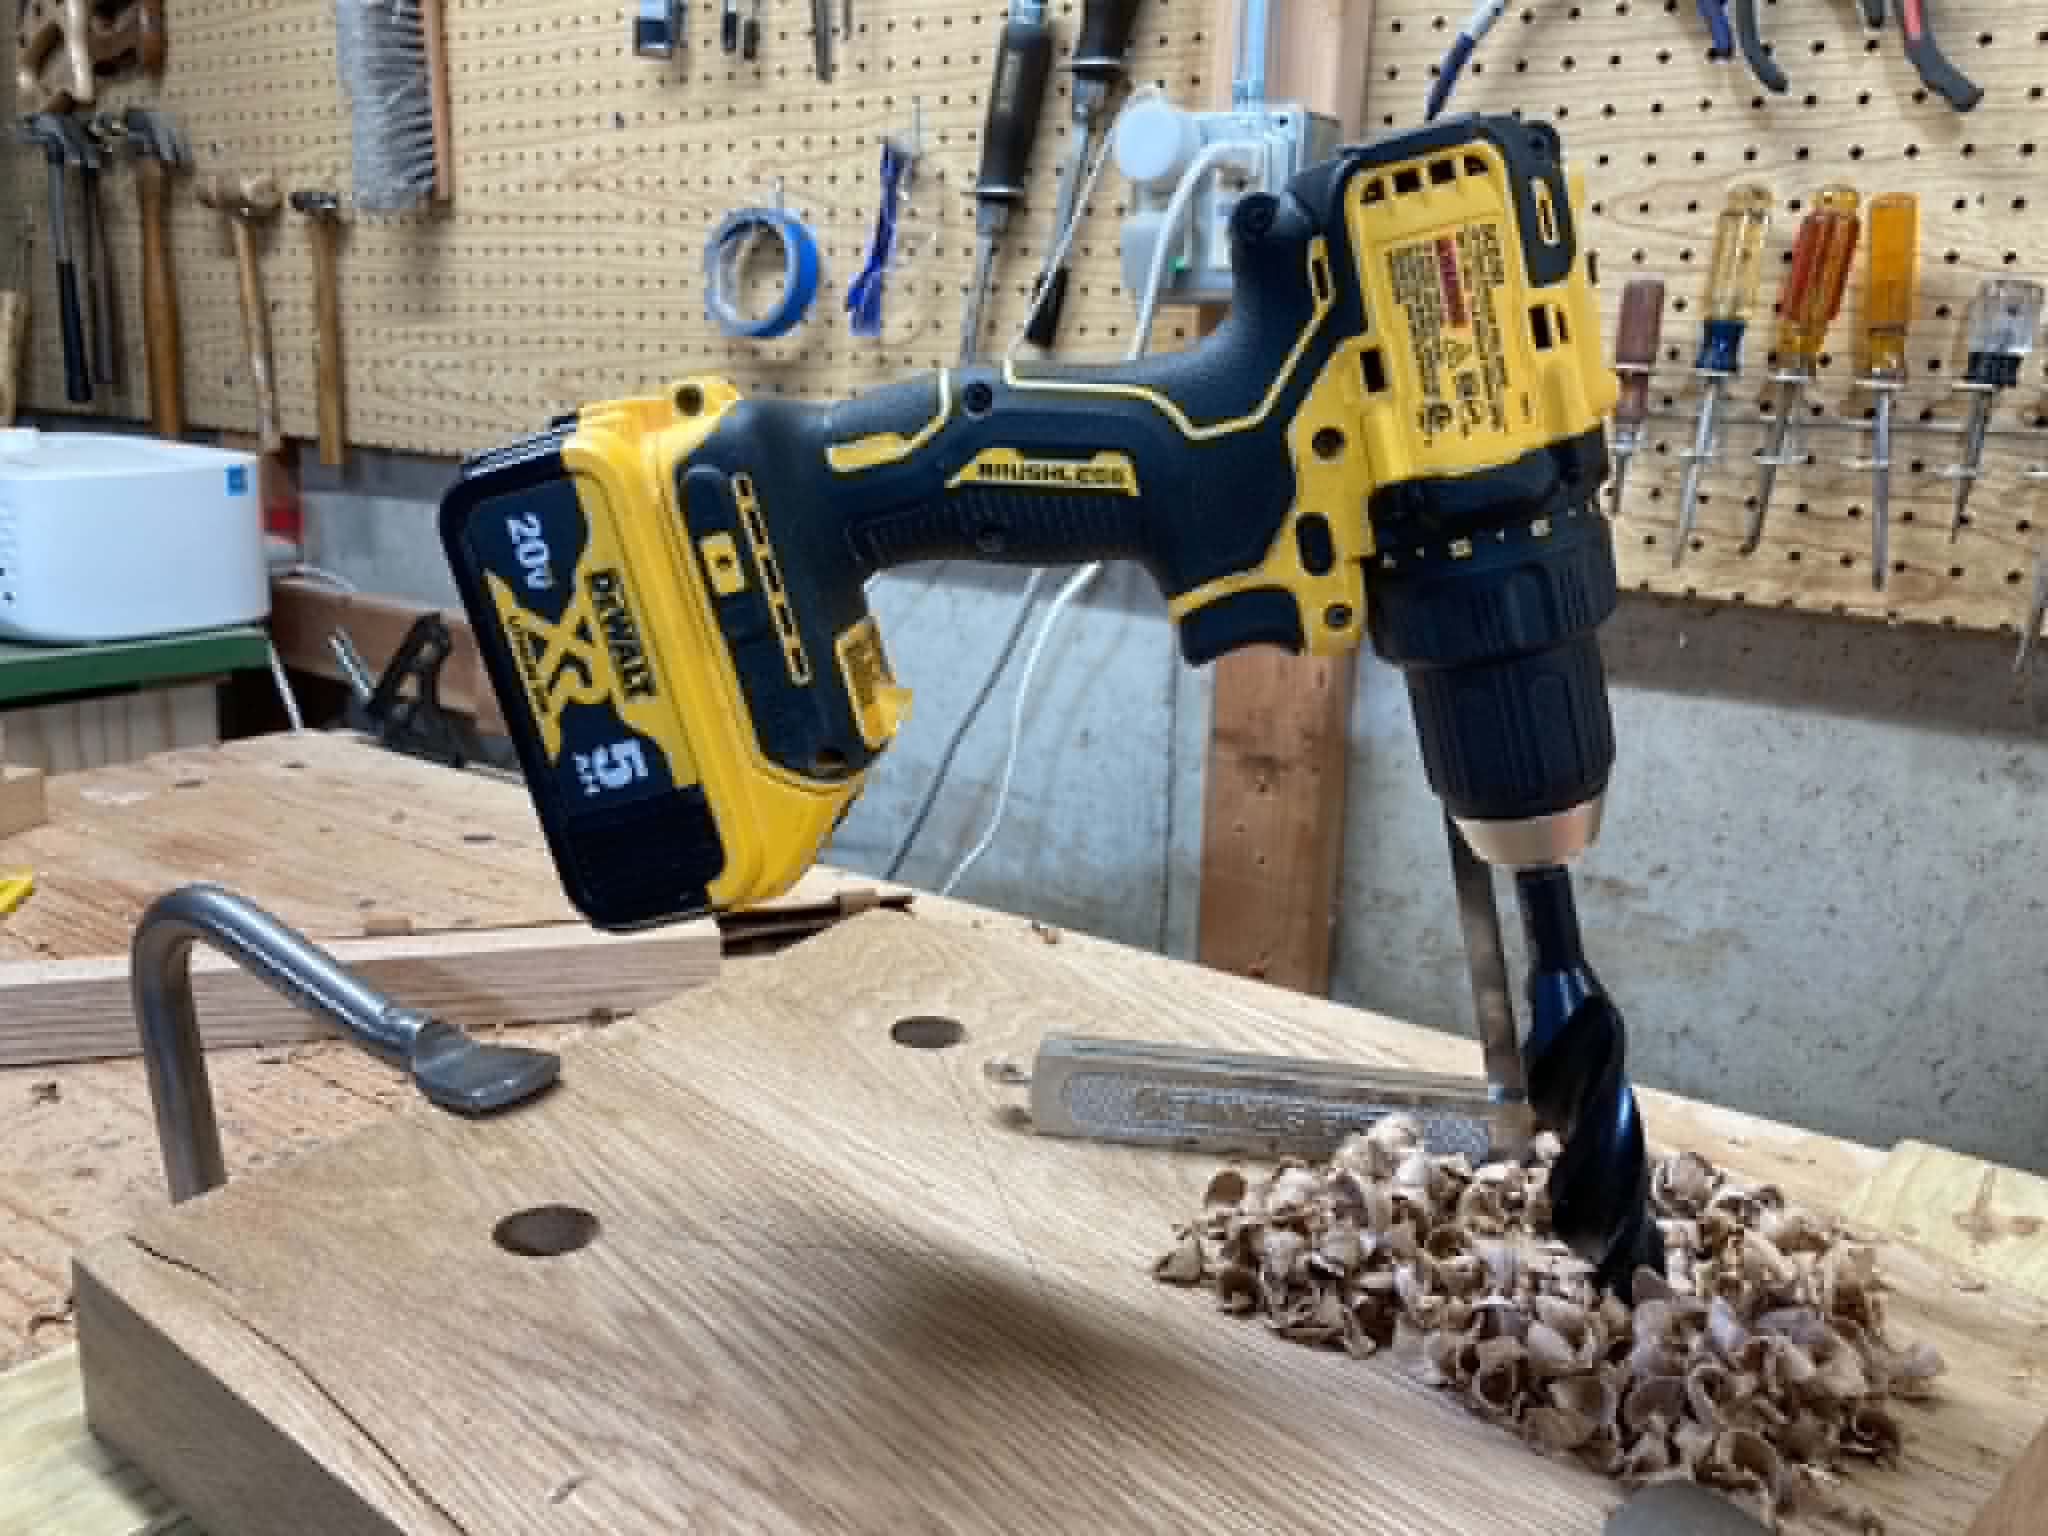
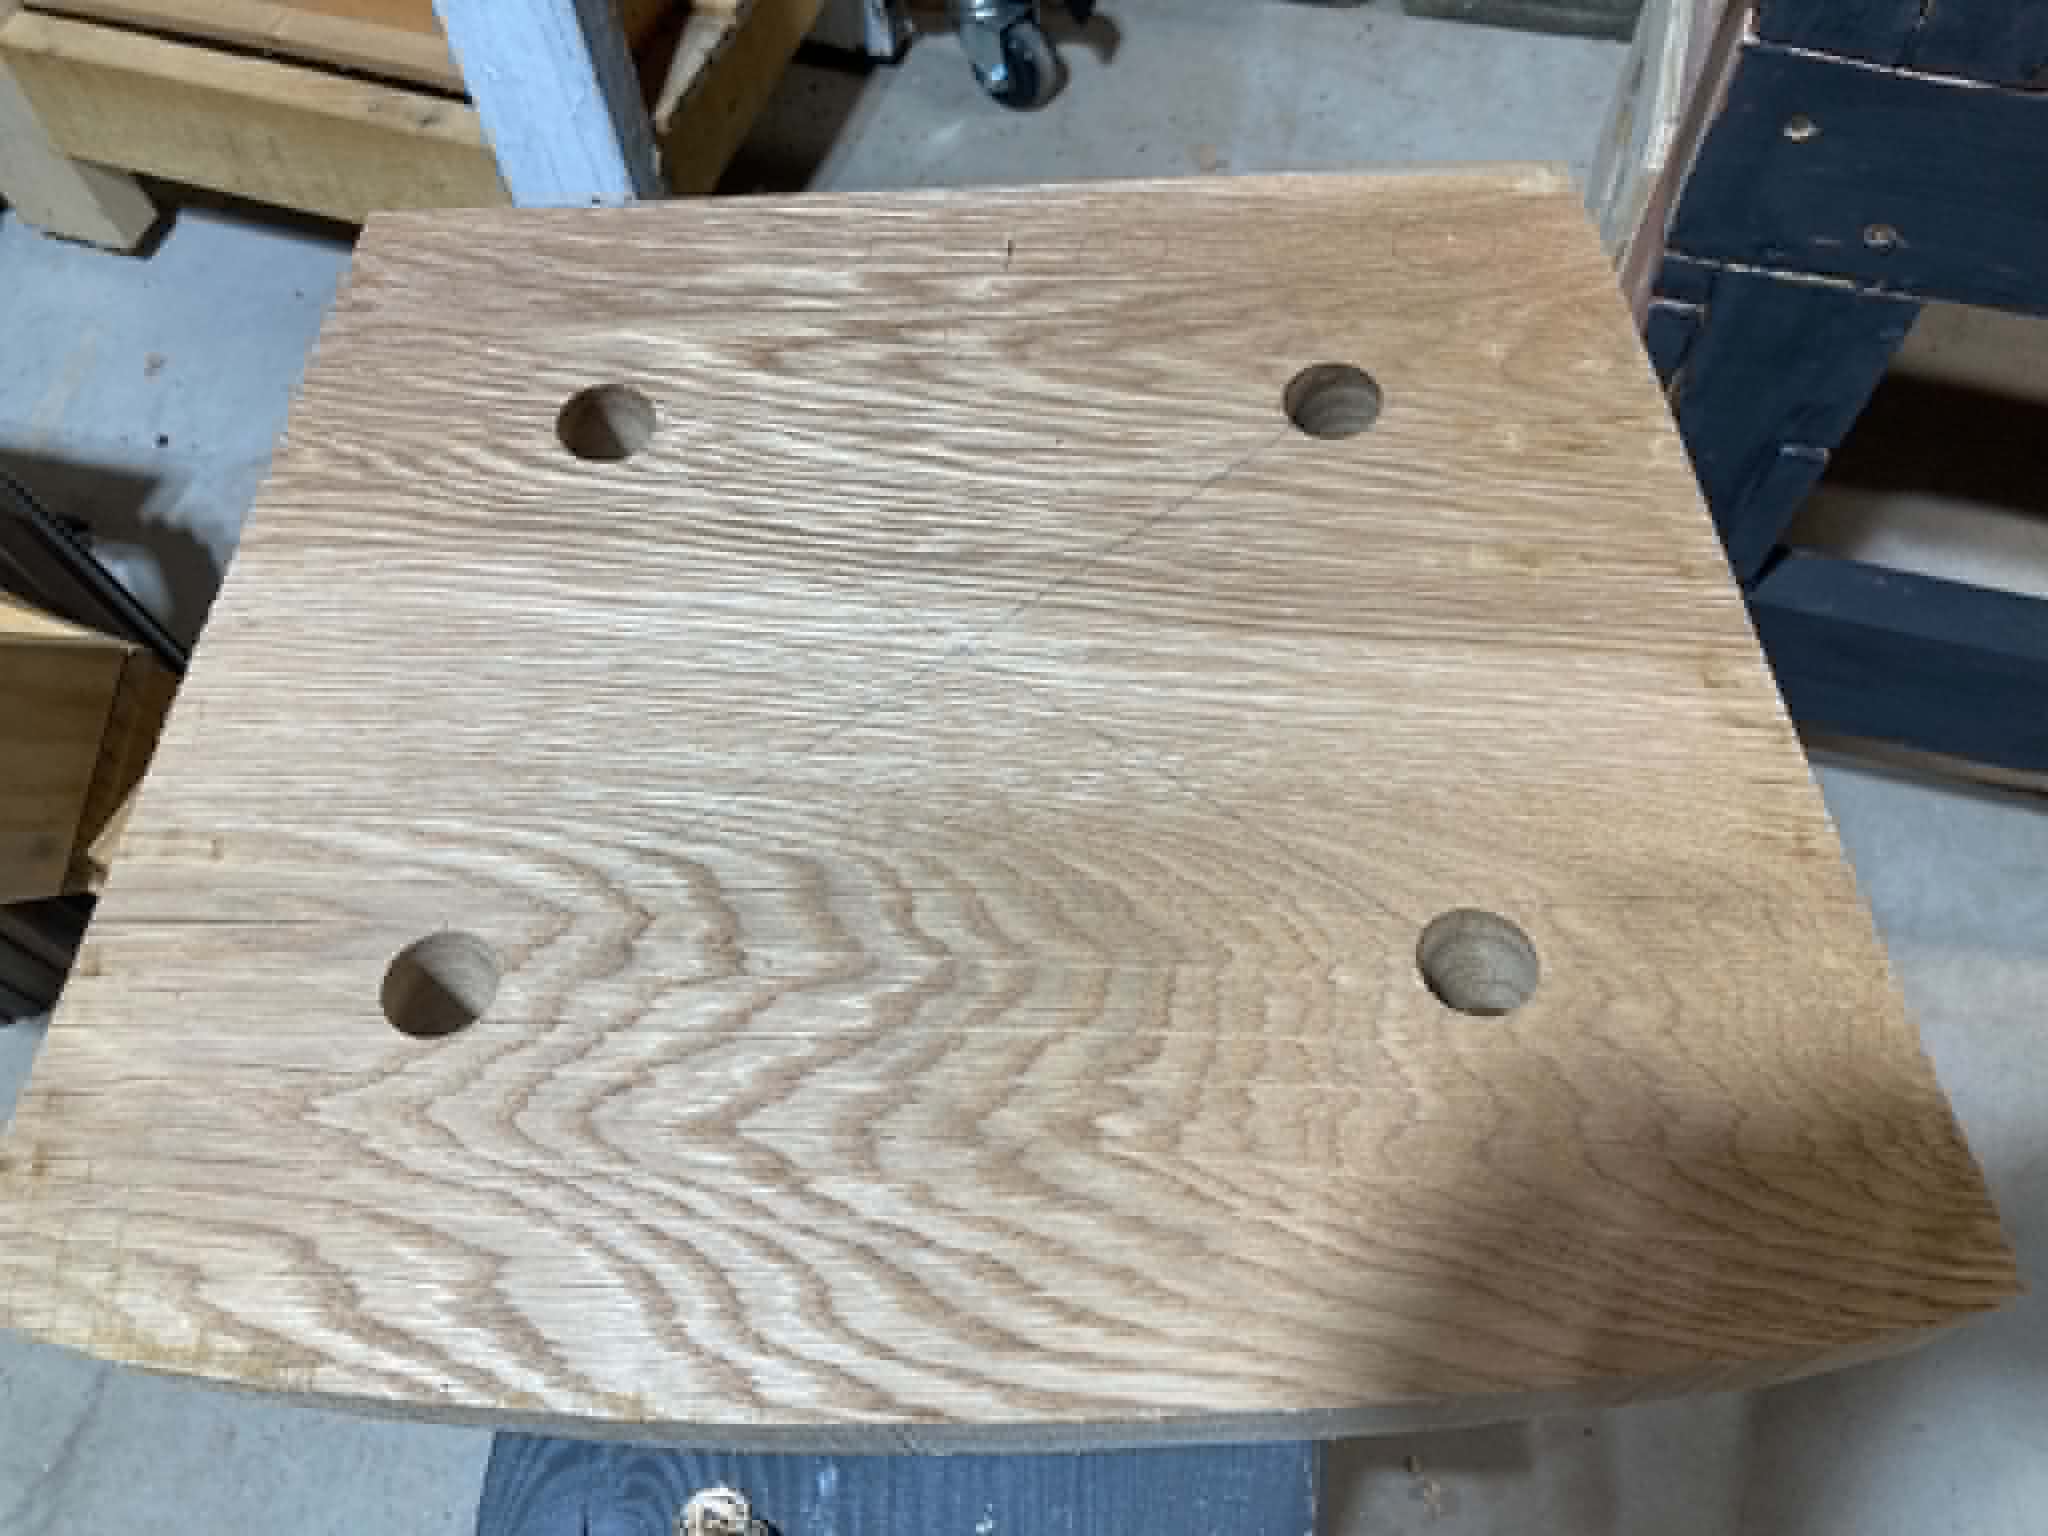
For the backsticks I used the same 13 degree setting on the bevel gauge and adjusted the outer stick's sightlines a little bit off of 90 degrees. These backsticks I decided would have 3/4" tenons so the holes were drilled accordingly.
Shaping the Back Sticks
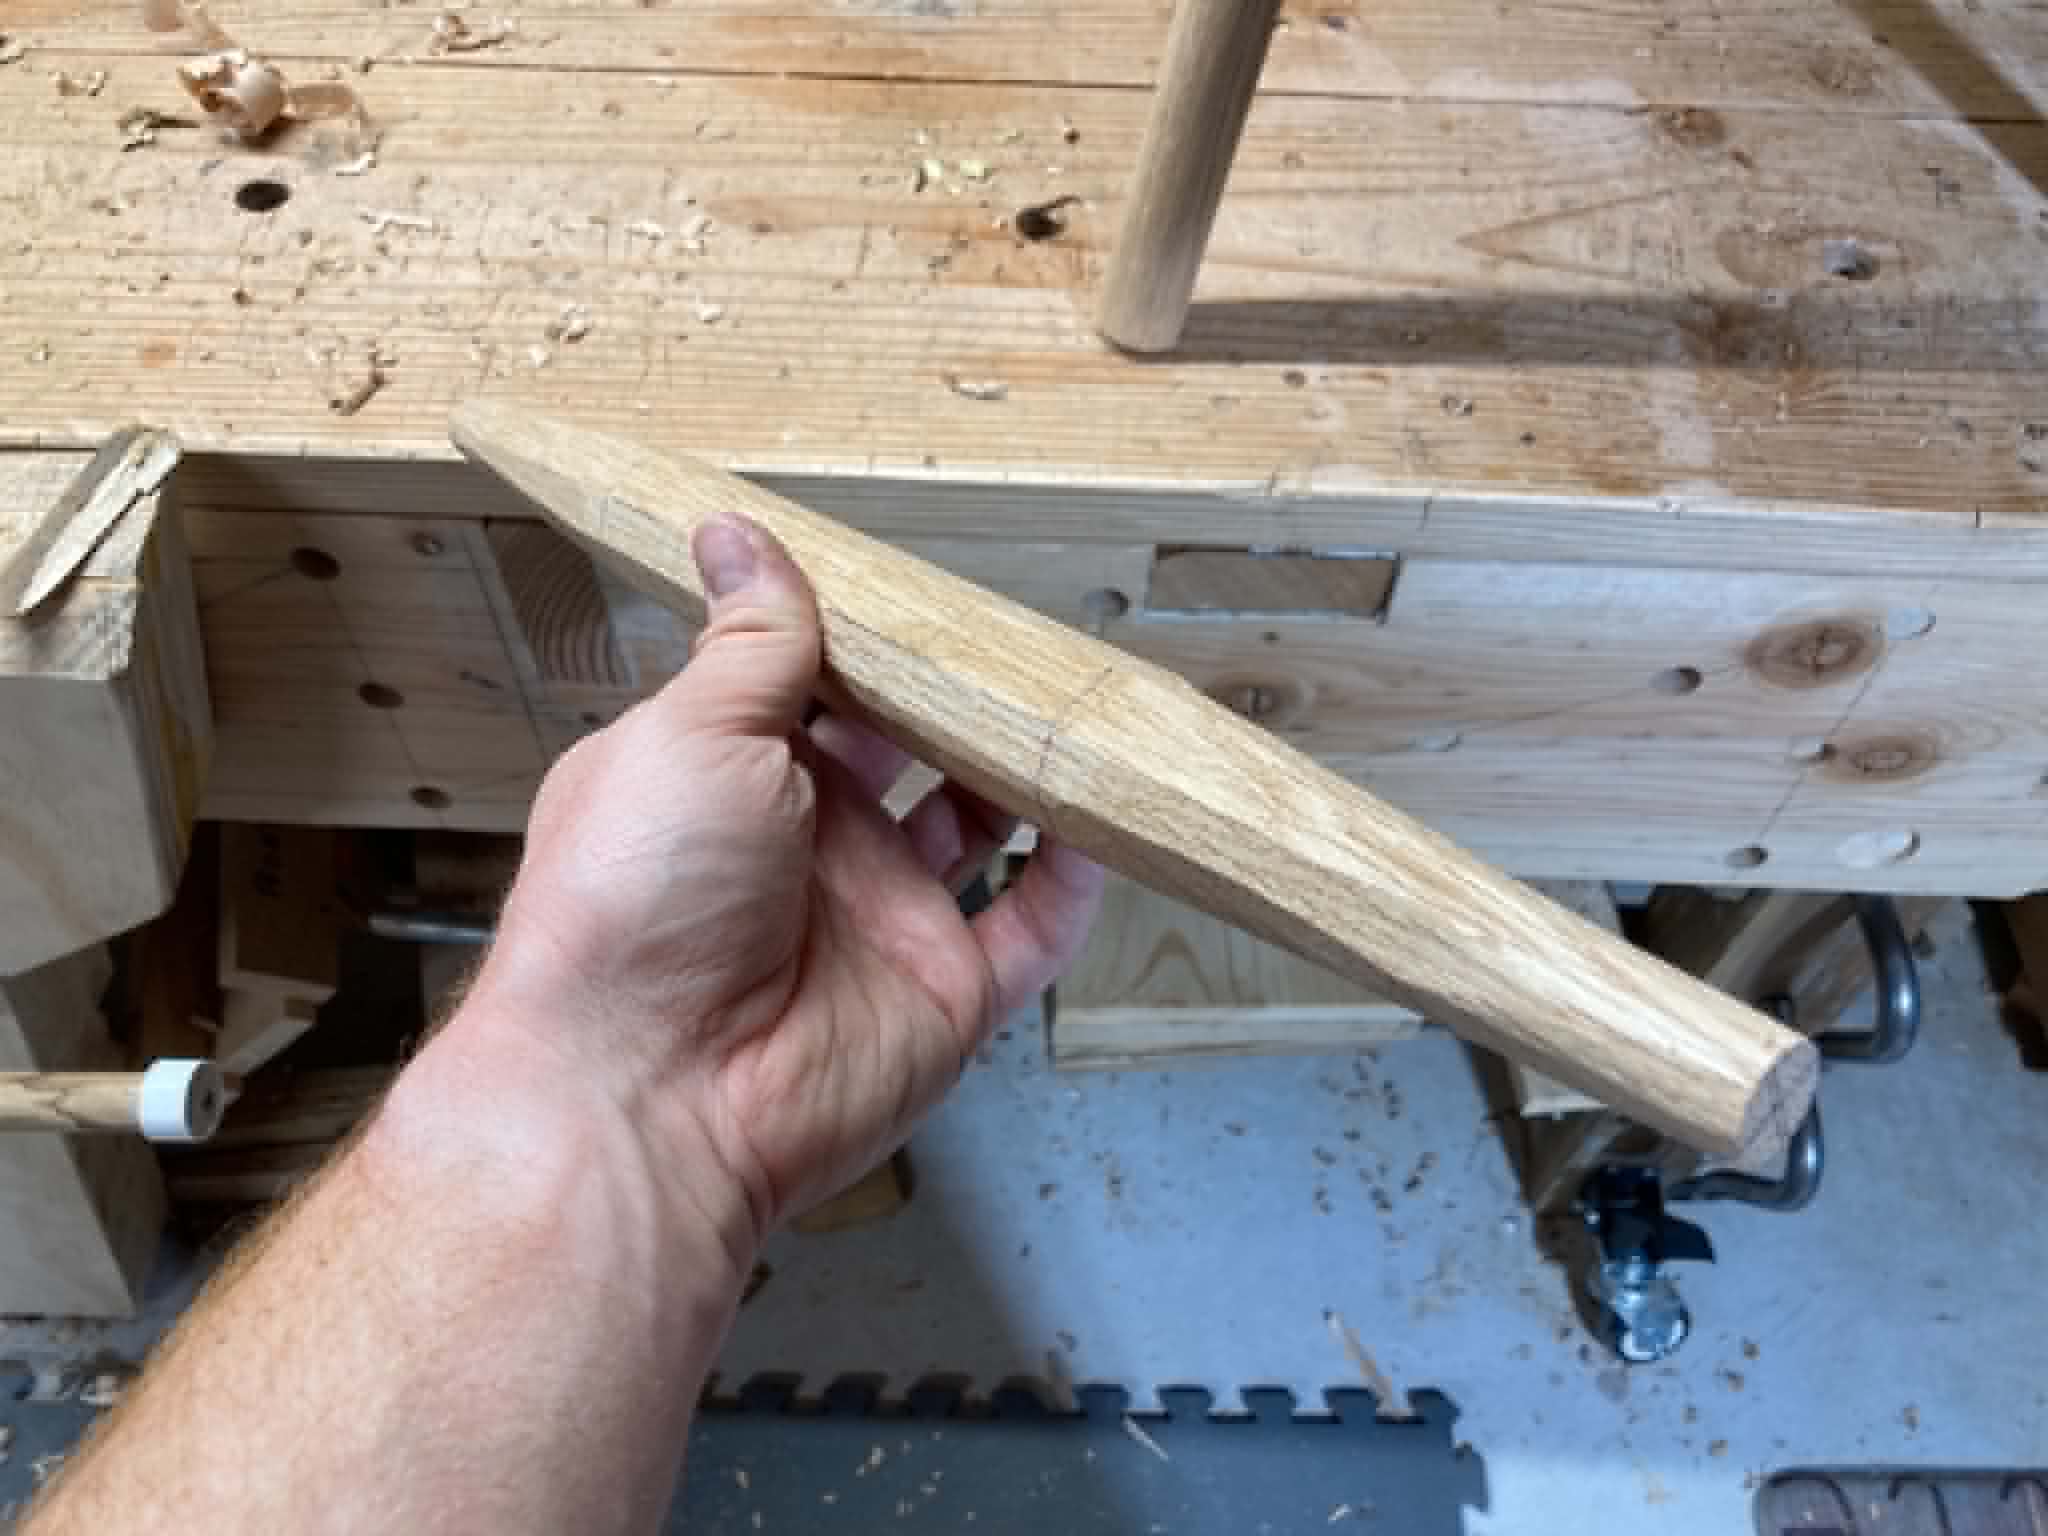
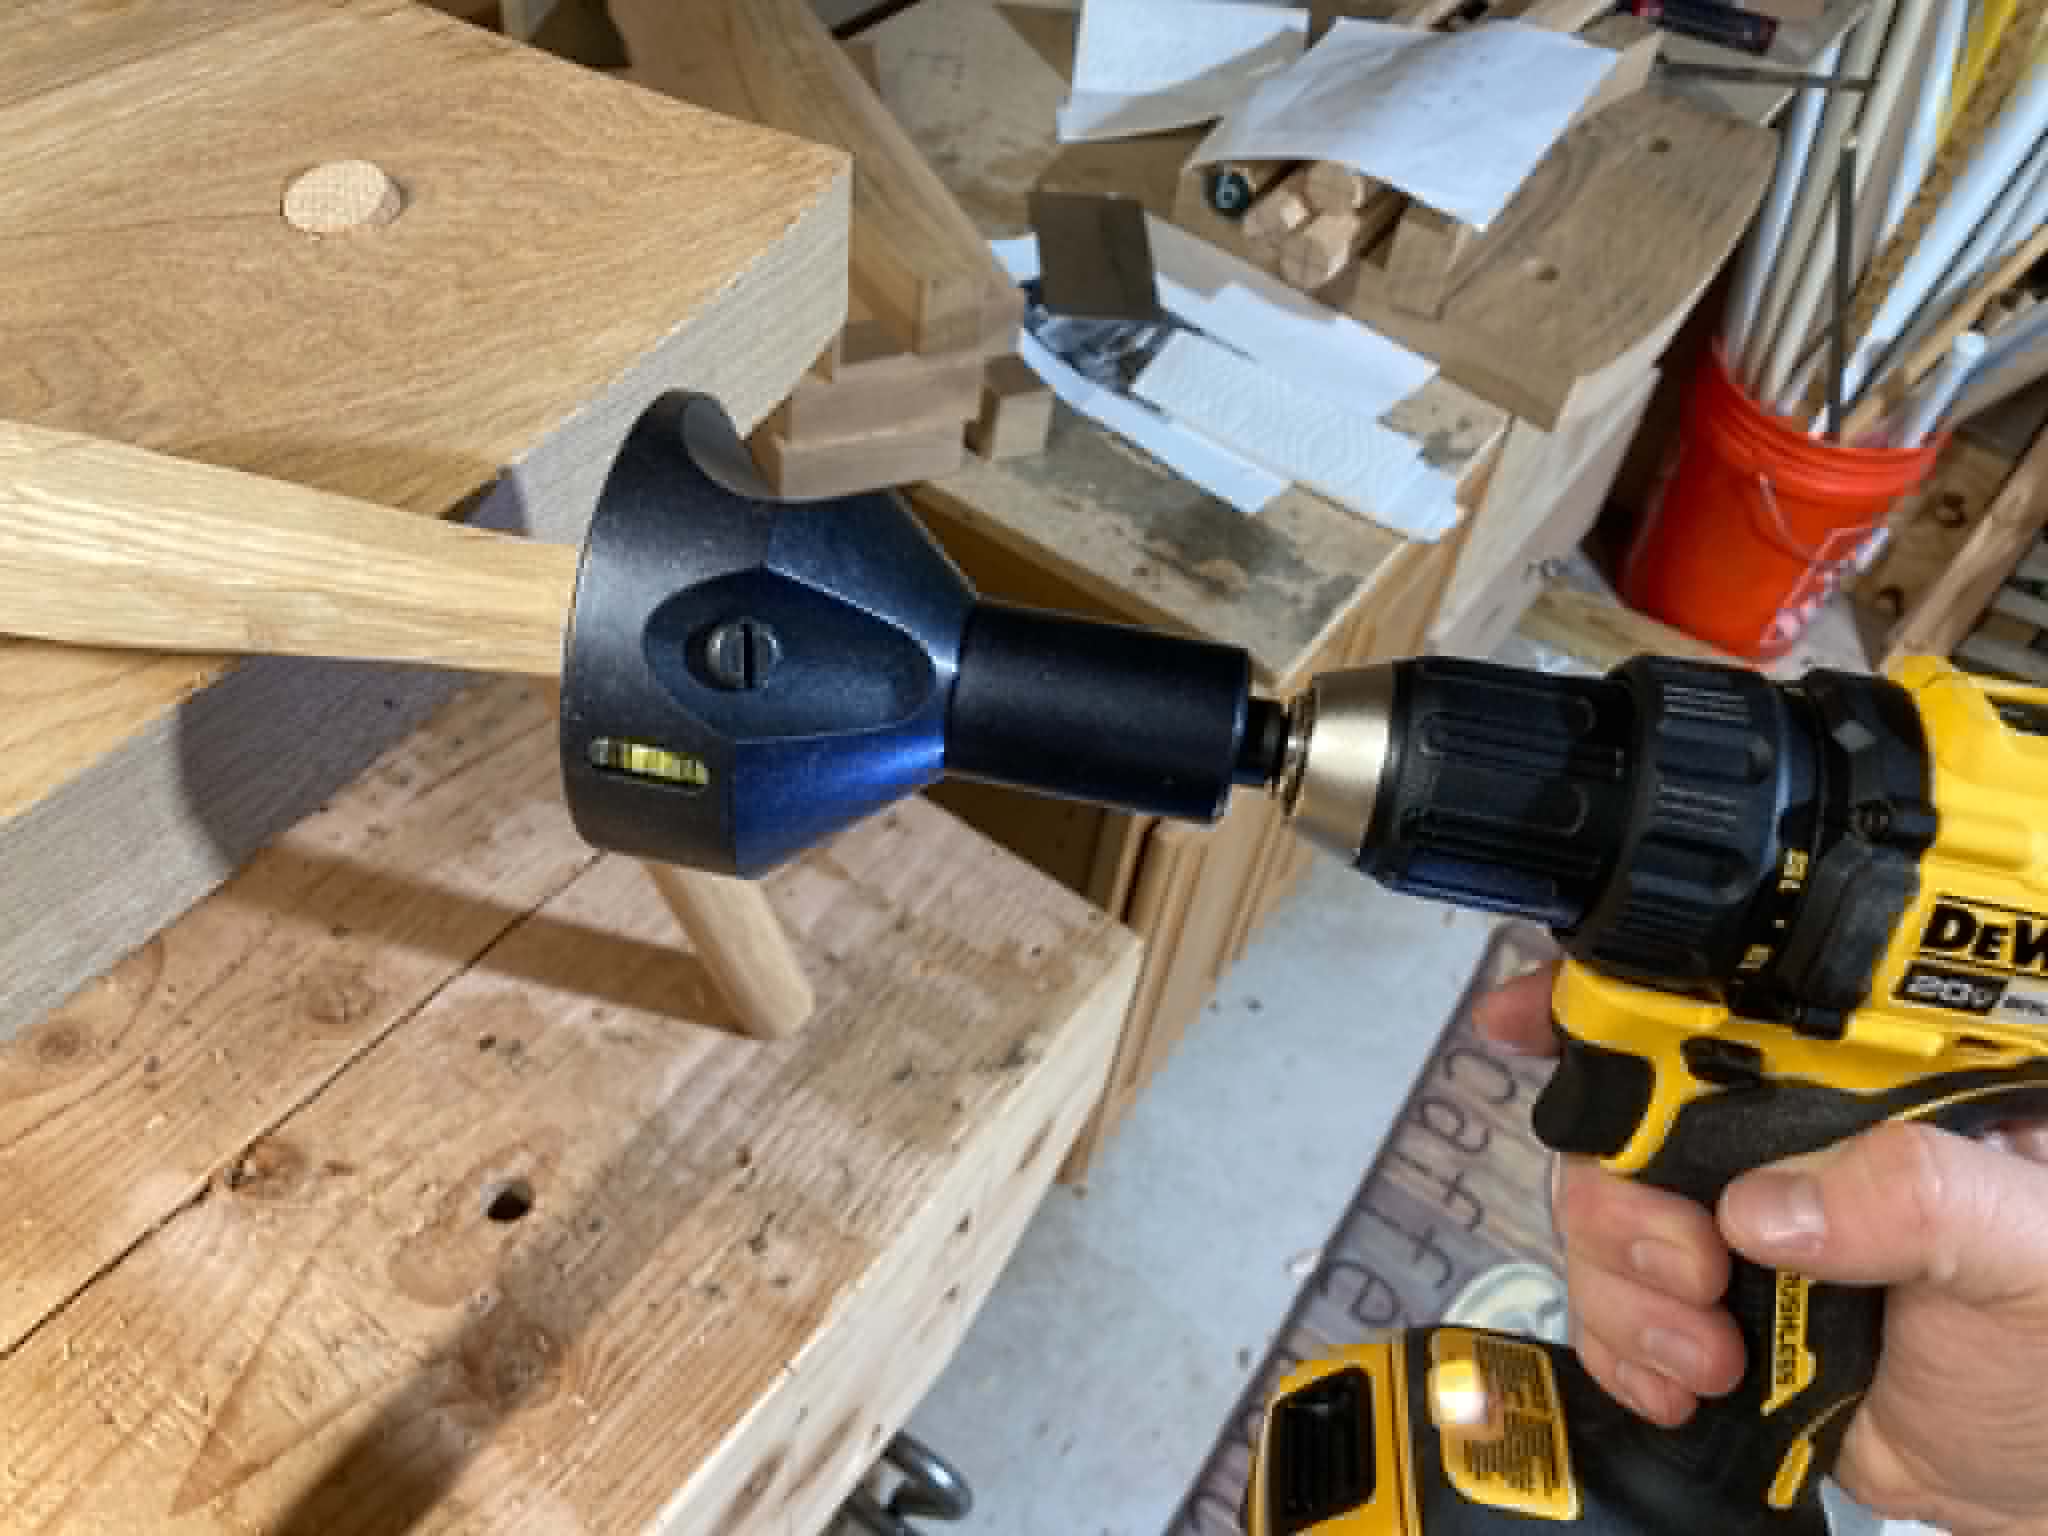
I marked a line about 5" in from each end of the back sticks, and then traced a 3/4" circle on each end to shave down to with the drawknife. Then I cleaned up near the end with a spokeshave to round it out and get it to fit just so slightly into the seat mortises.
Shaping the back rest
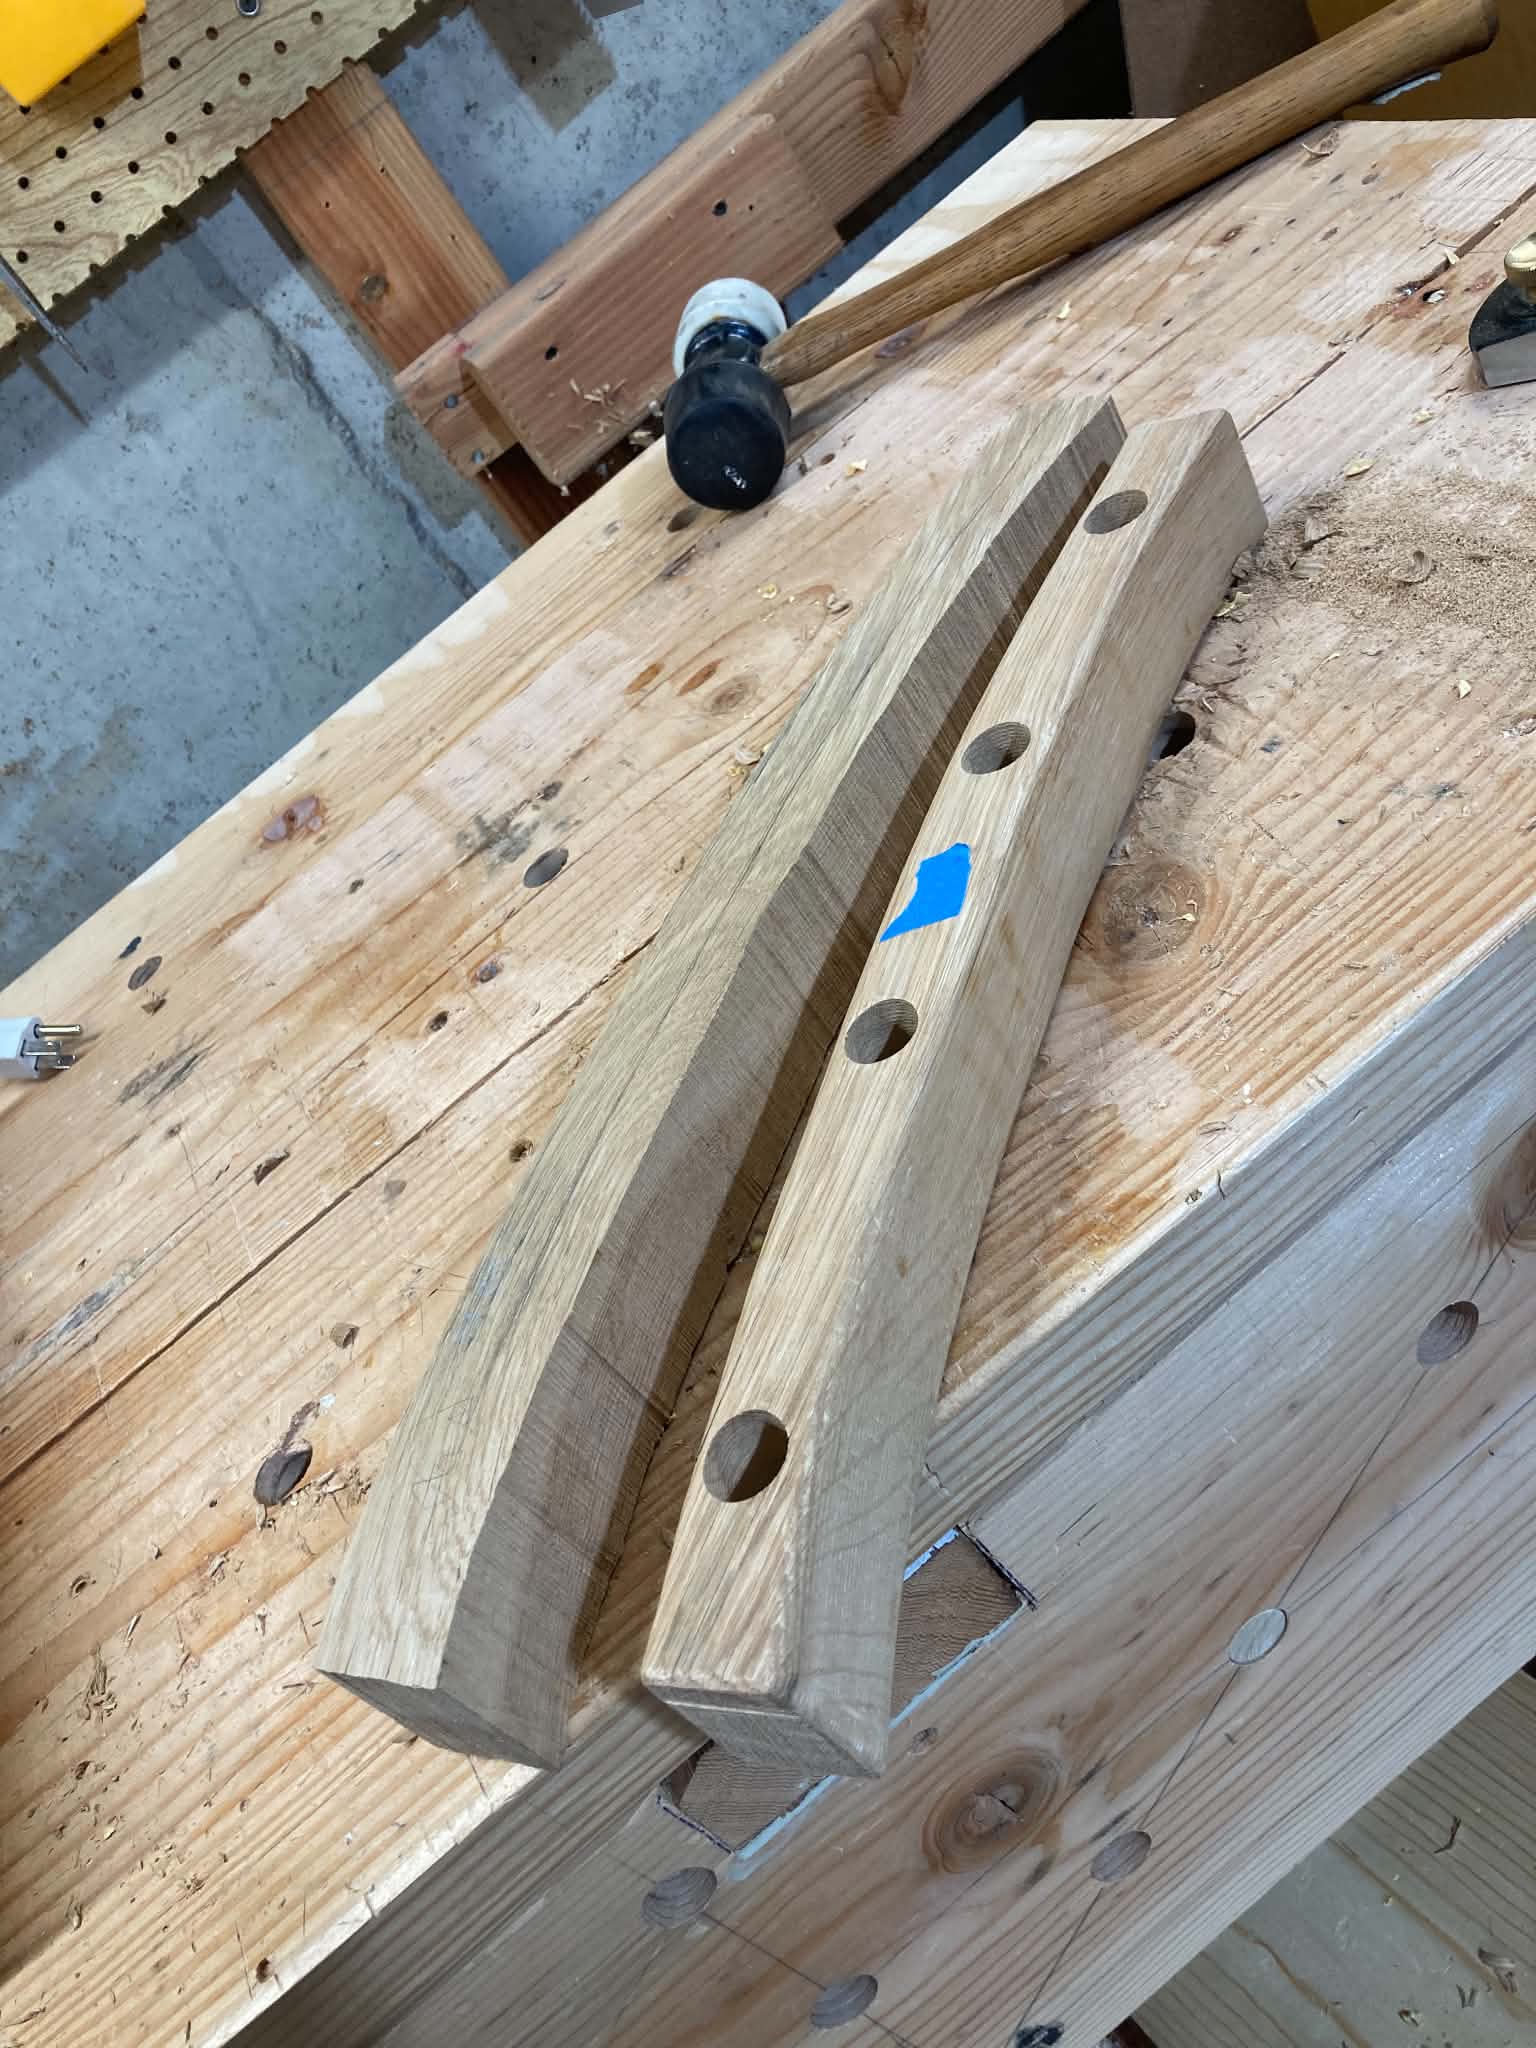
To get the mortise angles, I held it against the back sticks and roughly marked the angles, then drilled them out. It was a stressful process to make sure it all lined up. After testing everything fit, I cleaned up the bandsaw marks off of the backrest and rounded everything over with a spokeshave. It's definitely my favorite woodworking tool.
Assembly
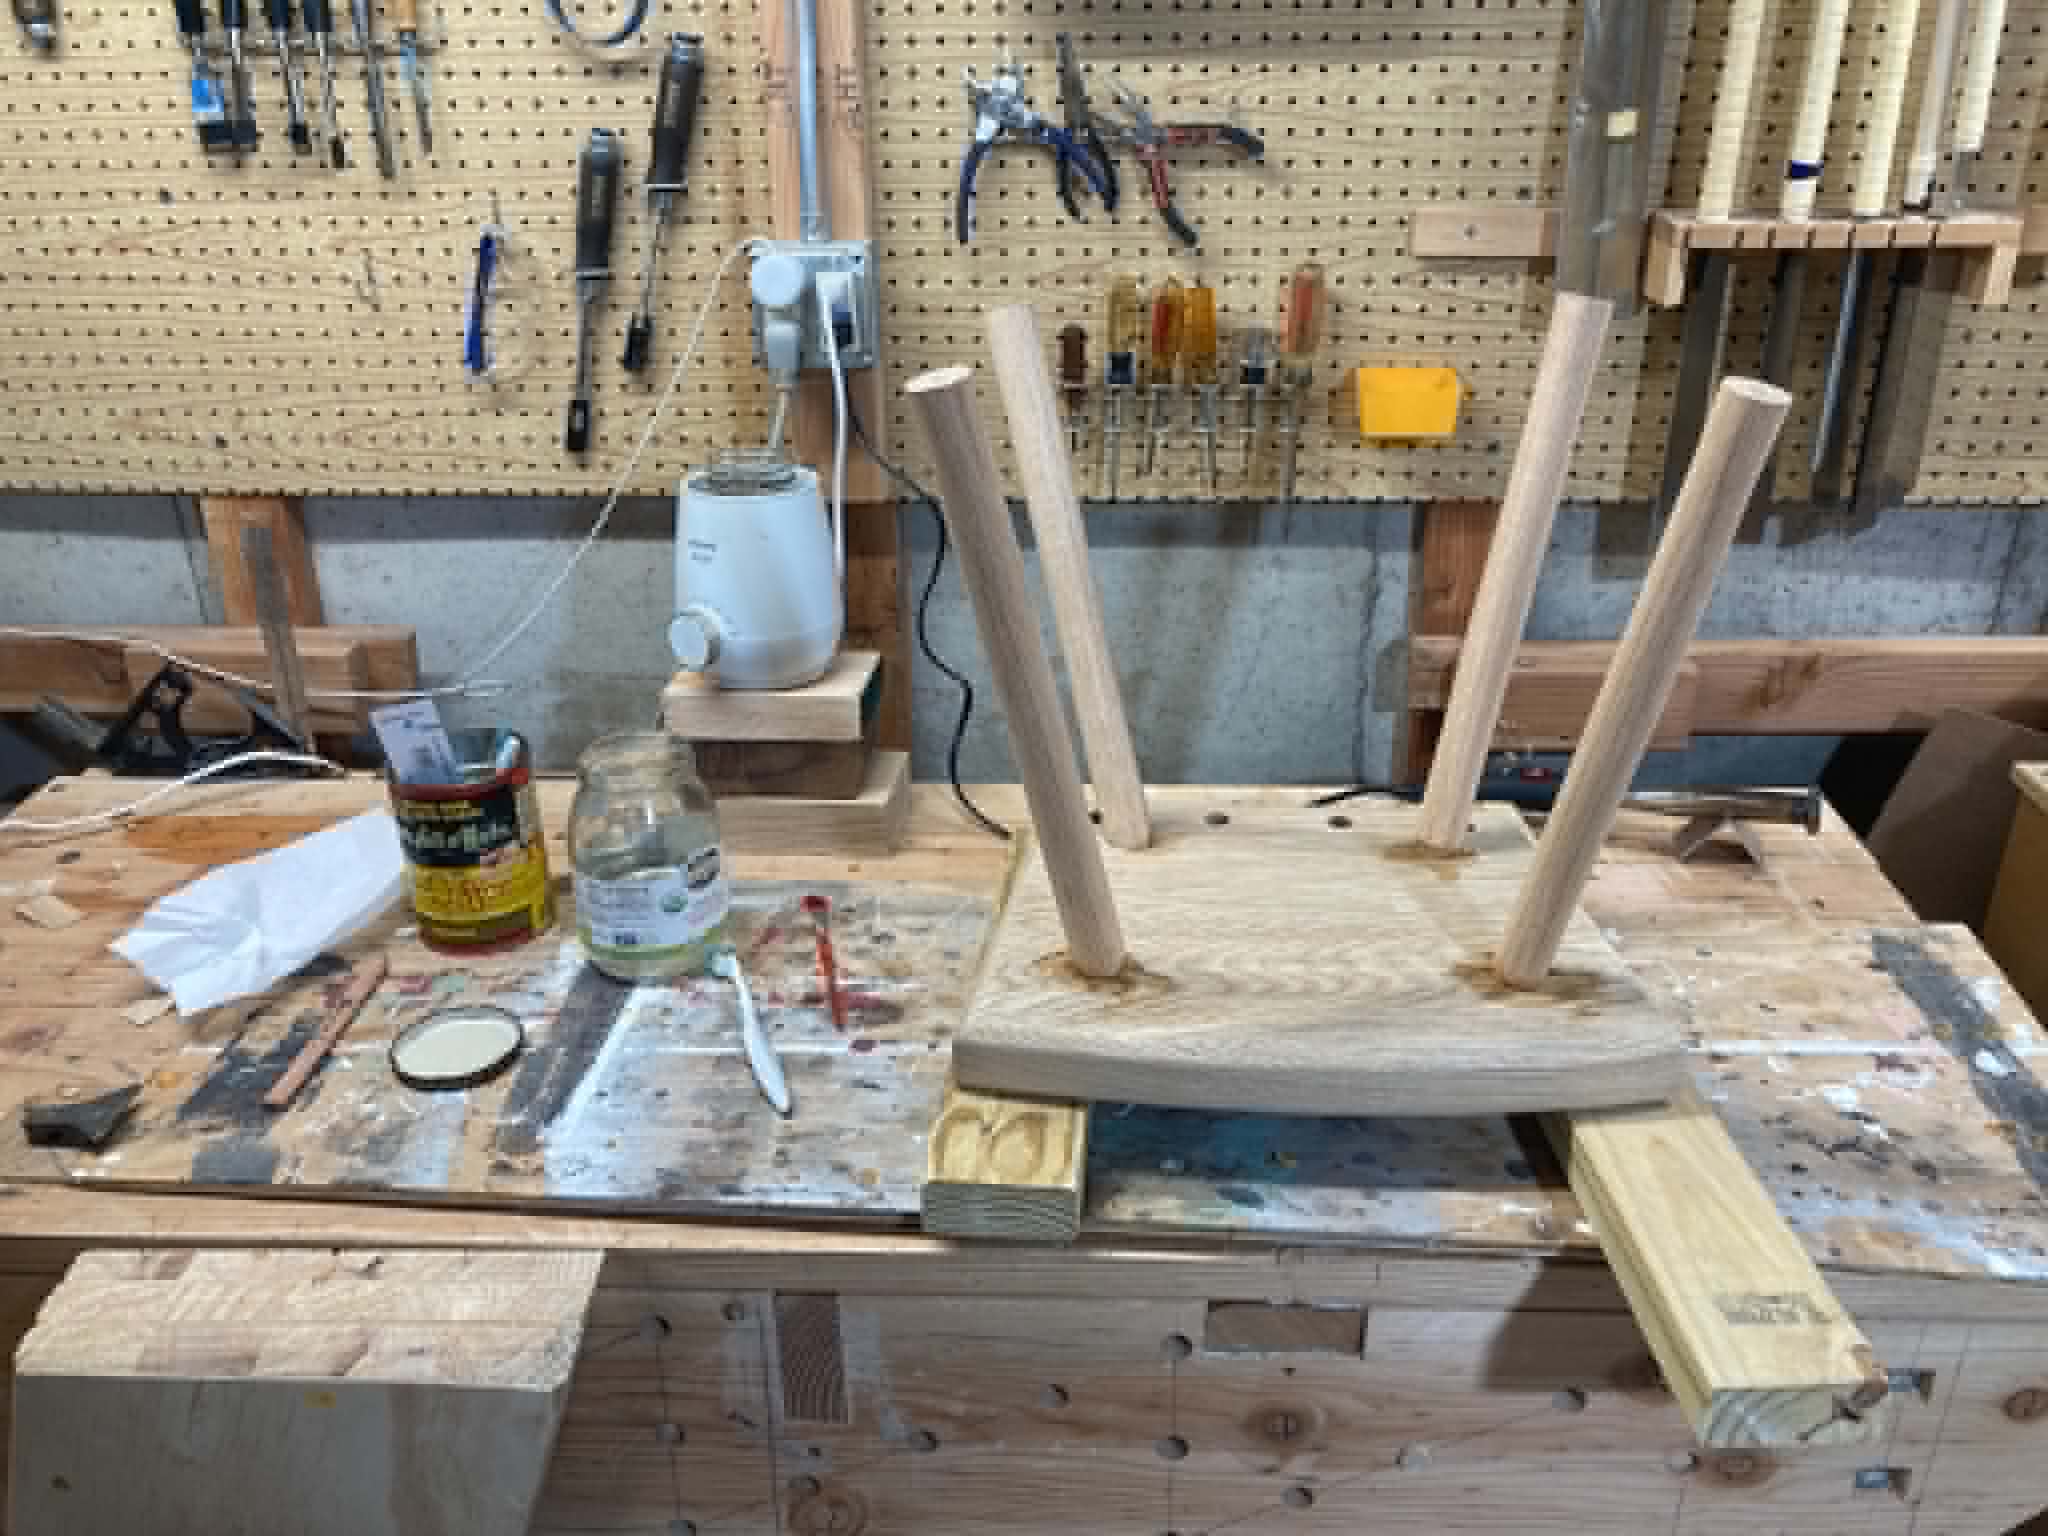
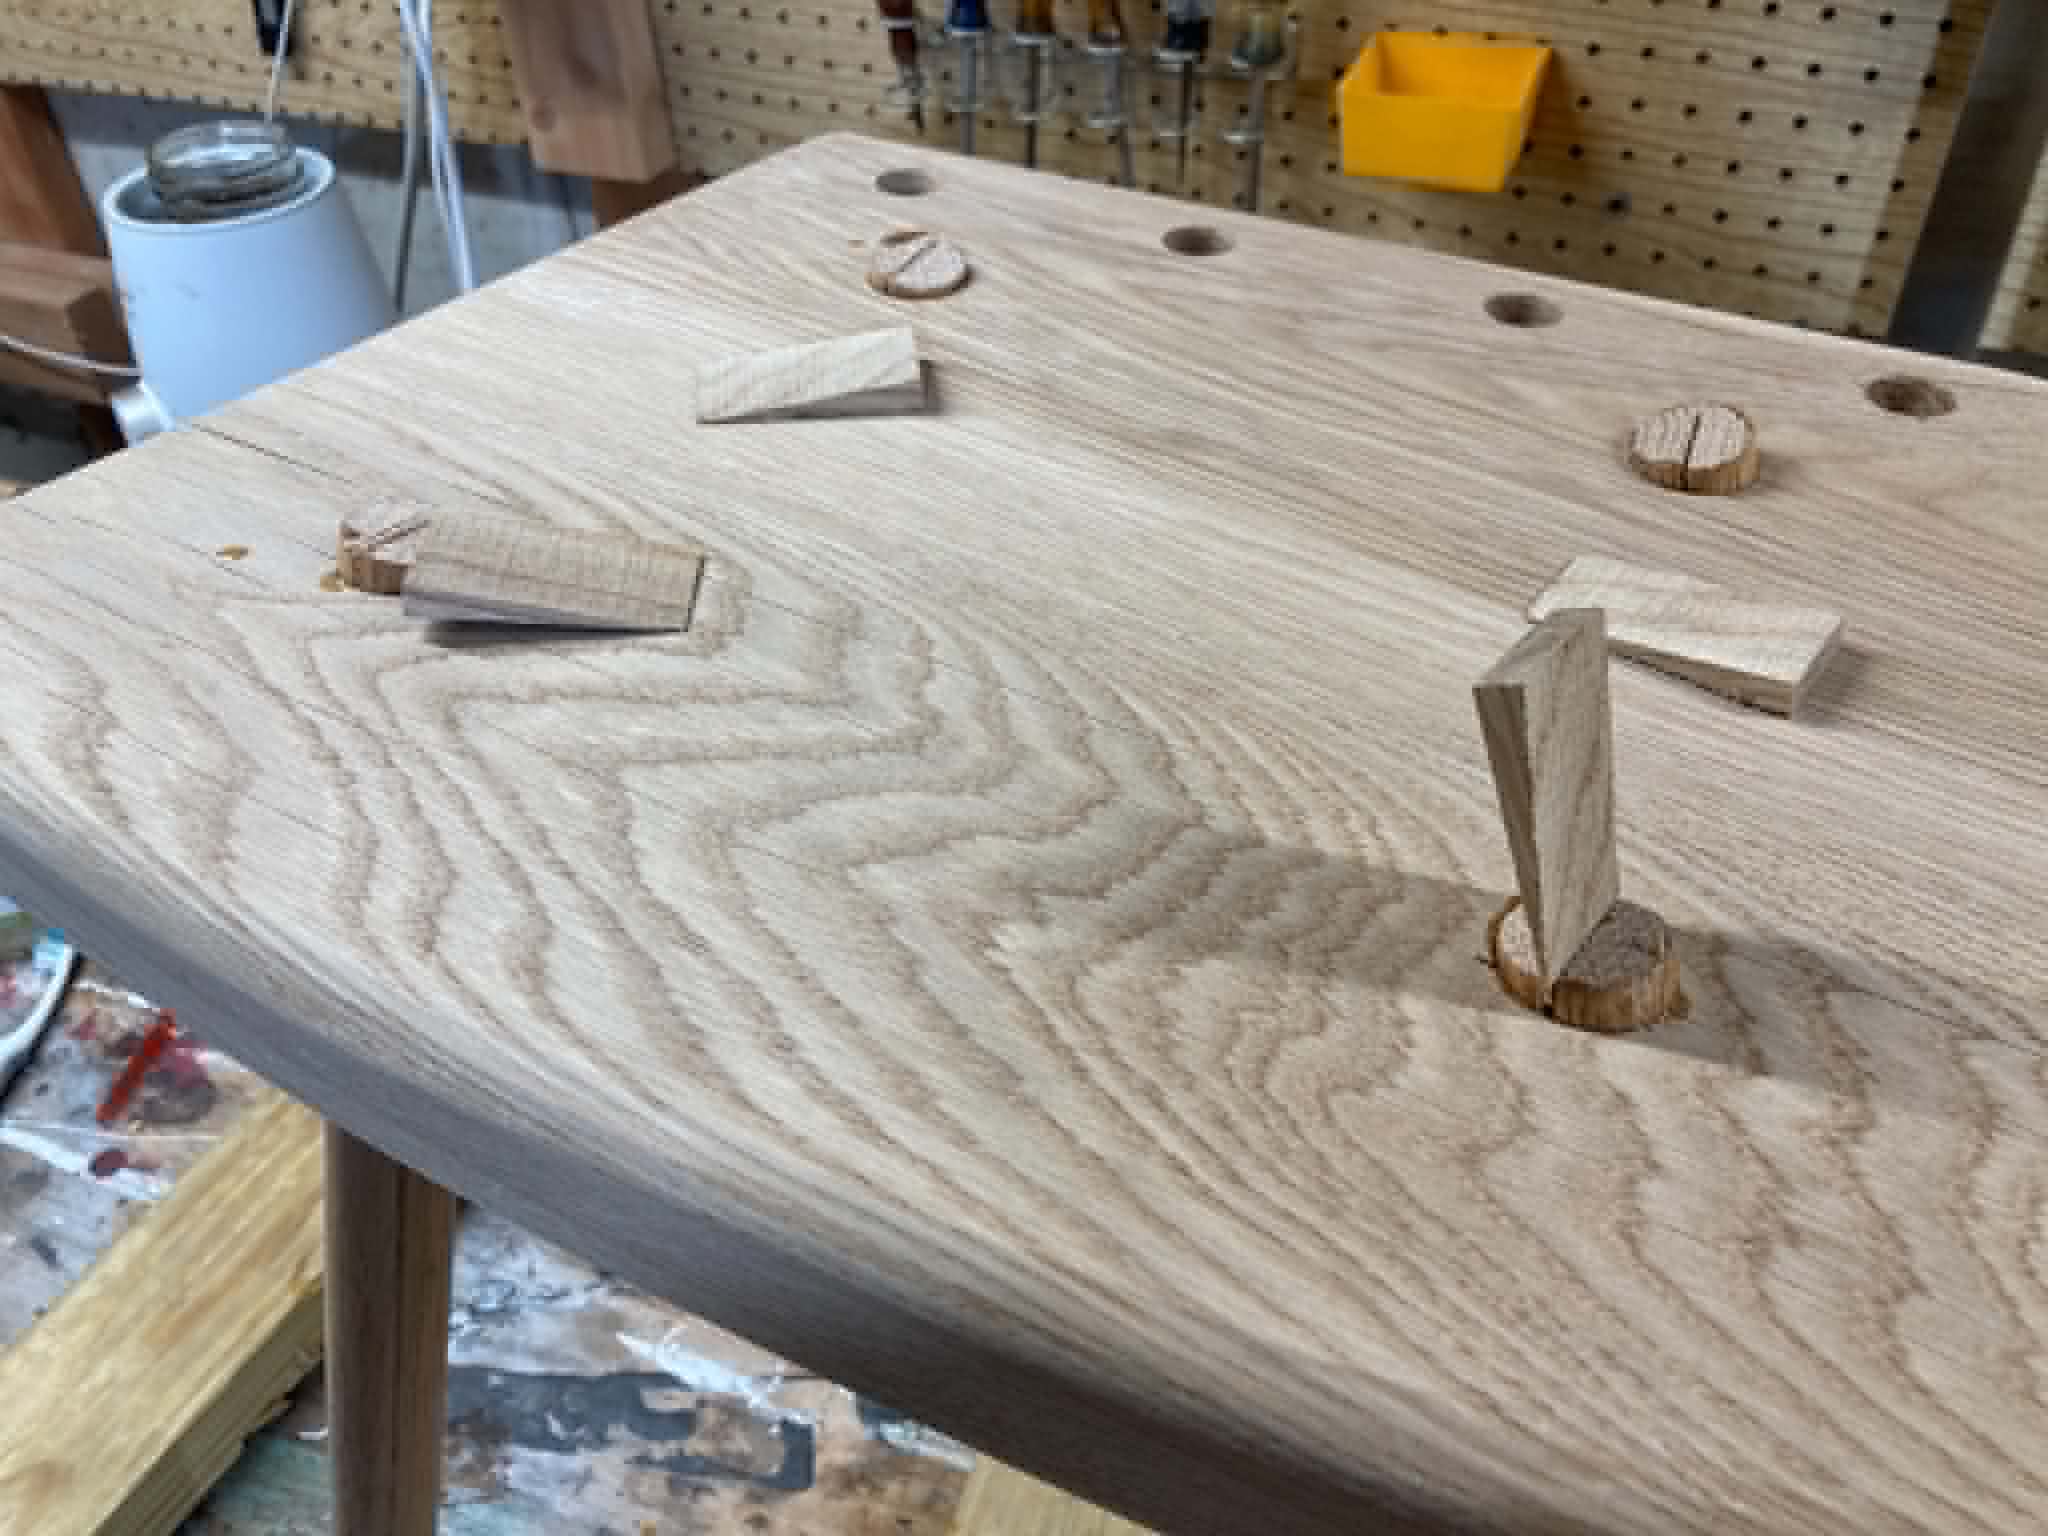
Leveling the Legs
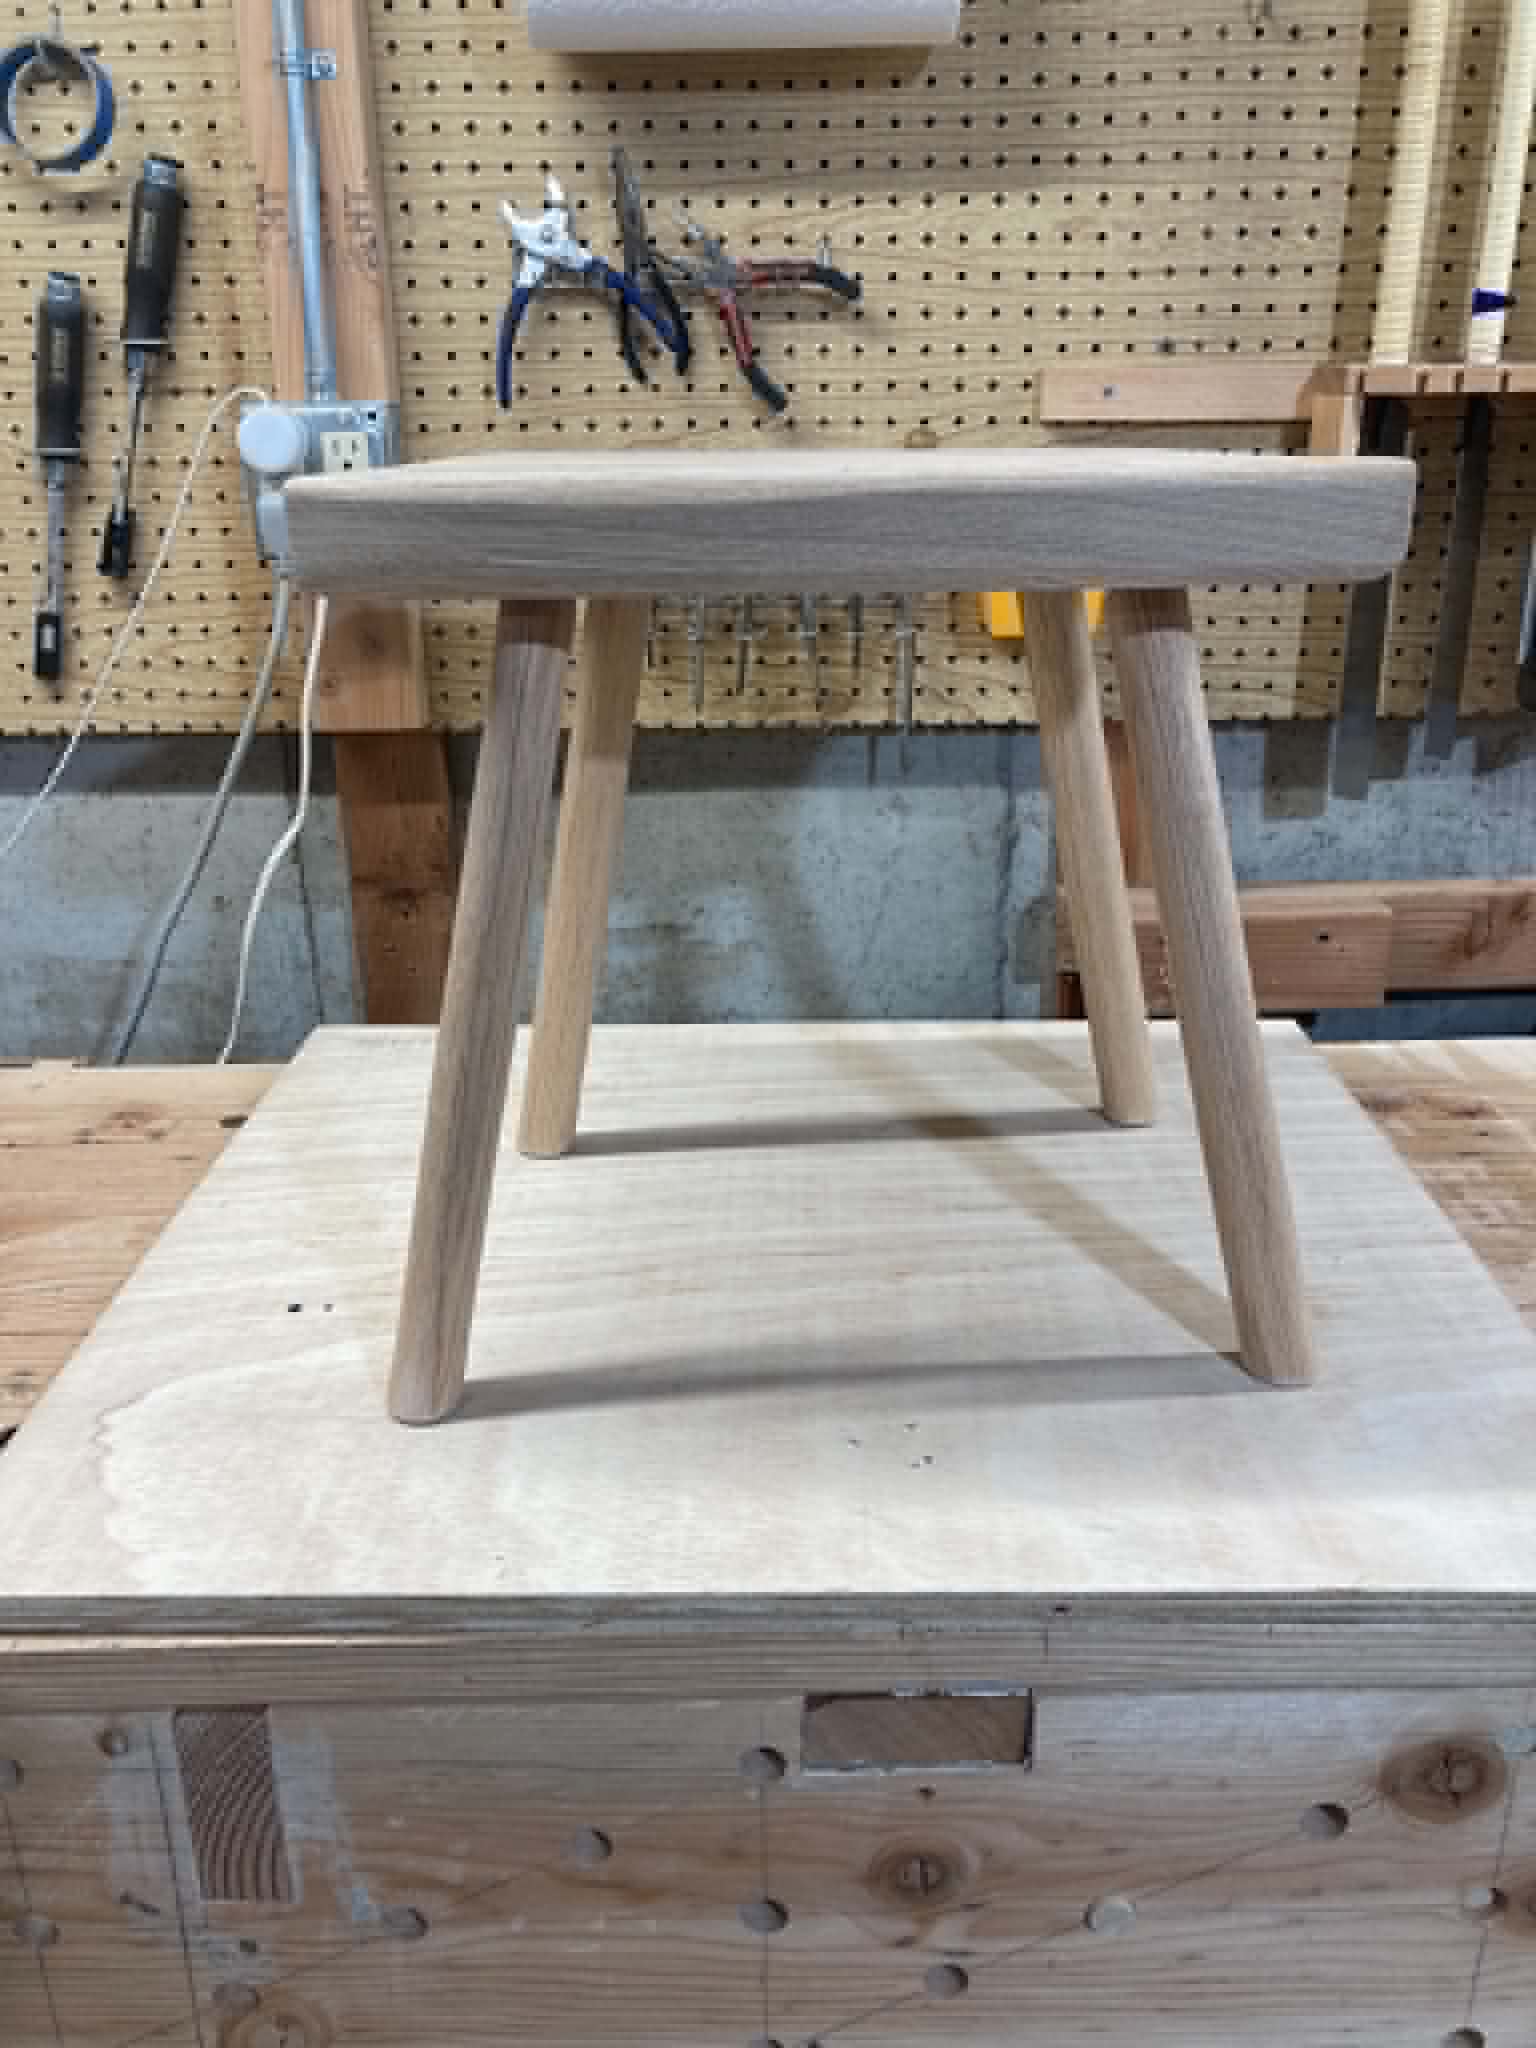
To level the legs, I placed wedges under the different feet and adjusted until the seat was level. Then I scribed a line around each foot, cut the feet at the line, and chamfered the newly leveled feet and smoothed the bottom.
Test Fitting Everything
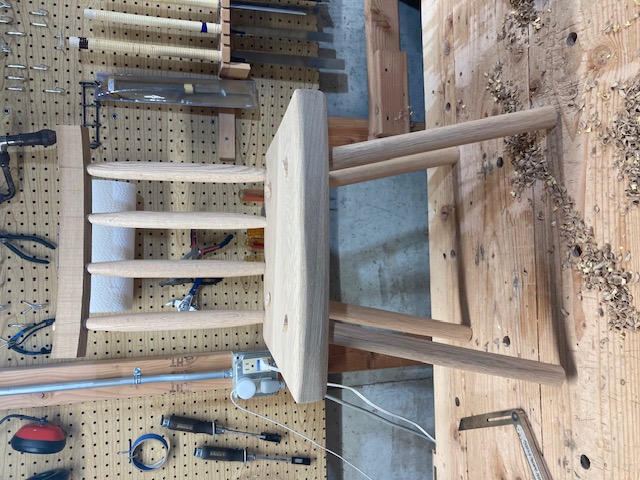
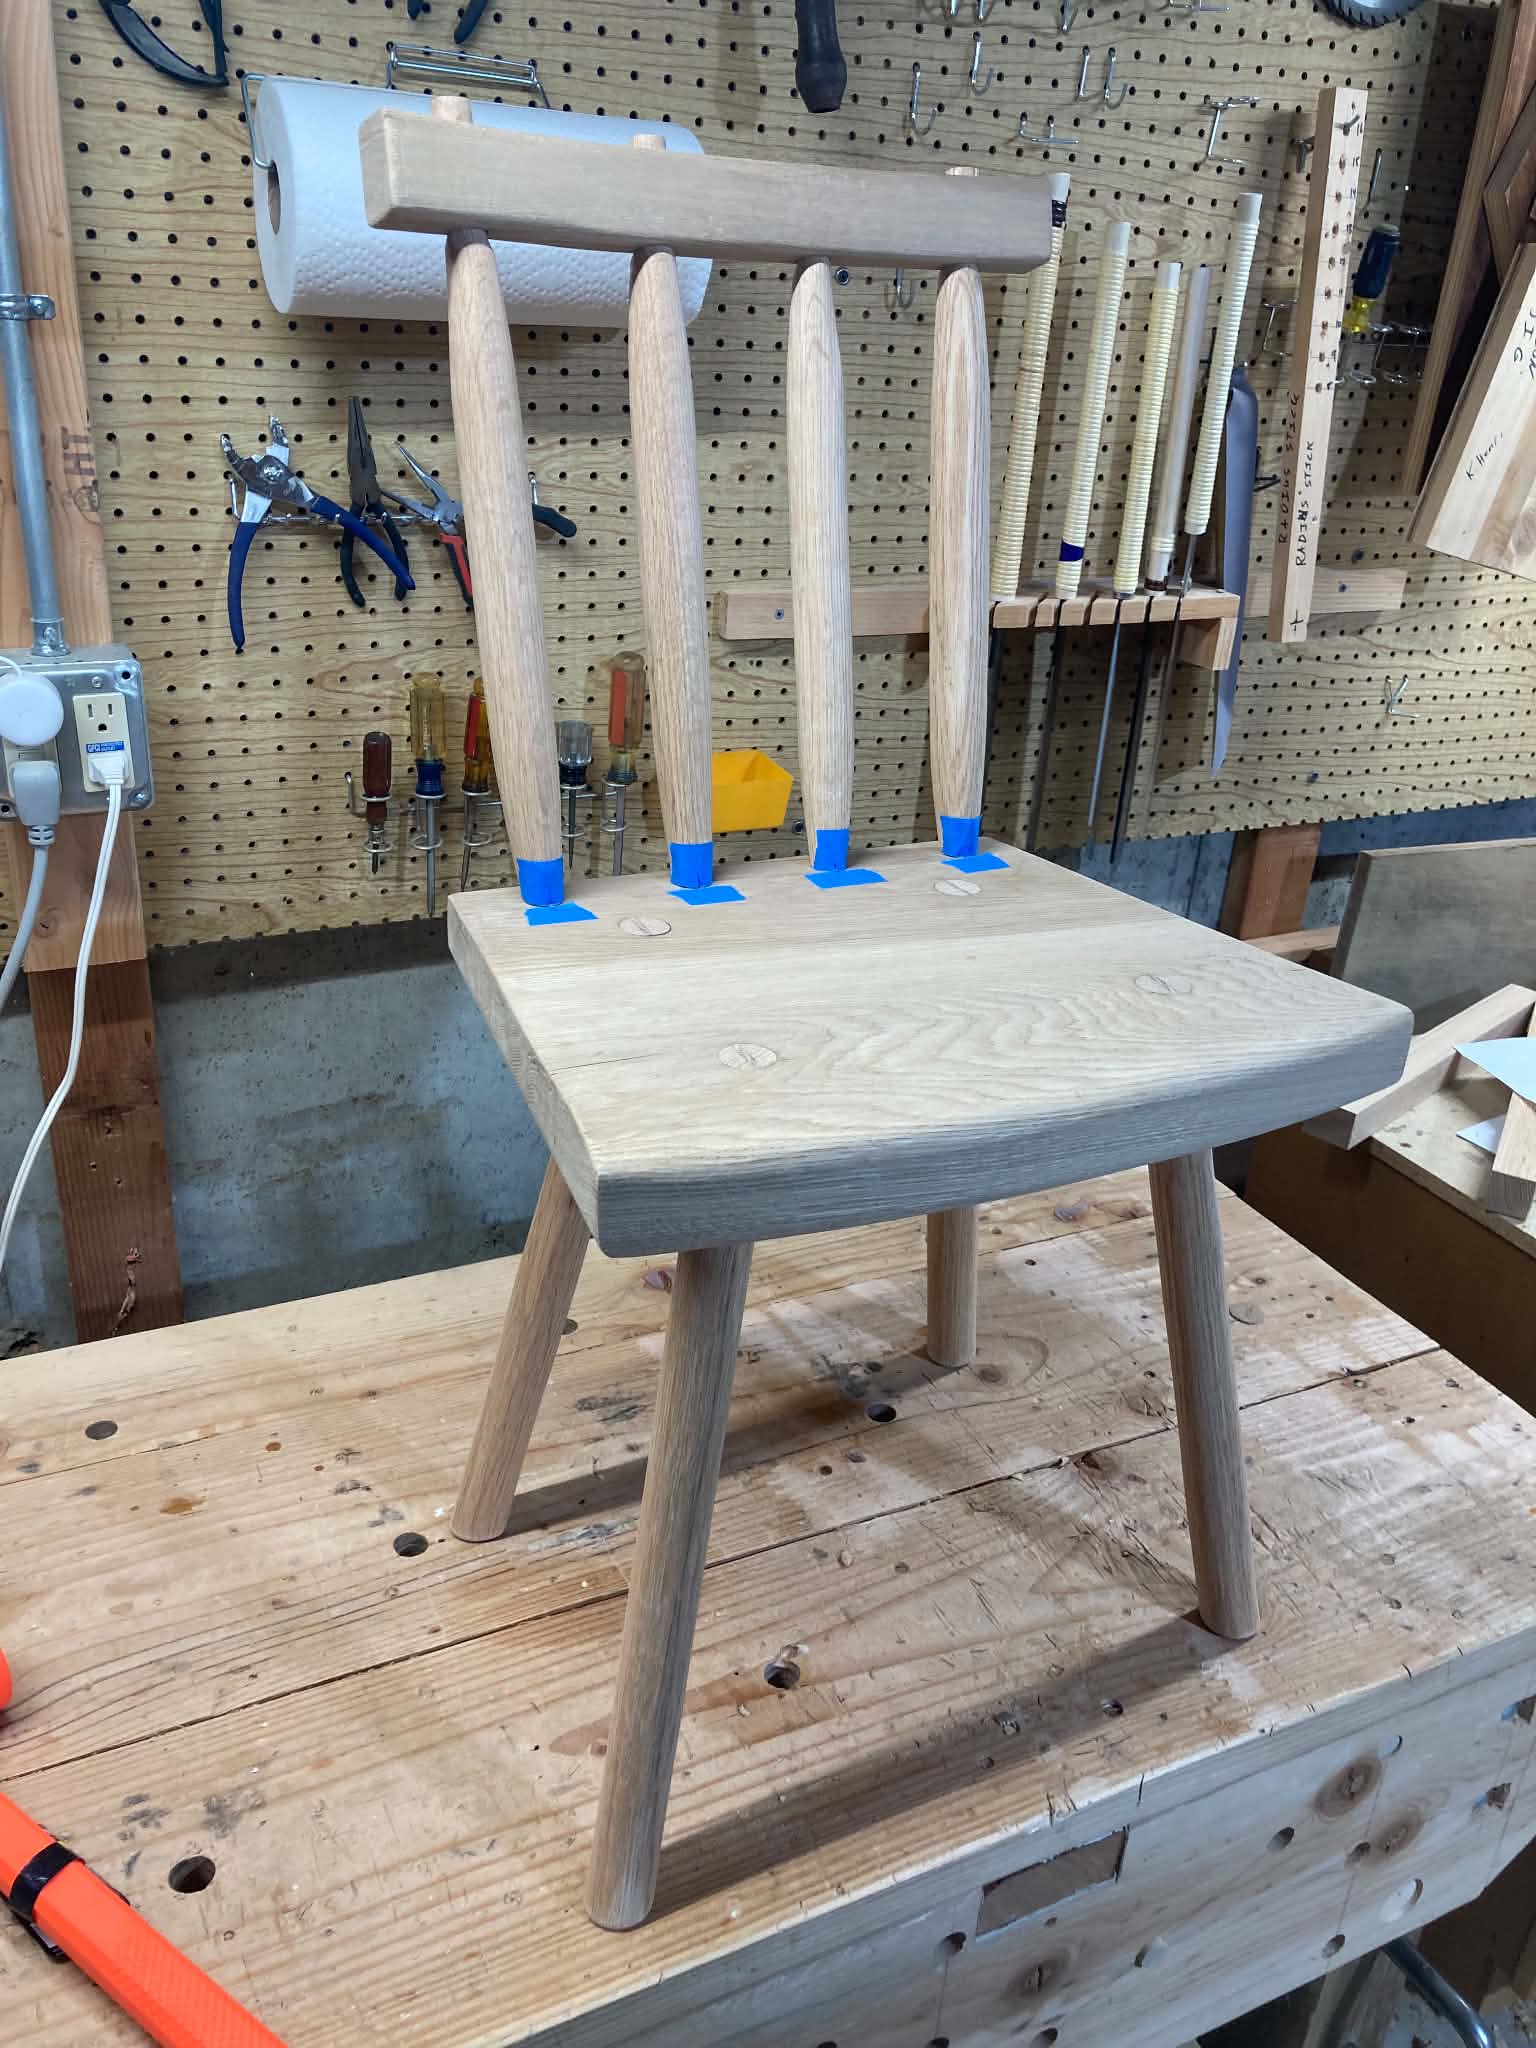
One of the defining visuals of the Leitrim Chair is the bulky back sticks that are tapered down to fit into the mortises in the seat and backrest.